
Me alegra estar de nuevo compartiendo con ustedes lo que tanto me agrada hacer 🤭La costura,como vieron en el inicio hoy estaremos transformando de manera sencilla Un vestido largo a corto ,me resultó muy sencillo de transformar era para una clienta aun no lo viene a buscar pero quise terminarlo hoy mismo ya que tengo otras cosas pendientes por hacer.
I'm happy to be back sharing with you what I love to do 🤭Sewing, as you saw at the beginning today we will be transforming in a simple way A long dress into a short one, it was very easy for me to transform it, it was for a client who hasn't come to pick it up yet but I wanted to finish it today since I have other things pending to do.


Espero te quedes unos minutos y apreciar como queda este hermoso vestido transformado de largo a corte,solo le quitaremos el excedente abajo y lo colocaremos recto en la parte del frente,espero te guste como queda.
I hope you'll stay a few minutes and appreciate how this beautiful dress looks transformed from a long dress to a short one. We'll just remove the excess fabric at the bottom and straighten it at the front. I hope you like how it turns out.

Materiales para la transformación : | Materials for the transformation:
- Tijera
- Máquina de coser
- Corta hilos o descosedor
- Tiza de costura
- Metro de costura
- Hilo
- Scissors
- Sewing machine
- Thread snips or seam ripper
- Sewing chalk
- Measuring tape
- Thread
Pasos a seguir: | Steps to follow:


Paso 01
Step 01
In the first step, what I did was unpick the waist part without unpicking where the zipper is located. I also unpicked the lace fabric from the lining, leaving both pieces unpicked, and I placed it open to make the square cut, thus removing the ruffles that it had on the front. What I did was reduce the ruffle and cut the crossed ruffles on the right front of the dress and cut them straight.
Paso 02
Step 02
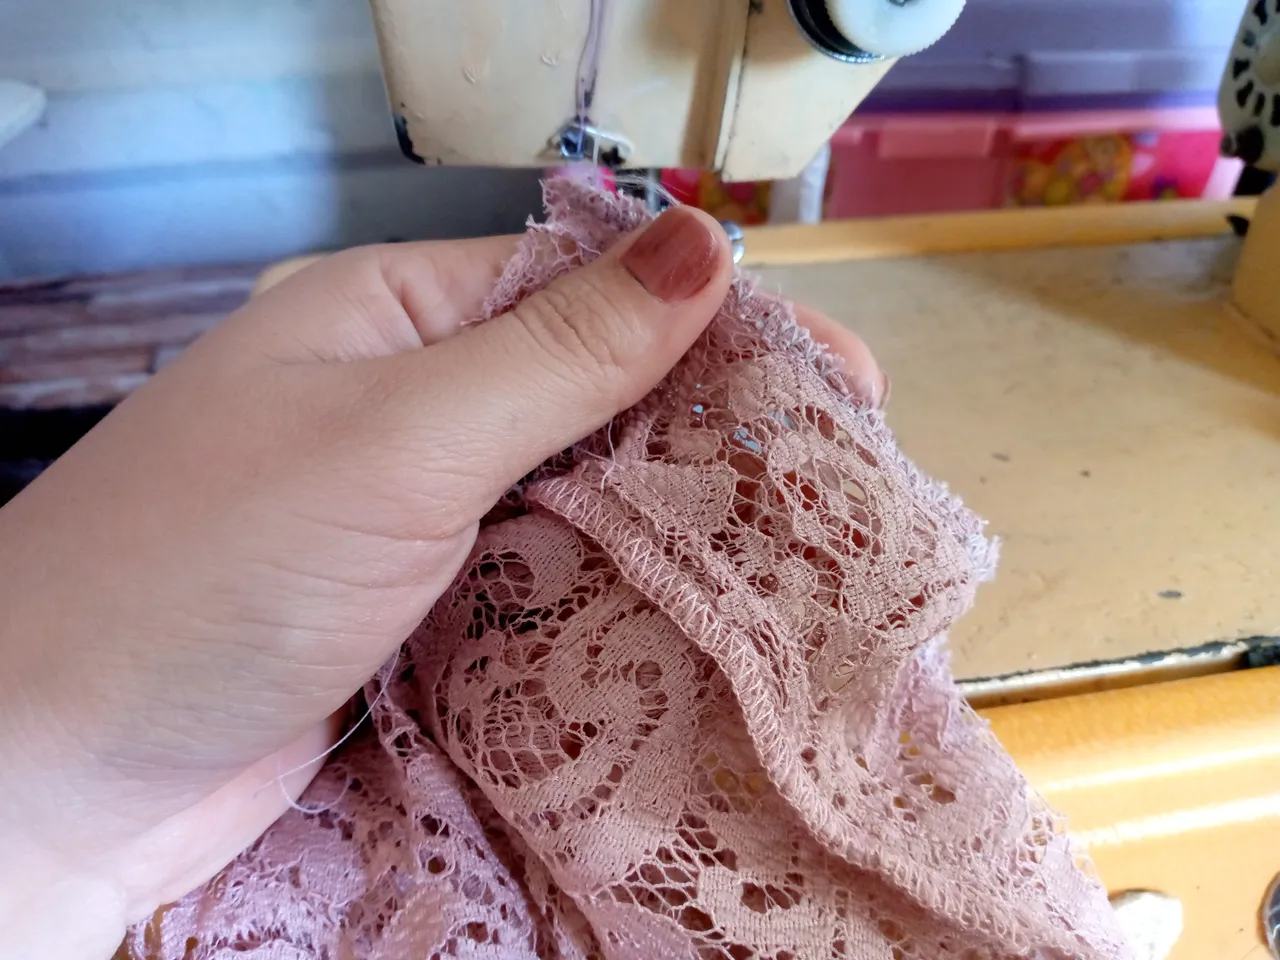
In the next step I joined the front right piece and sewed it along the edge with an overlock stitch and then with a straight stitch to prevent the thread from coming undone.


Paso 03
Step 03
Once I sewed the front piece, the skirt would look like the first image, now it's time to sew the 1.5 cm wide hem all the way down the bottom of my skirt.

Paso 04
Step 04
Finally, I sewed the skirt to the blouse. Since my client wanted the skirt of the dress to be a little gathered, I made some small pleats or folds in that part, then I finished the seam with a straight stitch.
Resultado: | Result:
Una vez terminé de coser lo coloqué en el maniquí para apreciar como se ve y la verdad se logró el objetivo de lo que quería mi clienta ,cortarlo y unir la falda ,a diferencia de como estaba se ve bien ahora falta que se lo mida 🤭y que ella misma me diga que tal le quedó.
Once I finished sewing, I placed it on the mannequin to see how it looked, and I actually achieved what my client wanted: to cut and join the skirt. Unlike how it was before, it looks good now. Now all that's left is for her to try it on 🤭 and tell me herself how it fits.

A mí parecer se aprecia bien y tiene las medidas del largo que ella quería ,espero te haya gustado mucho a ti también,saludos me despido de ustedes ,hasta otro próximo tutorial de transformación de ropa 👋🏻🥰.
In my opinion, it looks good and has the length she wanted. I hope you liked it too. Greetings, I'll say goodbye until the next clothing transformation tutorial 👋🏻🥰.

¡Hola!...Soy Annie
Una chica que le apasiona el diseño,la costura las manualidades y crear cualquier cosa de mucho uso con mis manos,tengo como hobbie la música ,el maquillarme,la pintura y el dibujo,expresar mis ideas y sentimientos en un dibujo es algo que me gusta hacer,amo la naturaleza,un atardecer ,la playa y disfrutar con mis familiares de los buenos momentos de la vida.❤️
Creando las cosas con amor🌷♥️ | Creating things with love🌷♥️
Images:my own work | Edited by:Canva® and PicsArt © | Translator:Google Translate |Device:TecnoSpark 8C .
