¡Hola amigos de Hive! Espero que se encuentren muy bien y que hayan tenido todos una muy feliz navidad.
💚💚💚💚💚💚💚💚💚💚💚💚💚💚

Hello Hive friends! I hope you are all well and that you all had a very merry Christmas.
💚💚💚💚💚💚💚💚💚💚💚💚💚💚
I know I've been a bit missing lately, but I was in exam finals and in full parties. But today I come with everything to show you my last post for this year 2021. As you can see in the title, I will show you the step by step of my photo roulette. Friends, that is something super simple and cute to decorate your room or simply as a small gift, as you can see, mine is made with photos of my boyfriend and me, which was a gift I gave him at Christmas, and he loved it , now yes, this is what we need.

• Láminas de cartón
• Un exacto
• Regla
• Silicón en barra
• 4 fotos polaroid
• Cartulina plateada efecto espejo
• Palillos de altura
• Foami
• Cartulina corrugada
• Pega en barra
• Cardboard sheets
• An exact
• Rule
• Silicone stick
• 4 polaroid photos
• Silver mirror effect cardboard
• Height chopsticks
• Foami
• Corrugated cardboard
• Stick on stick

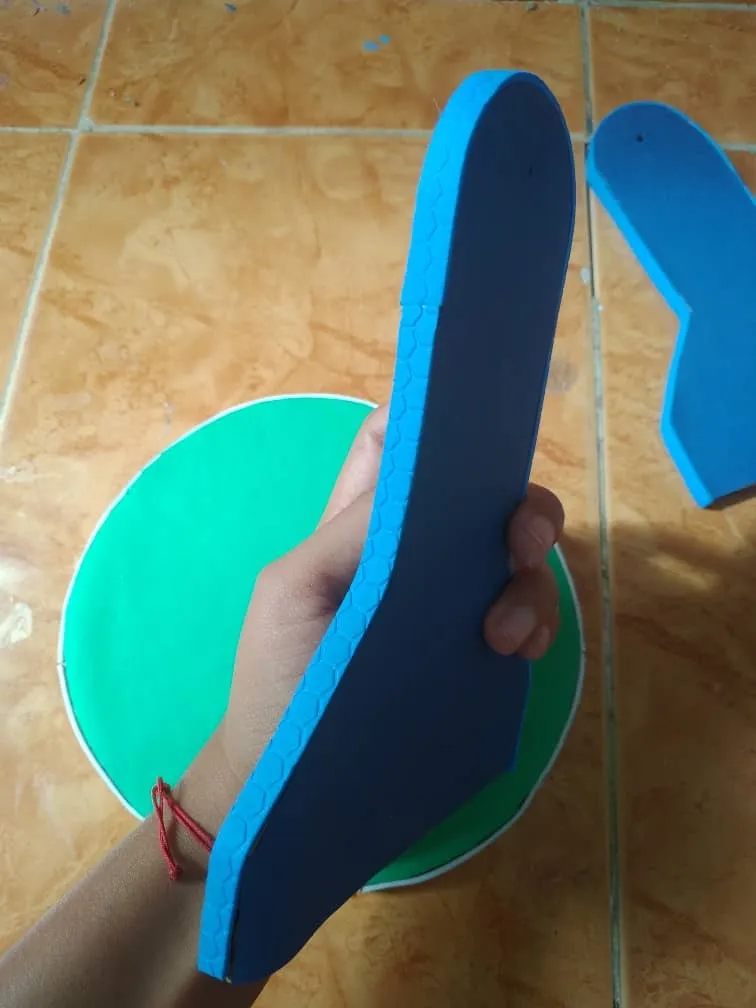
1✨

We take a cardboard sheet, which we will trace the structure of our roulette. In this case, it will be 4 circles of 10 cm, and four pieces of 10 cm long, which have the same shape as in the image.
2✨


With silicone, we glued two circles leaving a hole in the center. We repeat the same procedure with the other pieces. To which we must also make a hole in the center, the purpose of this is that the pieces are firmer for the structure.
3✨


With blue and green construction paper, line all the pieces, until they look like this. And finally, with foami, we make strips of 0.5 cm to stick it on the edge of each piece.
4✨


For the base, we cut a piece of cardboard 15 cm wide and 10 cm long. To cover it, we glue a piece of corrugated cardboard on top and decorate the edges with strips of silver foami.
5✨

For the wheel, we cut 15 cm toothpicks, which we will glue on each side of both pieces, in this way.
6✨


For the photos, on a silver card we mark 12x8 cm squares, cut the same size, and glue one on each card. And then we put it on our wheel.
7✨


Finally, we paste the entire structure, trying not to stick the toothpick in the center with the sides, so that it can turn around.
¡Y listo! Así quedo nuestra ruleta.


And voila! This is our roulette.

This community has opened its doors to me, in which I have been able to express myself and show you a little of what I like so much. So I could not be more grateful to have your support at every step, and I just hope that everyone can spend a happy new year with their families, and that this coming year will be a success, God bless you, and we see in another post .