
Expensive to accept the cheapest quotation.
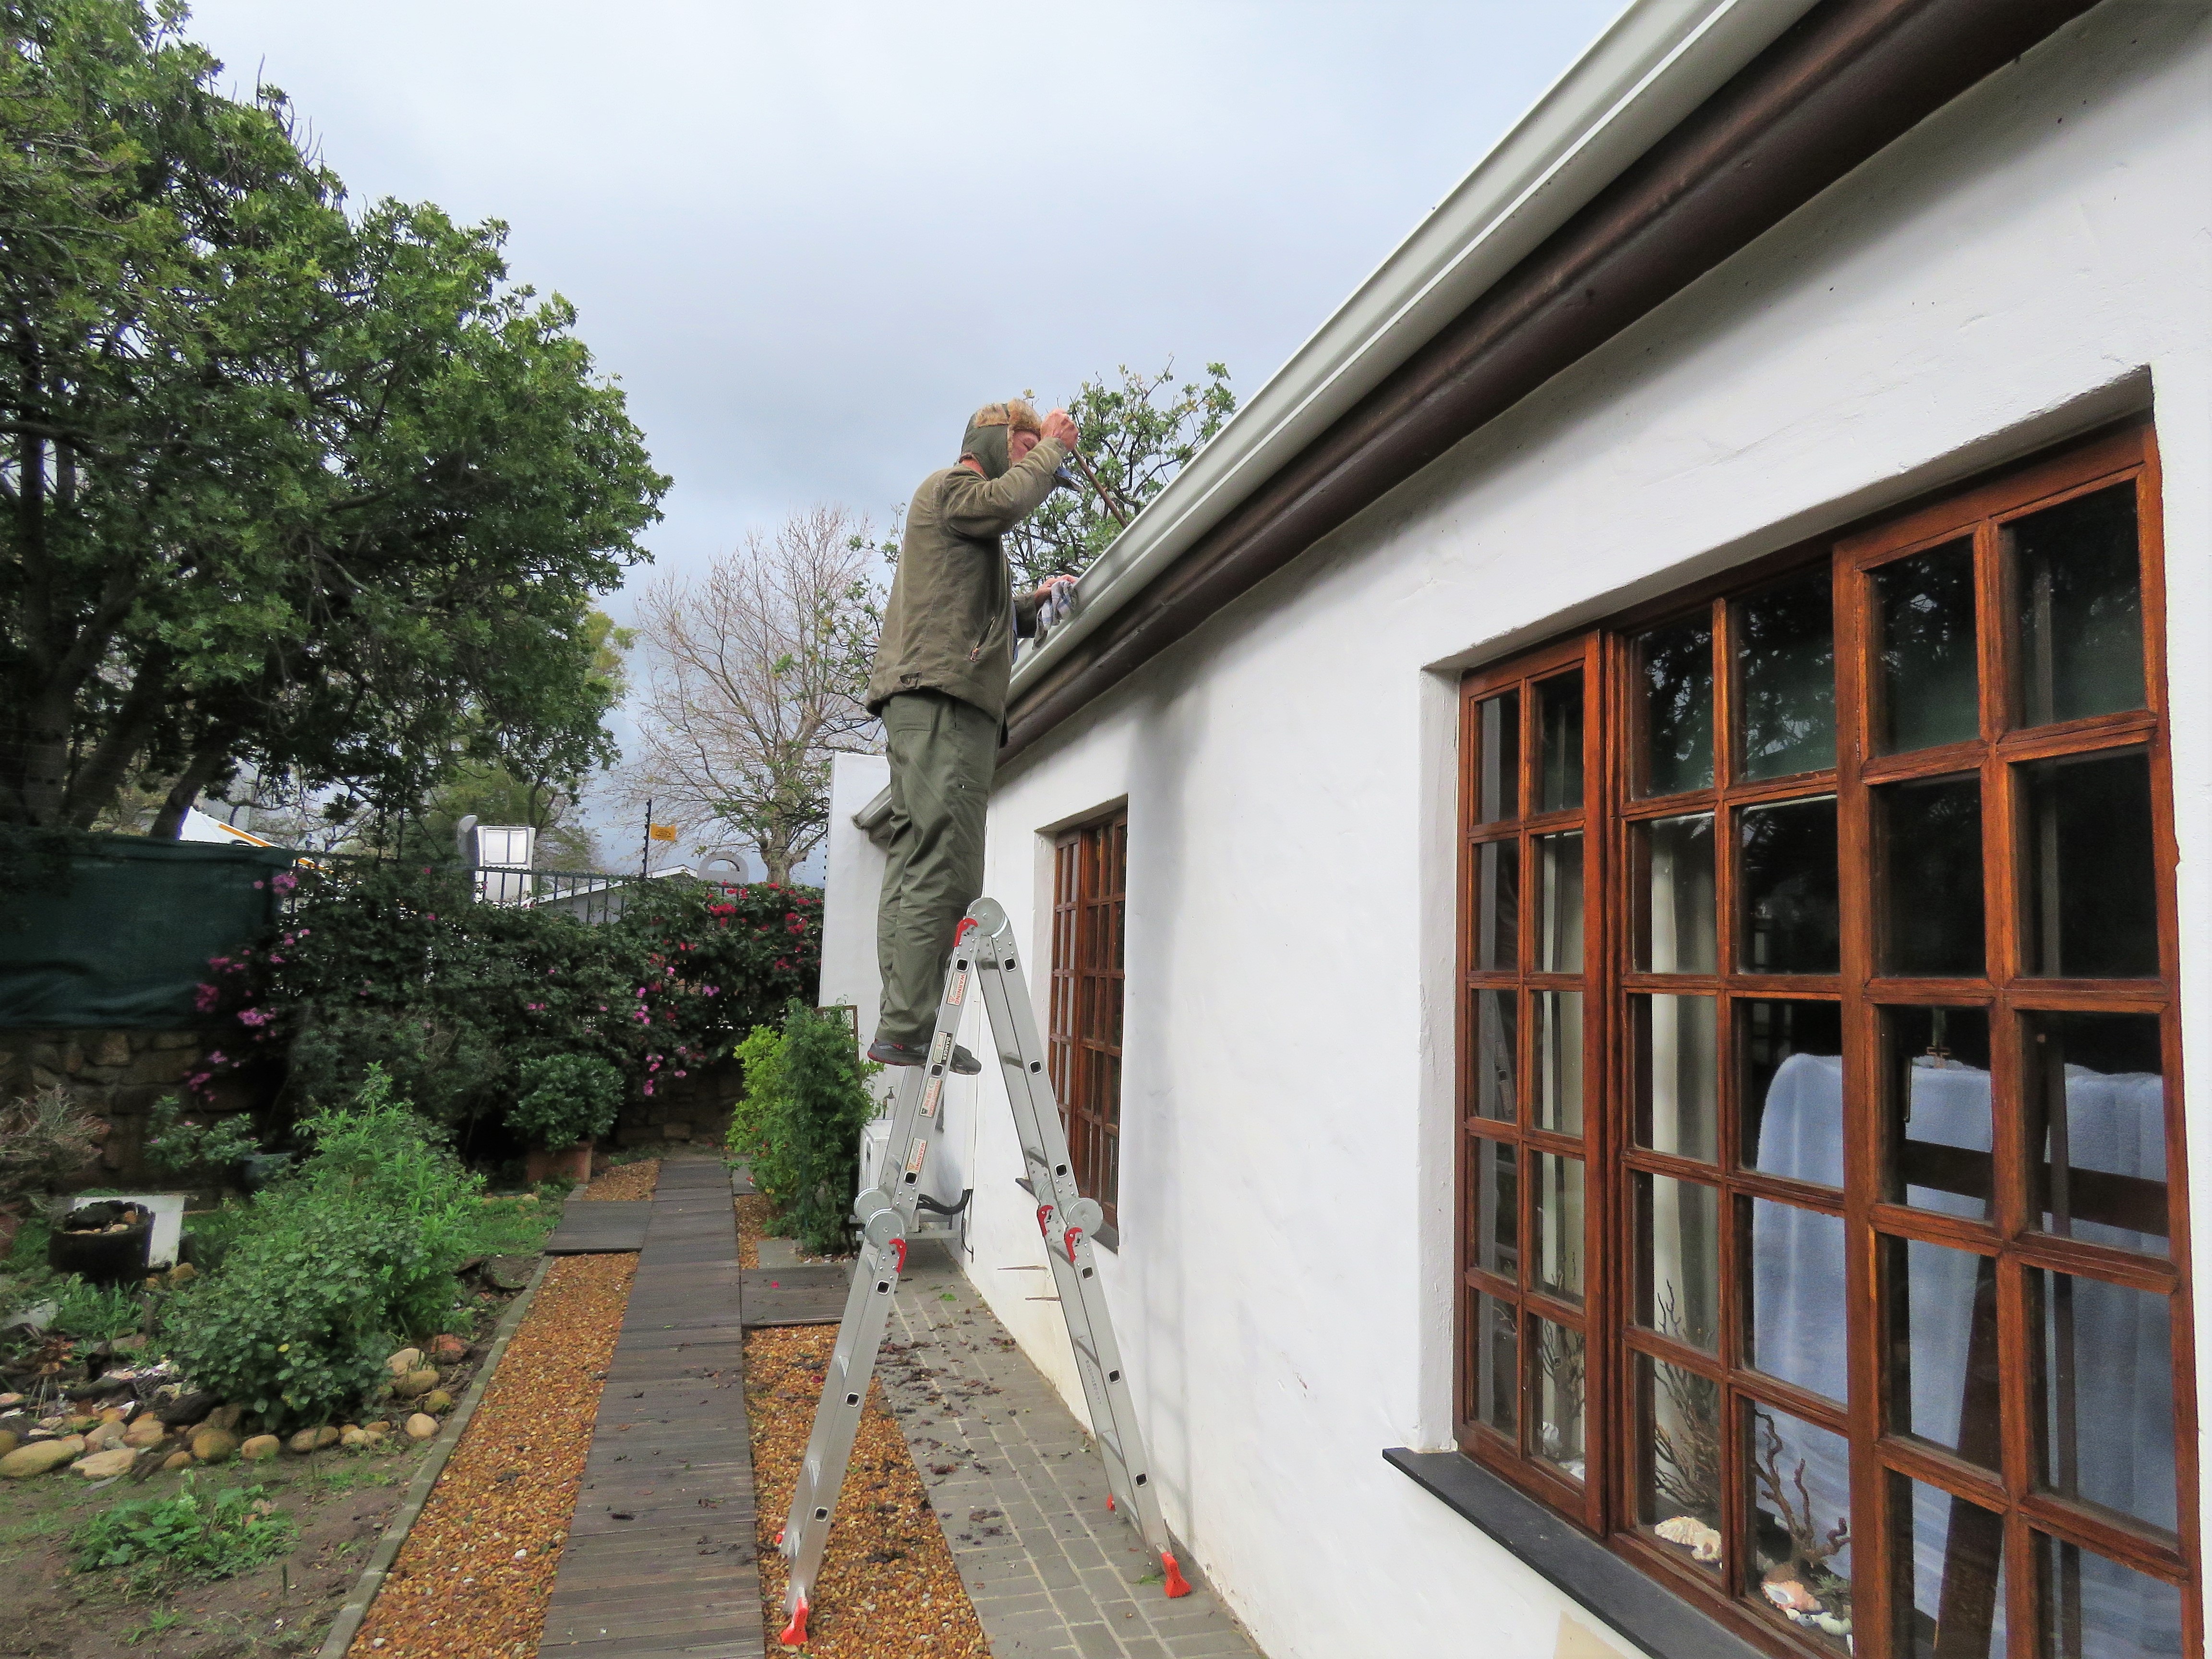
This is how my day started, as last night in the storm our bedroom was swamped with water streaming in from the old window.
We live in a complex of cottages that are managed by a committee and they decided to replace the old gutters with new aluminum gutters.
Unfortunutely the guys that installed the gutters had no idea about waterflow as it needs a slope in a gutter to run to the single (wrong) downpipe.
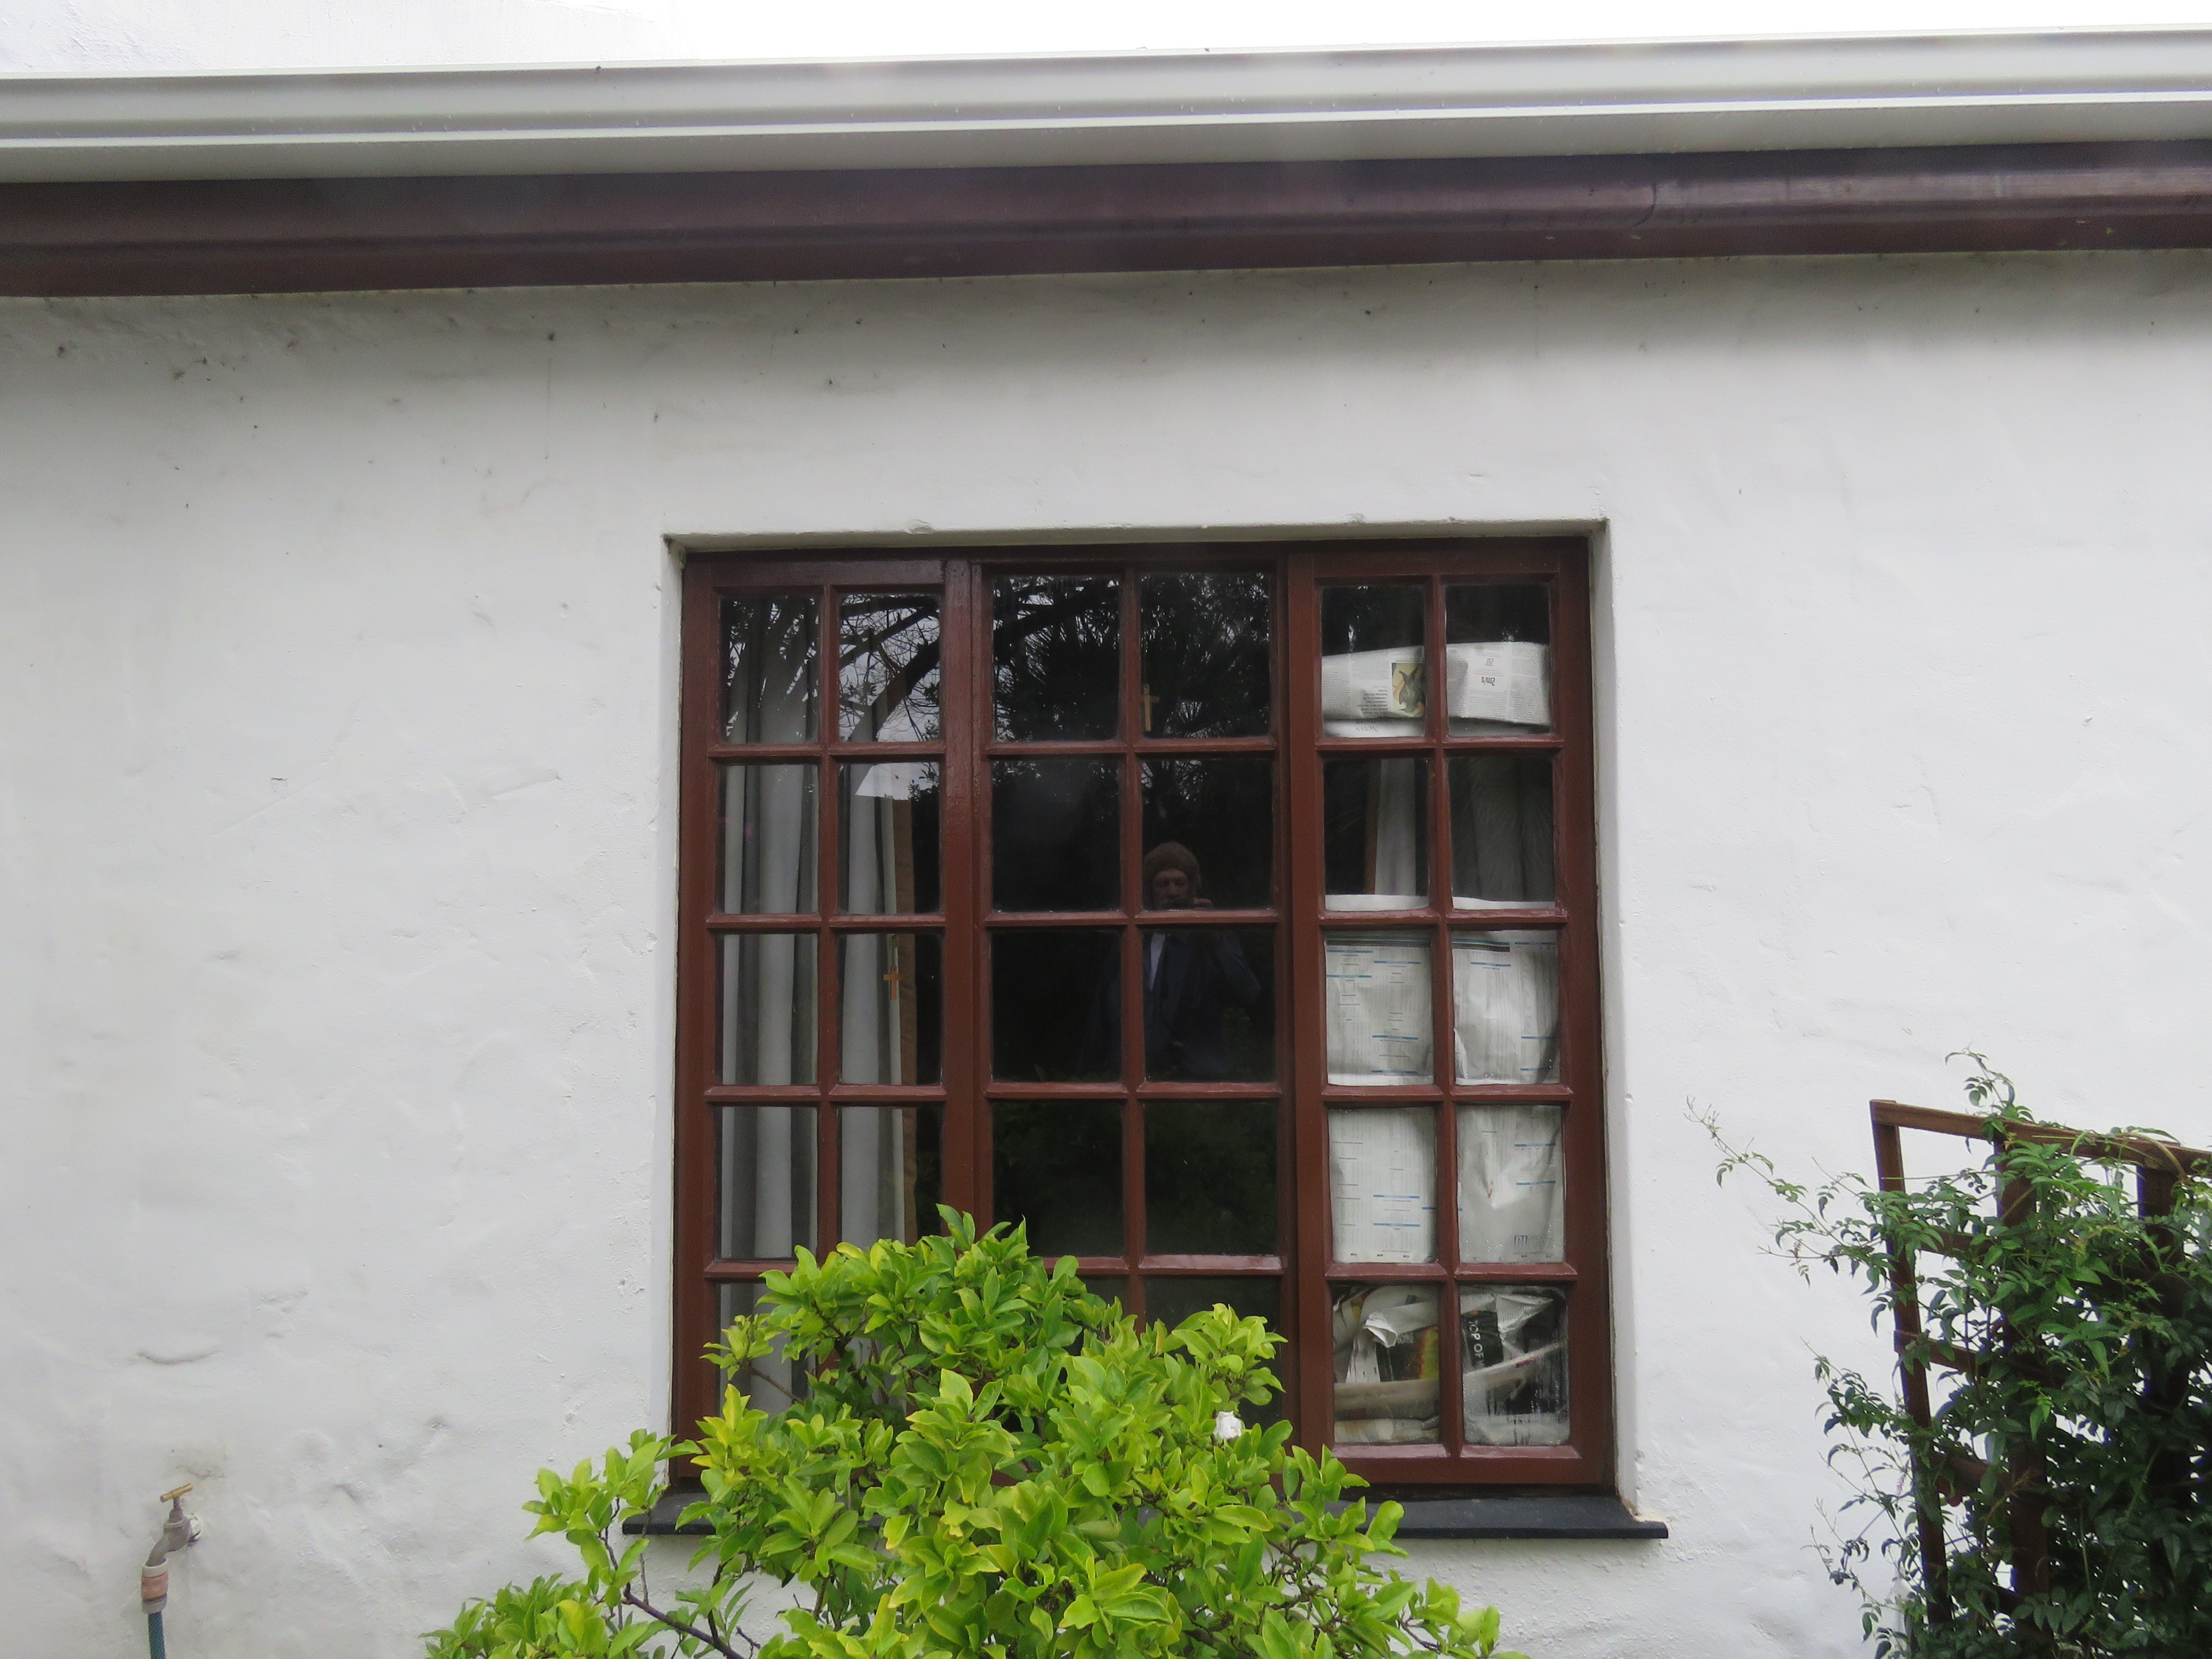
Not too smart to have wads of newspapers in one's window to block the water.
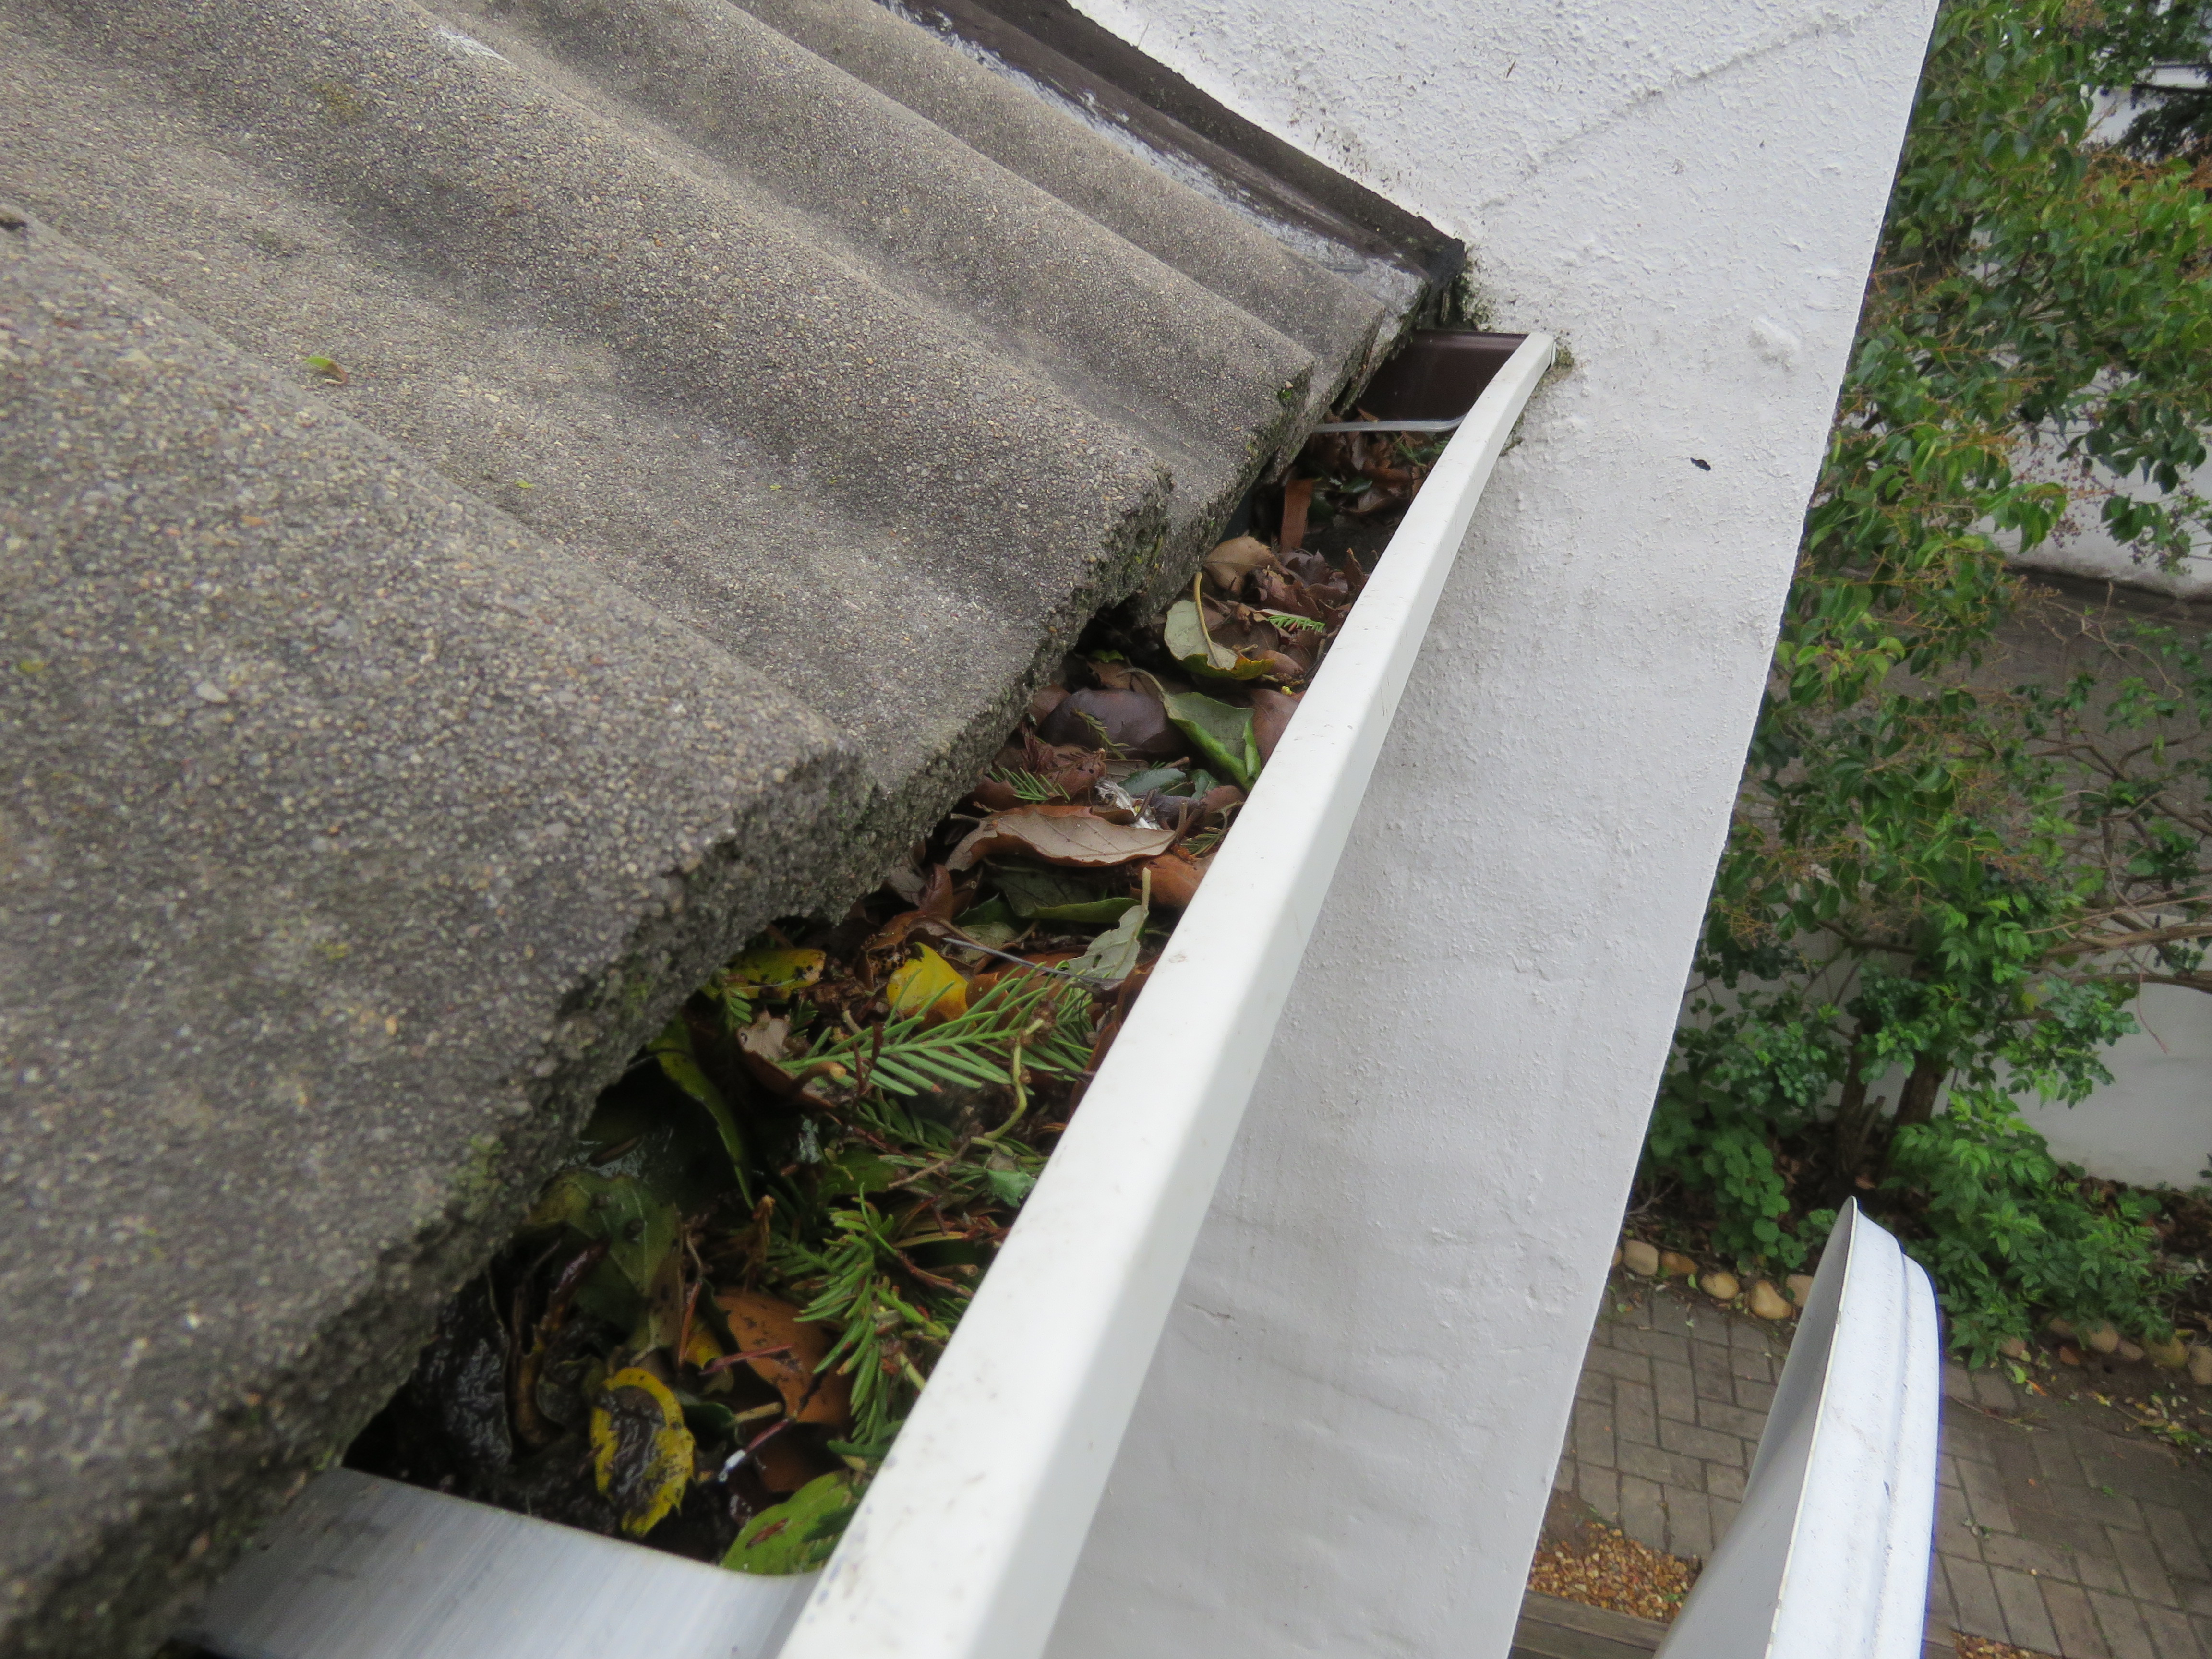
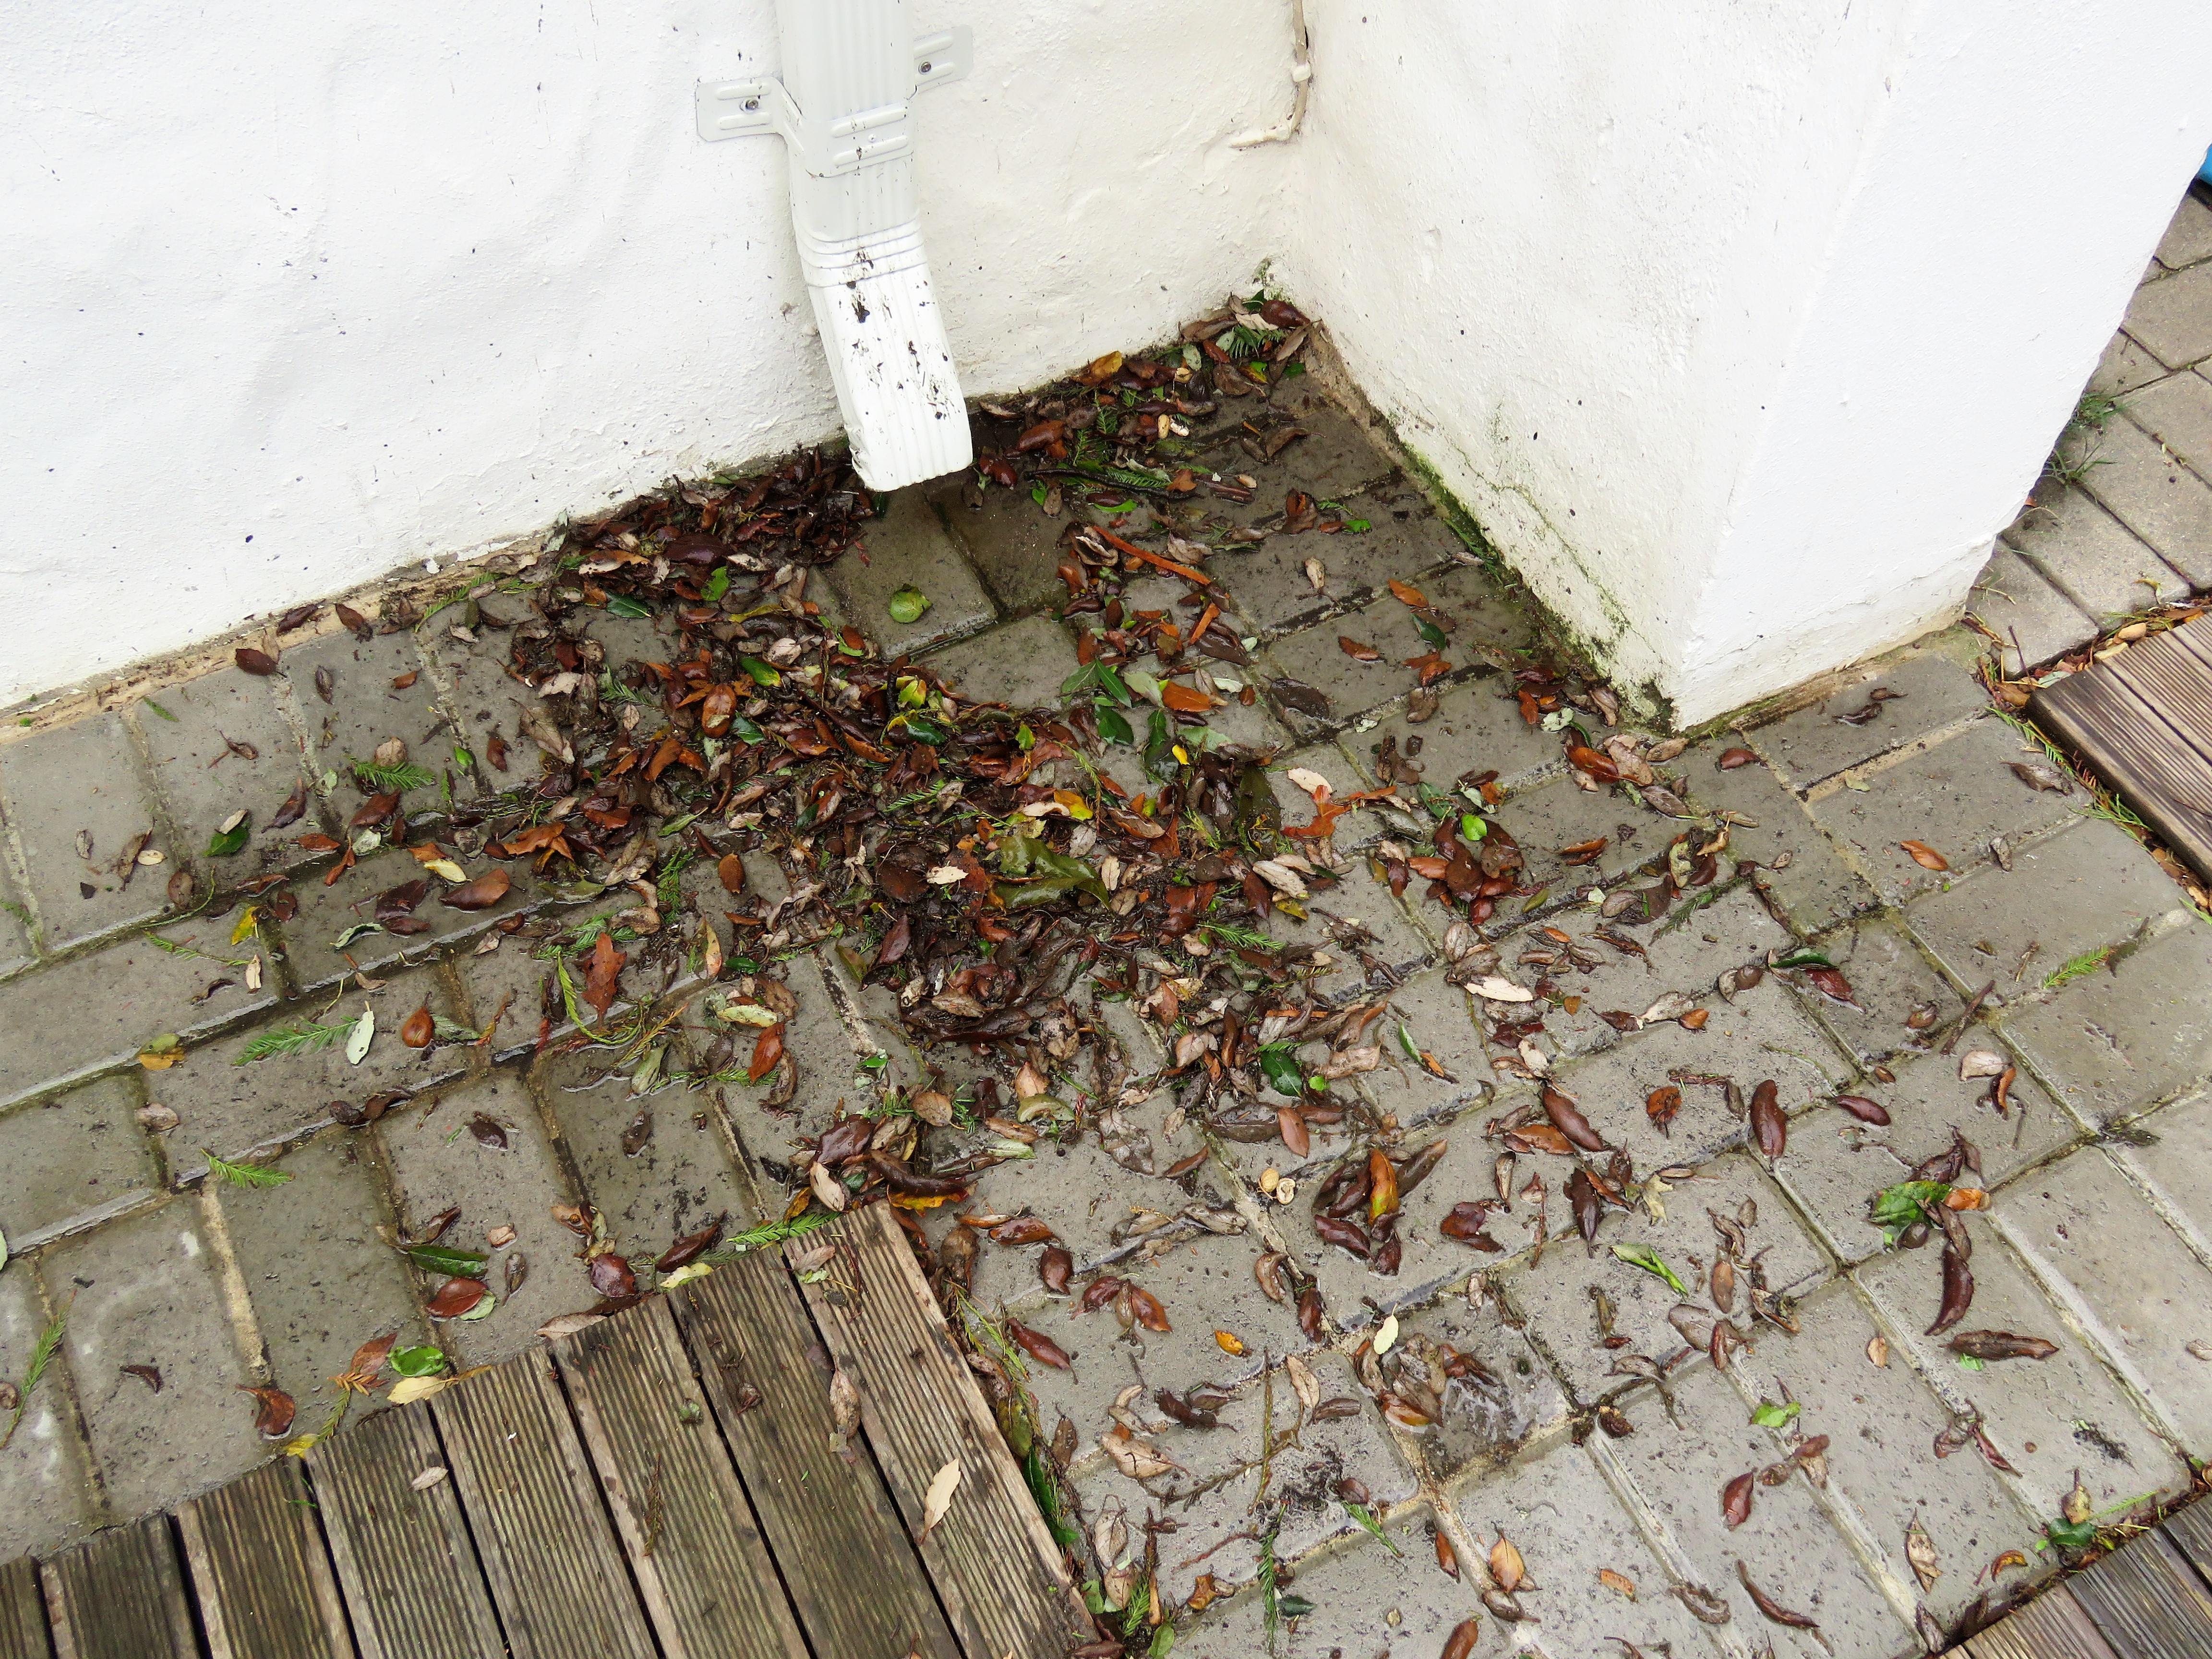
Now have a look at this! The gutter downpipe was blocked for two reasons. The gutter had very little gradient and the little square downpipe was too small.
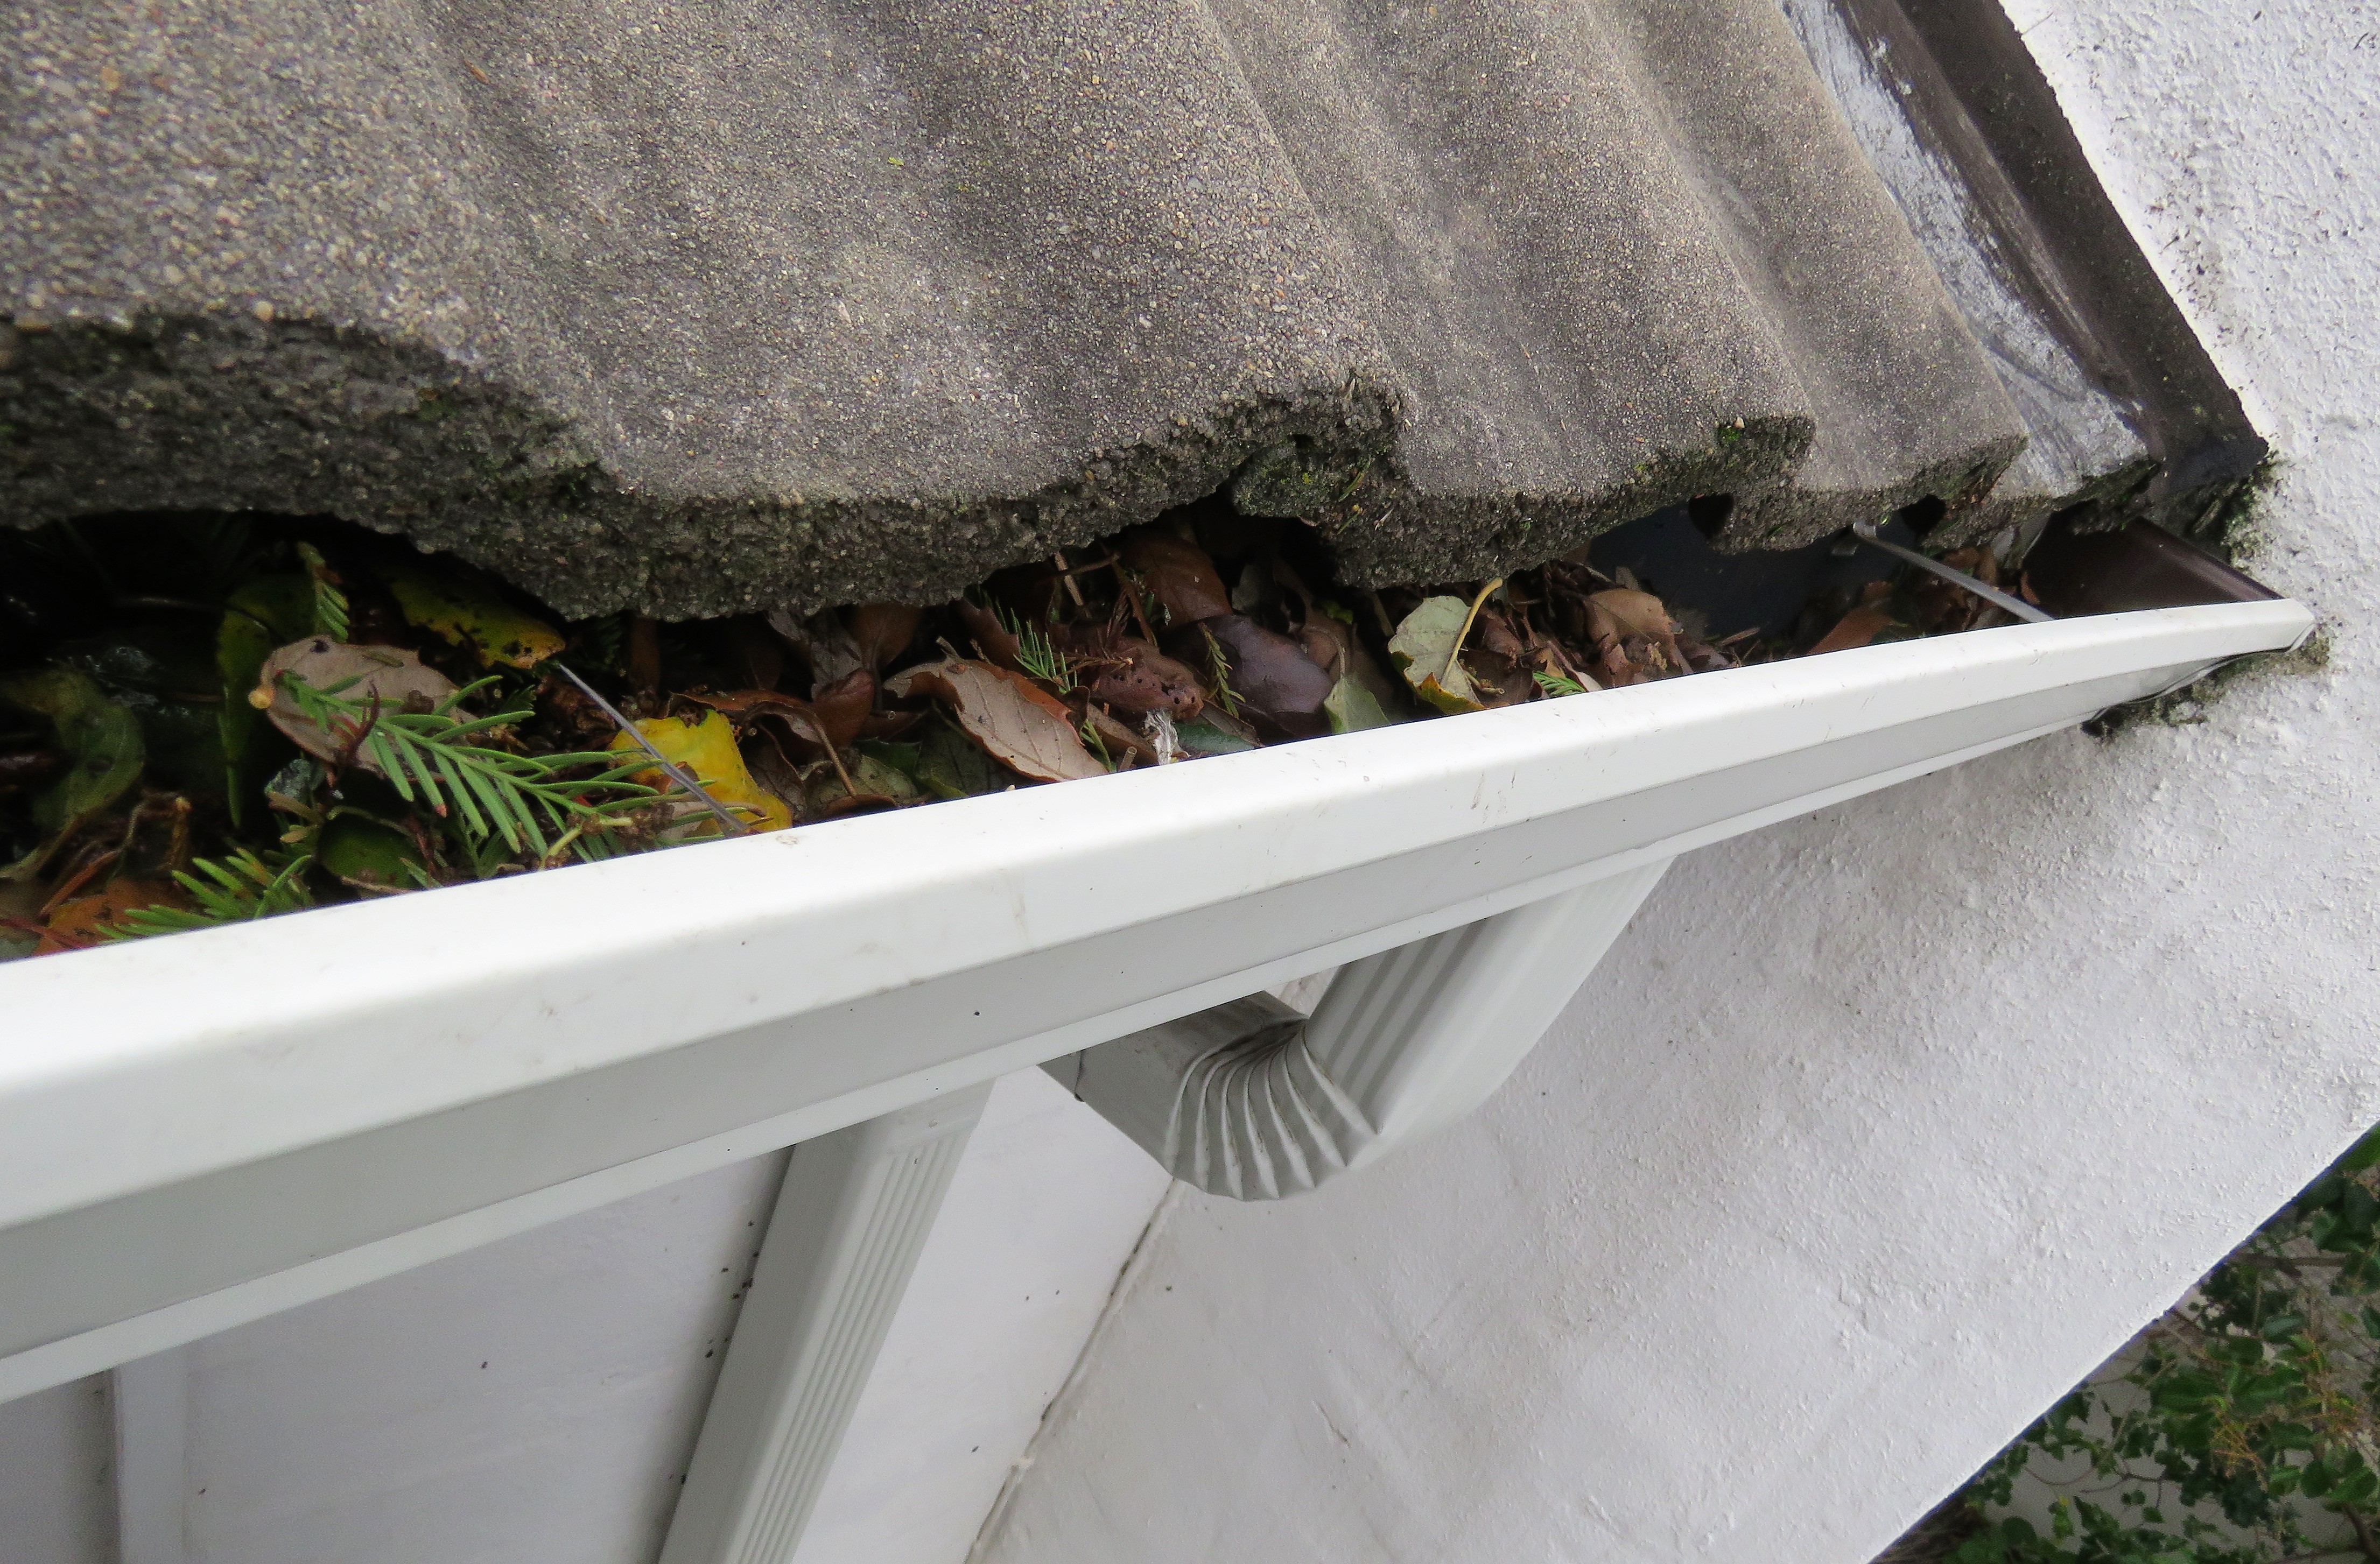
Here's a look at the small downpipe below the gutter. A bigger round downpipe should have been installed here.
Here you can see the result after I cleared the blocked downpipe.
But having cleared it the gutter still had non flowing water in it.
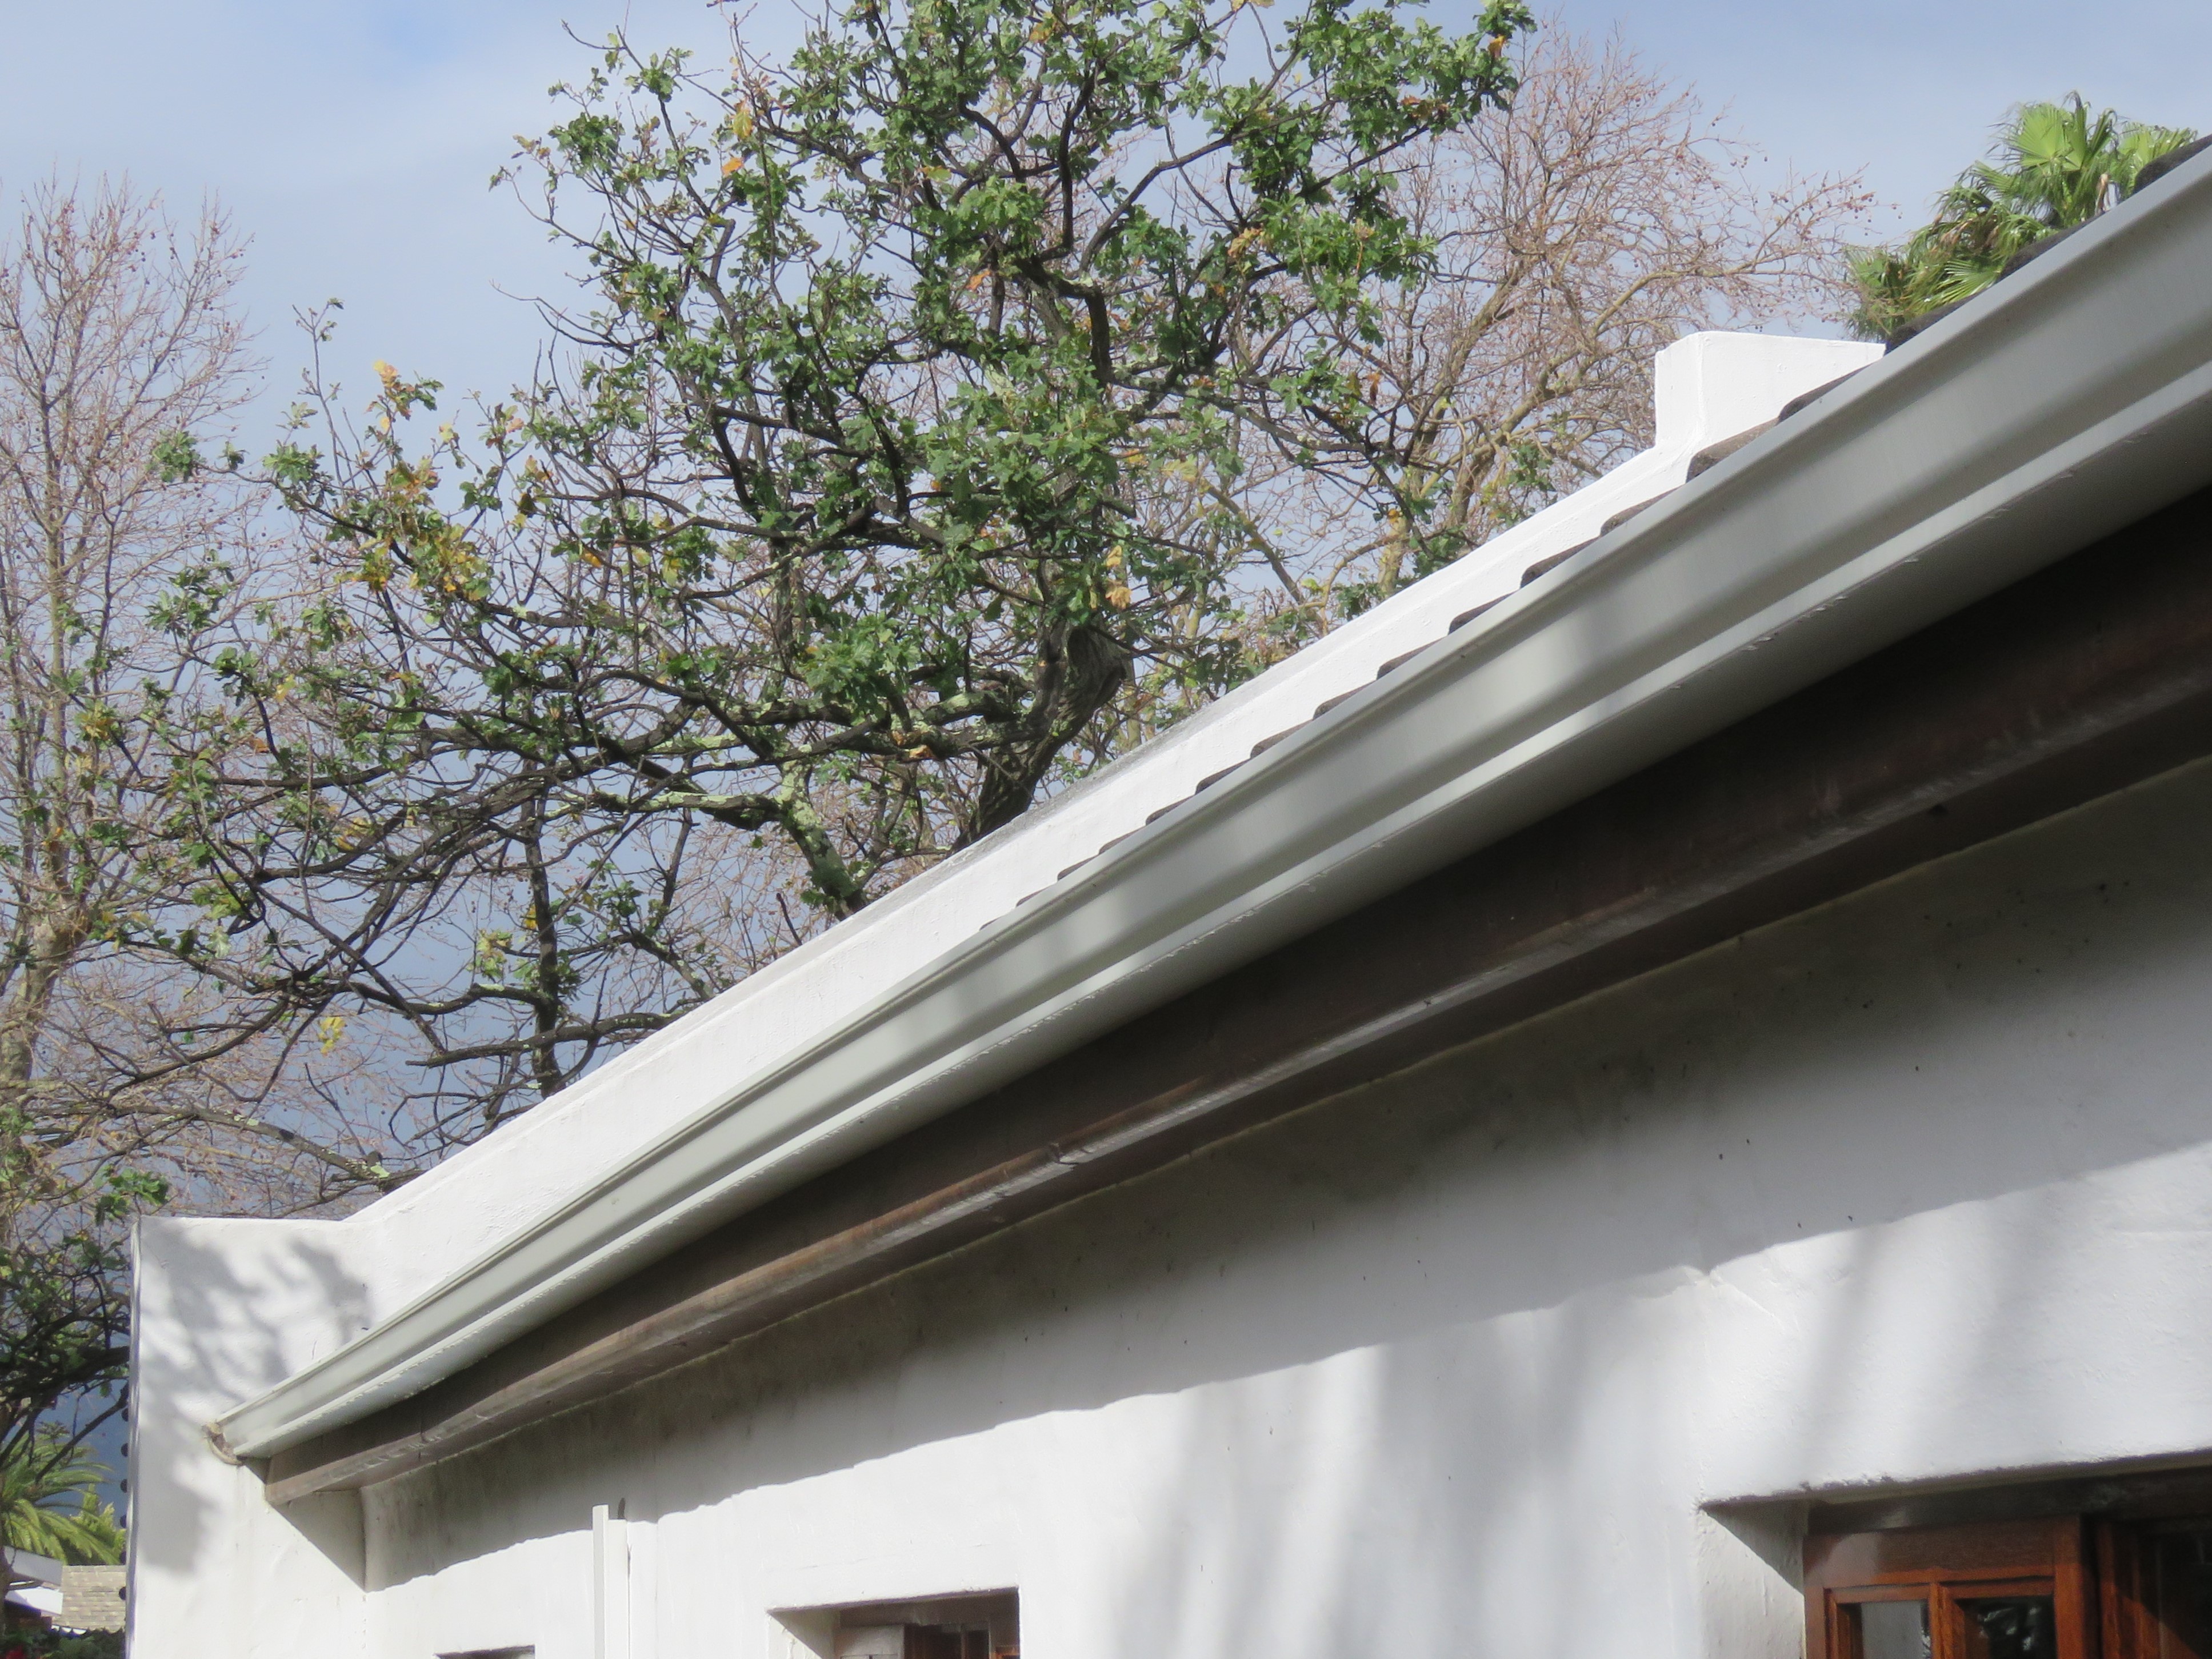
Finally, if you look at the end of the gutter you will see that there is a dip in the gutter line above our window.
Another round downpipe should have been installed at this end.
So now what to do?
Firstly the entire gutter should be removed.
Then a marker chalk line with the proper gradient should be placed on the board for the fixing of the gutter's brackets.
The gutter should then be mounted on the brackets and finally two round downpipes should be installed.
Sounds easy doesn't it? Then I wonder why so many cannot get it right.
Oh, I forget as there is another trick. The brackets for the gutter should be extended so that the gutter is not mounted directly on the board. Only about 50 millimeters of the gutter's inner top rim should be situated under the bottom edge of the roof tiles.
I have tried to keep this post informative and I hope that it can help someone out there.
And That's All Friends.
Photos by Zac Smith-All Rights Reserved.
Camera: Canon Powershot SX60HS
