Tree
Opening the blender, by default already available cube on the screen

To start creating a tree, it must activate the Sapling addons in advance by clicking File >> User Preferences as follows :

In the User Preferences menu view click on Add-ons then click Add Curve, then mark Add Curve: Sapling then click Save User Settings as follows :

delete the cube by pressing Delete on the Keyboard, Then add the tree by pressing Shift + A and then select Curve >> Add Tree as follows :

The tree view is still in curve form and will not be visible when rendered, for it must do some settings

Next on the left handler there is Sapling: Add Tree Settings, this menu serves to form a tree and adjust the shape of the tree, before setting on this menu is completed do not select other objects

Setting the Geometry as follows :

Next select Branch Splitting to do the tree division arrangement as follows :

In Branch Splitting do the following settings :

Next select Branch Growth for setting the addition of tree branch as follows :

In the Branch Growth menu display the following settings :

Next select the Leaves menu to make the leaves on the tree and set the leaves

Setting the Leaves menu as follows :

Next make arrangements for the leaves to move by selecting the Armature menu and do the following settings :

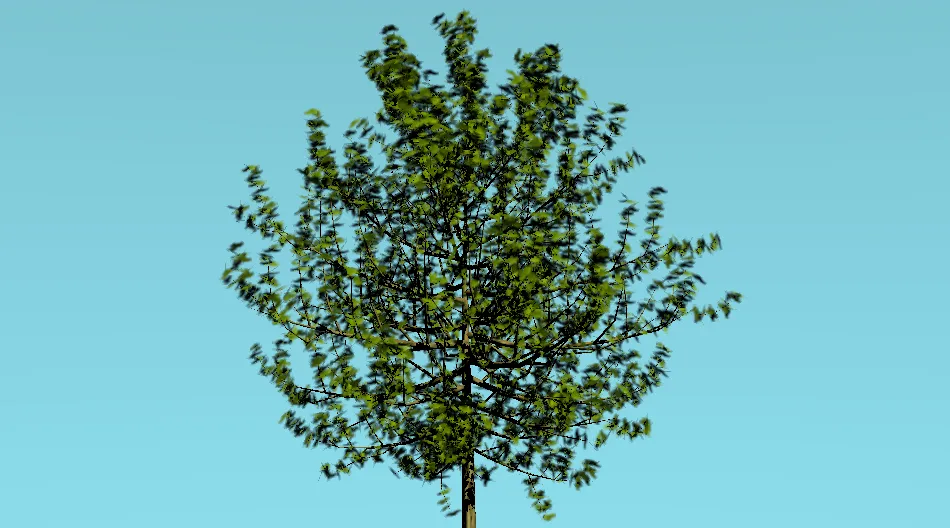
After setting the tree is complete, then the form of trees and leaves on the tree has been seen do save first before proceeding to step texturing by clicking File and select Save

The continuation of this tutorial will be my post on part 2 that discusses texturing the tree to completion
Join @Adsactly Community On Discord Adsactly
Adsactly is a Autonomous Decentralized Society Acting Cooperatively to Leverage You.

Follow Me  (ADSactly ACEH)
I'M TEAM ACEH STEEMIT

Gif creation by
