Haloo guyss. If you guys open this article you guys again find out how to create line art photos using Adobe Photoshop yah? hehe obvious. Well, for those of you who often play with photoshop may already familiar with the tool that will be used, and for the beginner, may have to warm up using the pen tool because here we will play with the pen tool to materialize Line Art hope we wkwk,
Yukss started, here are the steps:
- Open any Adobe Photoshop CS App, but here I use Adobe Photoshop CC
- Import atau drag gambar yang ingin dijadikan line art
- Duplicate the image (ctrl + j) and create 2 new layers, layer 1 with white and layer 2 blank. position as in the picture
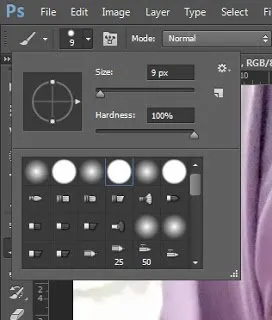
- Click Brush Tool then make sure choose brush number 4, then set the size as you wish
- Click Pen Tool
- Start marking or create a mask in the desired area, then right-click the path-brush stroke, it will appear as below, then click ok
- Then right click on the created path and click delete path to remove the mask. and it will look like this
- Then create the path with the pen tool again in the eye area and right-click the stroke path / subpath again
- For eyeballs can use Eliptical Marque Tool, and use Paint Bucket Tool to color
- Do the same process on all areas by using Pen Tool and Marque Tool as described. So that the whole section will have a solid line that is depicted on the photo
- Then Hide or Remove the eye icon on the duplicate image


Well finished already tutorialnya friends. Hopefully useful and successful to realize Line Art that you want hehe. All of me and thank you