Hello steemains!
Today, I brought a new drawing which I have been working on for a couple of weeks. It's a portrait pen drawing.

I will be describing how I made this piece from start (blank sheet) to finish.
Description/ Development Process
- Step 1
The portrait was started by using a plain sheet and marshalling out a line of 12 by 16 inches.
- Step 2
I sketched out my model using a graphite pencil. This kind of pencil does not require the use of sharpener or razor. Here, the model must be well sketched or else it will disrupt the whole work during shading and the resemblance of the model might not be obtained again.

- Step 3
Here, I started out by working on my model's hair. I used scribbles to create curvy hairs. Always start out with light scribbles and thereafter used darker tones.

- Step 4
The Forehead: This stage is where much concentration is demanded. Here, you don't need to rush the work. Just shade gradually from left to right. In this work, I used hatching to create my forms. Initially I started with light tones and I overlayed it with several other strokes to create a smooth texture. For the wrinkled face, I applied high tones on the deep area, light tones on the lighter part and blend the mm together with light shading to build my form.

- Step 5
The eyes, ear, nose and chin are created just like the previous step. The understanding of the high light, mid tone and shadow will really help for building of forms and the creation of a good piece of art. For the chin, I started out by making light tones onon the deep part (shadow) and overlay it with more tones as I move towards the right side with mid tones and then the high light. The straight line was obtained by placing a piece of paper on drawing in the area which you don't want the shading and forms to appear.
- Step 6
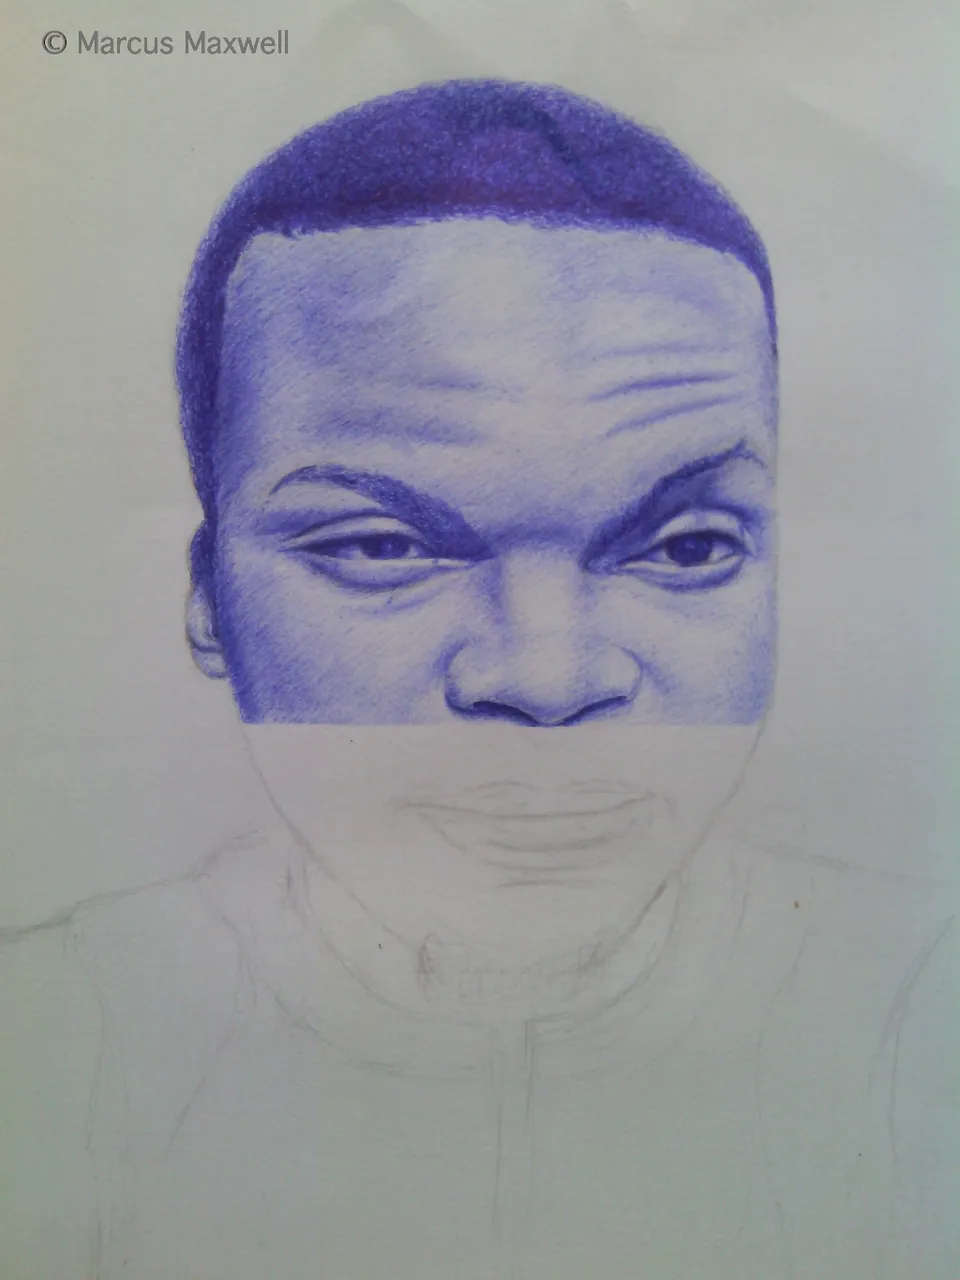
Here, the full face of the model is achieved. To make the nose to stand out, shade the underneath of the nose with high tone until it appears like a shadow. Basically, every other aspect of the work followed the same principles of light and shade.

- Step 7
The neck and the shade. I used deep shade on the neck to create a form which makes the chin and his beard to stand out. The clothing usually take much of time because of the numerous designs on the cloth. But as artists, patience is our watch word and one of the keys to achieving whatever we want to achieve. Just follow the designs on the cloth by making some strokes on the areas where there are curves and signs.

- Step 8
Here's the complete part of the cloth and the full face. It was time consuming and stressful but what matters is the end result. That's what keeps us doing - so don't give up when you encounter this, just take a break and come back again. Never give up.

- Step 9
Background building: At the previous stage, you might wanna leave it like that but to add more beauty to the work, creating of background is required. Here, I started out from the down left to build my background with black pen.

- Step 10
Work your way up to complete the left side. Remember, the sheep of paper was also used to demarcate the parts and create straight line.

- Step 11
Next, I switched to the other side - top right - to continue the journey.
- Step 12
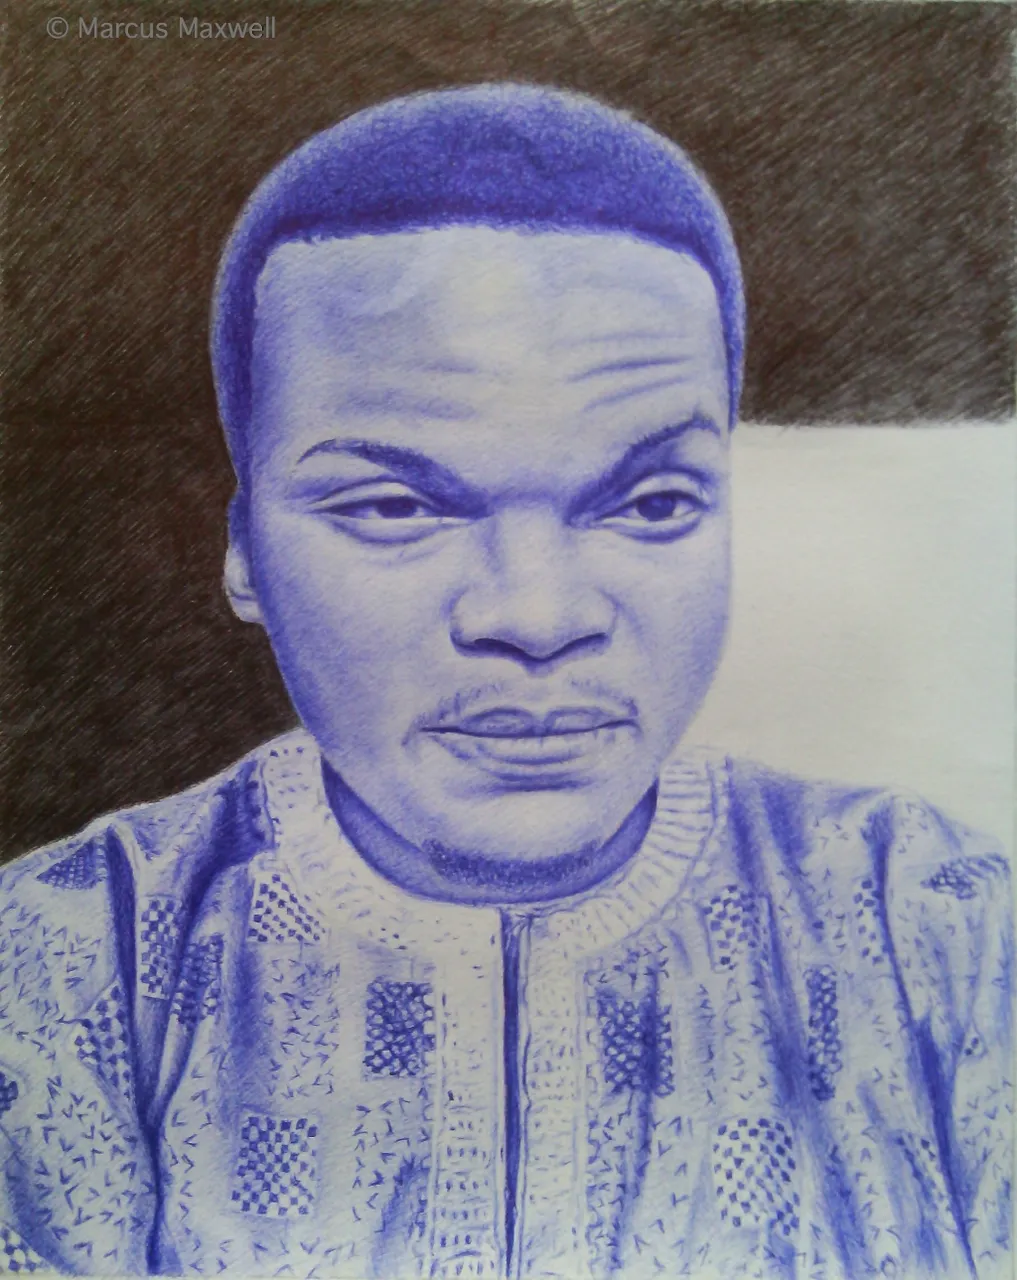
Finally I rounded up the work by covering the remaining part. I would have gone for different designs for the background but since the cloth has designs already I opted for a plain dark background in order to bring out the face of the model and create more focus on the work instead of the background. This will also prevent it from disrupting the beauty of the cloth.
final piece
final piece on frame
