Part 3: Solar power project step 3, circuit designs for charging / power out switch for continuous(ish) use, and new batteries
Part 2: Solar power project step 2, battery test with inverter
Part 1: initial purchase and testing
Before I go on I wanted to test out the "brain" of the project which will make it smart and connected to apps and so on. For this I chose a microcontroller that I've tried before to great success, a Particle Photon.

The Photon is a WiFi connected microcontroller, very similar to the famous Arduino. That means that it works at 3.3v (Arduinos also come in 5v but not the Photon), has multiple input / output pins, including some built in pull up / down resistors, and specialised data line pins.
However the thing that differentiates it from the competition in Arduino, Teensy and so on, is that it is WiFi enabled and integrated with Particle's cloud service out of the box. You can set it up just using their Android or iOS app within a couple of minutes and tinker with it using the default firmware binary called ... Tinker! It listens to cloud commands to turn pins on or off, or listen to them for input.
They also seem like a really great company in general. Watch their slightly awkward ad for this their new mesh networking microcontroller project (which I'm very excited about too incidently):

The self powered brain
My hope is that I can use a LiPoly battery, a small 4W solar panel and a charging regulator with the Photon to allow it to be completely self powered. I imagine that as a back up or boost power it can be powered and charge off the bigger lead acid batteries too, but as far as possible off the sun, just like the rest of the solar charging system.


I wrote a simple program from the Photon device firmware that recorded the battery value every 5 minutes to see how the charge was going, and also to check it for power usage, as by default it is in regular contact with the Particle cloud network via WiFi which obviously takes non-trivial amounts of power.
It charged very well, if quite slowly, so I was happy with the results. I also left it on overnight. It did get right down to about 5% battery, and then level and start rising in the morning. That was only because it sunny which was lucky, but it's good to know that it will drain fast in the night.
There are a lot of things I can do to reduce power consumption, but turning off cloud connectivity sometimes, or idling it, etc. so there's a lot of scope for optimisation. The firmware libraries and APIs are very flexible and I'm looking forward to diving into them further.
Other work in preparation for system building.
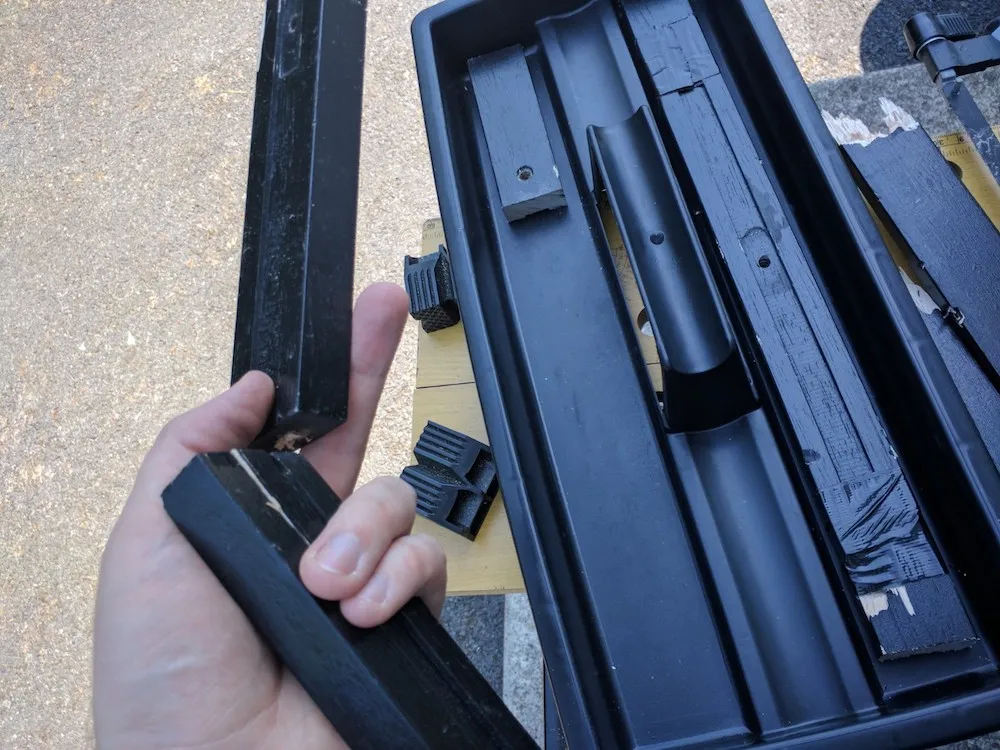
I also filled in a gap in the tool box top casing using some wood I had lying around. The colours happened to match so it wouldn't look too weird. The grooves are their for screws and nails and things, but I'd prefer for the surface to be as level as possible.
By my guess I'm going to need a good amount of cable, and unlike the diagrams I made I need them to be coloured our I'm going to get really confused. Best thing for it was to recycle as much power cable as I could from things I'm throwing out anyway. I also had to sacrifice an extension board cable, but that's ok, I have several of them, and I can always rebuild it.

Next, to build
I'm really going to build it next time, I have the stuff prepared and it's just a case of wiring it. It will take a lot of fiddly work but it will be worth it.