Hello, people! Welcome to my blog!
I'm finally getting around to writing another post about the building of the body for my 4 string mini guitar, also known as a baritone ukulele. My last post on this subject was about a month ago. You can read that here.
@amberyooper/building-a-guitar-body-part-7
In the last post, I talked about mounting the bridge pieces and putting strings on the guitar. I ended up moving the strings a bit closer together on the neck to make it easier to play, and that seems to have worked out pretty well. The bridge pieces still need minor adjustments for intonation, but it's close, and I haven't been motivated to finish that process.
The next thing to do on the guitar was to make a cover plate for the volume and tone control cavity so that I could mount the controls and finish the wiring. I started by using a piece of paperboard to make a template for the shape of the cover plate. I marked the locations of the various holes on the template so that I could transfer them to the actual cover plate after I cut it out.

You can see how the cover plate will fit on the guitar body, more or less, once it's been made. I test fit the control pots on the template to make sure they would fit properly.

I used the template as a guide to cut a cover plate from a piece of pickguard material that I've had for a long time. After cutting out the piece and smoothing out the edges to finish shaping it, I drilled the holes in it with a drill, using a piece of 2X4 as a backstop for the drill bits. The 4 holes for the screws were simple enough to drill, but the larger holes for the shafts of the controls were a bit more complex. I used several different bits to drill the hole larger in steps instead of just using a big bit and risk breaking the coverplate. I probably could have used my step drill to do the entire thing, but I didn't think of that until after I was done. Then I test fitted the coverplate with the controls mounted. I used the screw holes in the coverplate to mark the locations of the holes in the body, and then drilled those holes with a drill bit of the proper size for a good fit of the screws. I used #4 stainless steel sheet metal screws to hold the coverplate on.

After deciding that the fit was good, I decided to finish the wiring for the controls. I used the vintage tone control wiring instead of the modern style of wiring.

Here's the coverplate mounted, and the knobs attached to the controls. I'm not sure if I'm going to keep the black knobs on the guitar yet, but I already had them, so I'm using them for now.

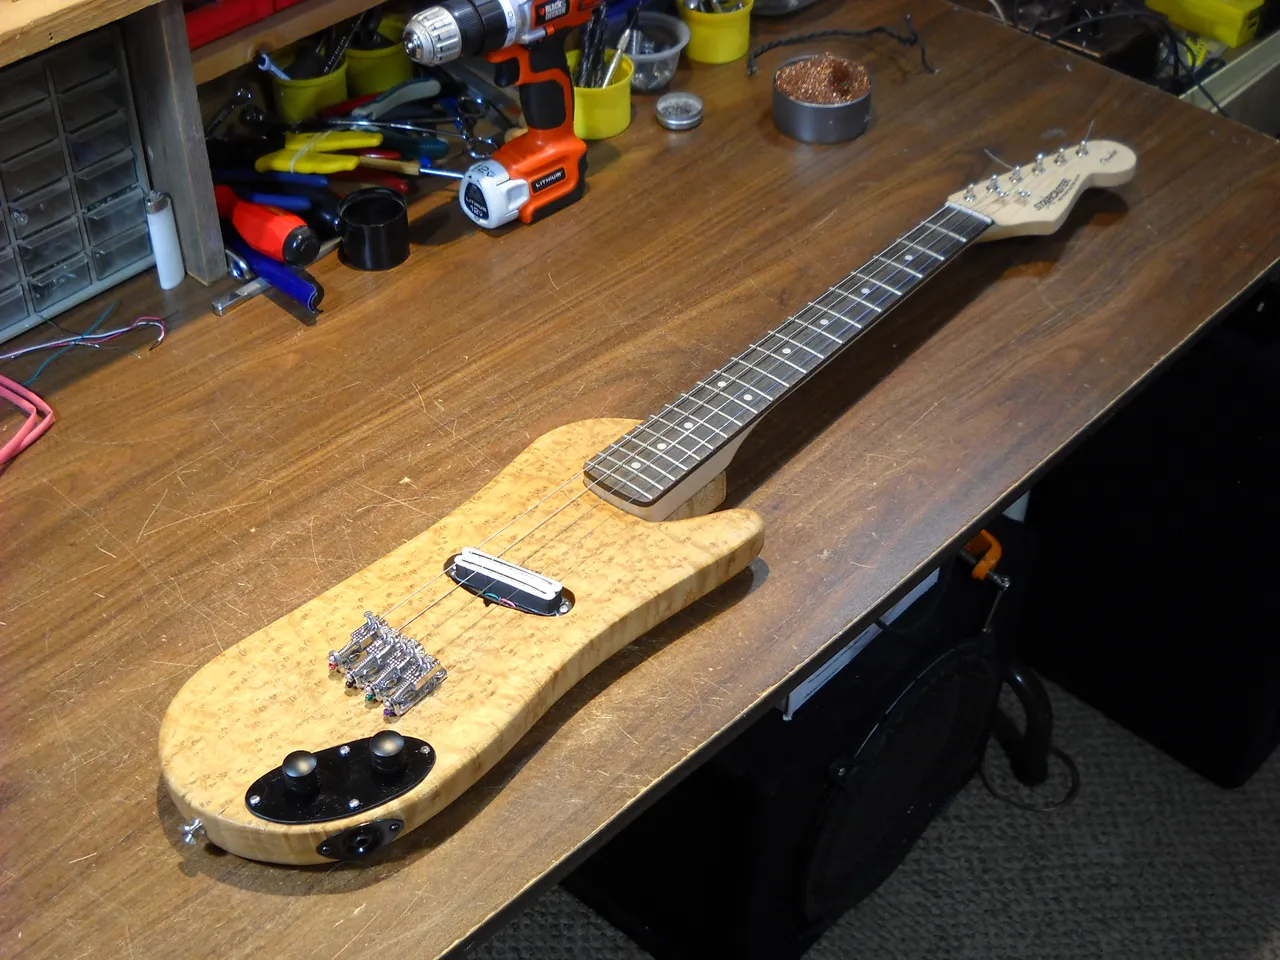
Here's a look at the entire guitar, as best I can photograph it with my camera.
After a bit of testing, I've found a couple of things that I would like to change. The controls that I used for this were a pair of used ones that I've had for a long time, long enough that I have no idea what I got them from. The tone control is erratic and needs to be replaced. Also, I'm going to change the tone capacitor to a different value to see if I can get a different kind of treble reduction than what I get from the capacitor that's on the tone control now. Other than that, it seems to sound pretty good. The pickup is not very strong, but it works nicely and isn't noisy like a single coil would be.
I've thought about putting a full size humbucker in the guitar, but that would require making the slot in the body large enough to fit the pickup into. That's a project for another time. I would like to eventually make a coverplate for the pickup slot, just to dress it up a bit. I might experiment with using a thin piece of wood for that, but I have to find just the right piece of wood. For now, it's quite usable as it is.
That's all I have for this post, thanks for stopping by to check it out!
