Hello, beautiful members of this prestigious community.
It's a delight to start a new week and I wish you all a fruitful week.
I want to share with you a work I did over the weekend, yeah the same fabrics from another client but a different style this time.
Lately, the latest kimono style has been trending and so, this fabric was a perfect fabric for the style.
Crepe silk it is!!!
I worked with crepe and satin.
The colorful fabric is crepe.

And this black is satin.
I needed the satin to enhance the front of the kimono and some other materials used were;
stones
hem gum
thread
bias

I proceeded to cut the crepe fabric, by transferring the measurement of my client to the fabrics, this crepe was about 2yards and so rather than folding it into four, I folded it into two so that it comes out well, even though the fabric is small.

After cutting the front and back bodice, I deducted about 3 inches from the front, and the back doesn't have any zipper allowance.
The front neckline was in the form of a bee neckline which I extended downwards.
Then I cut the sleeve in a straight form, not like the regular way.
I planned to use black to enhance the sleeve and the front bodice.

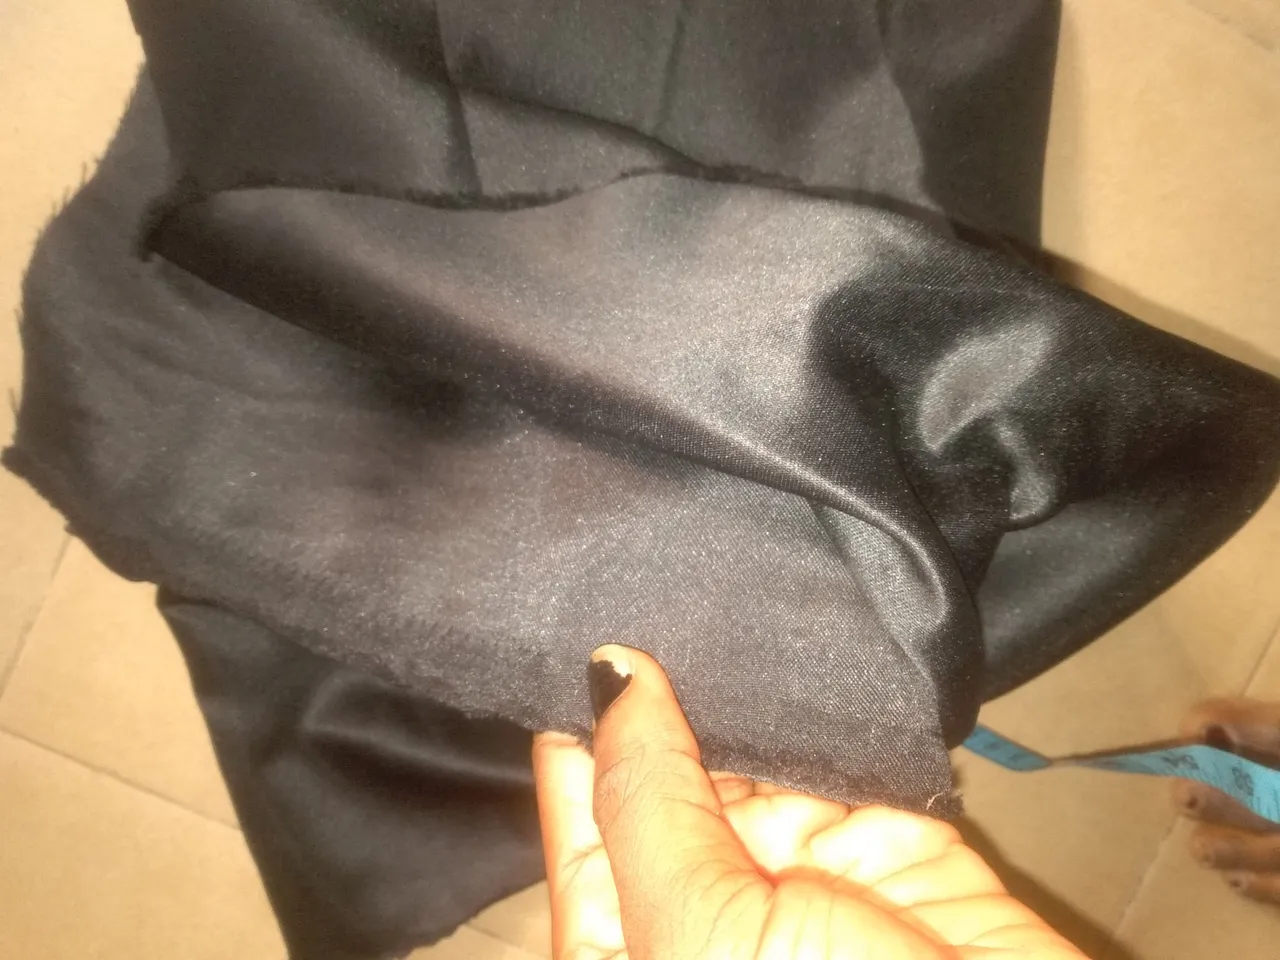
Here is the picture of the black satin, this was folded into 5 inches width, by 16 inches length.
I divided it into two, which I would attach to the sleeve.

And this satin is to be cut into 80inches black satin which will form a band/cape at the front neckline downwards.
To achieve this, one needs to measure the neckline from the back (nape) round and then the front downwards.
Working with crepe and satin is stress-free.
And this style does not consume time at all.

Moving to my sewing machine, I joined shoulder to shoulder and attached the sleeve and then I attached the black satin to the sleeves.
I also attached the black satin to the front of the kimono jacket.
And then, I cut about 12 inches depth of black satin by 10 inches in width to make a pocket which is seen in this picture.

I proceeded to attach the pockets to the sides of my seams.
After joining, I ensured to give it a good press.
Then, I had to use stones to design the front after joining a few inches of the cape together.
I formed a beautiful design with the stones and the outcome was really beautiful.
I used hem gun to secure the down, so it comes out very neatly.
Here is what it looks like.

Here is the up-close view, I hope you like it.

Thanks for your time on my blog.
All images used are mine, cut and sewn by me.