

Buenas noches apreciados amigos de #needleworkmonday me alegraría saber que están pasando una maravillosa noche en compañía de sus familiares.
Good evening, dear #needleworkmonday friends! I'd love to hear that you're having a wonderful evening with your family.
Today I finished this beautiful dress design for a client, I really liked the dress model, for the skirt the design she chose was very simple and highlights the figure, in this case I cut a half bell skirt for the design of the bust part I made cuts both in the front and back waist, I cut the sleeves short because that is the model she showed me with some fake pockets, well actually some pocket flaps that also make the design something elegant in the front✨💙
I hope you enjoy this tutorial. Here I show you the simple process of how you can make a dress with a half-bell cut and a beautiful design. Let's get to the materials!

Materiales:// Materials:
- 1.50 cm de tela Beverly
- Hilo
- Máquina de coser
- Tijeras
- 1.50 cm of Beverly fabric
- Thread
- Sewing machine
- Scissors
Pasos a seguir://Steps to follow:


Paso 01
Step 01
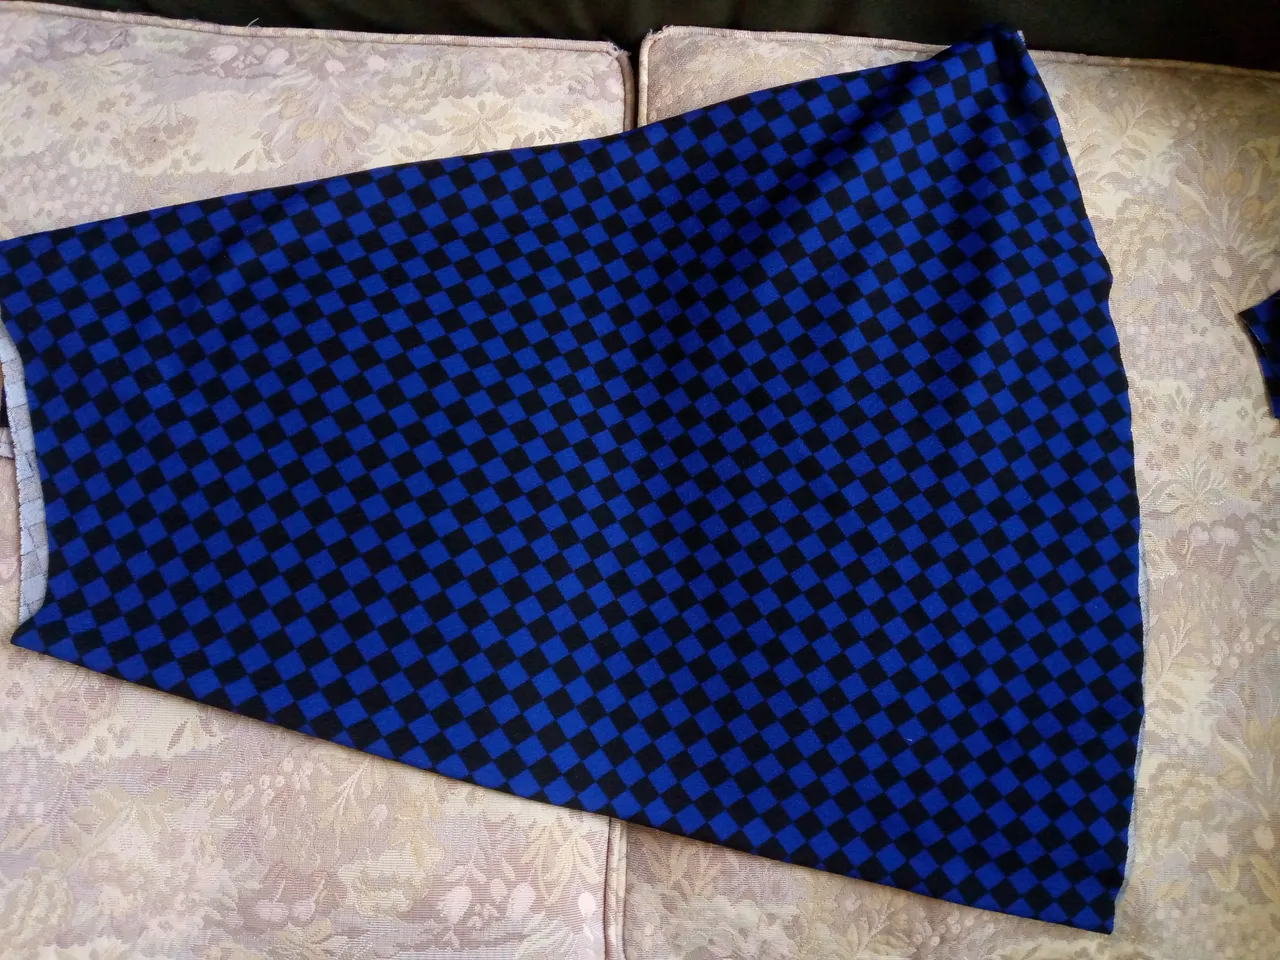
I will start by cutting the skirt piece, in this case I placed the fabric on the bias and marked the length of the dress, in this case 68 cm, then I cut the waistline completely. To cut the dress I used a measurement as a reference, then I cut the front pieces with the side cuts halfway down the armhole, then I cut the pocket flap pieces to the size you like, I also cut the sleeves, and of course, on the back waist piece, I made a small opening at the top for the three buttons and cut the bias.


Paso 02
Step 02
Then we join the side pieces to the size pieces, we sew with overlock or zig zag and straight stitch to reinforce leaving 1 cm then we sew the bias and the strap of the buttonholes that stick out and that we will be placing in the back opening of the neck.


Paso 03
Step 03
We proceed to sew the outstanding buttonholes on the back of the dress and I will sew the bias around the outline, then we will seal the shoulders, open the armhole area and sew the sleeves.


Paso 04
Step 04
We then sew the neck hem and of course we seal the sides of the dress and I will sew the flaps of the fake pockets inside, turn it over and sew it over with a straight seam, once ready it is time to join the skirt along the edge and sew the hem with a 1 cm seam allowance so that it does not look thick.


Paso 05
Step 05
Finally, I will join the skirt to the top and sew with an overlock, then with a straight seam while we sew, we will place the covers of the false pockets on the front of the dress in this way I continue sewing and sealing the dress, thus I have finished it.
Resultado:// Result:
Look how beautiful our dress turned out 🥰😍💙 these are the final results my loves, I hope you liked this idea, this design and this beautiful making, I say goodbye with the photos of the result wishing you a happy rest and I hope we meet again in another new tutorial with more creative ideas and sewing process, until next time, enjoy the result ✨👗.


Creating things with love 🌷❤️
🦋✨ All the images in this publication are my author ,📱taken with my TecnoSpark8C cell phone |📸Photos edited in PicsArt and Canva. Text translated in Google Translate.
