

Bienvenidos a mi blog 🧵❤️./Welcome to my blog 🧵❤️
Greetings, my dear friends! I hope you're having an amazing day. It's almost the weekend, and I started this week off on the right foot, as they say. This time, I want to show you how I made this beautiful shirt for a friend. I hadn't had any clothes made by me before, so it was a good time to do it since we're going to a special gathering soon, and it was time for him to trust my work.
I warmly invite you to appreciate this tutorial on how I made this shirt and how I went from detailed work on the cutting to making the shirt and the final results.

Materiales: | Materials:
- 1.70 cm de tela microfibra negra
- 50 cm de tela microfibra beige
- Máquina de coser
- Hilo y aguja
- Tiza de costura
- Medida como referencia o patrones
- 6 botones grandes y 9 pequeños
- Tela pelón
- Tijera
- 1.70 cm of black microfiber fabric
- 50 cm of beige microfiber fabric
- Sewing machine
- Needle and thread
- Tailor's chalk
- Measurements for reference or patterns
- 6 large and 9 small buttons
- Non-woven fabric
- Scissors
Pasos a seguir: | Steps to follow:


Paso 01
Step 01
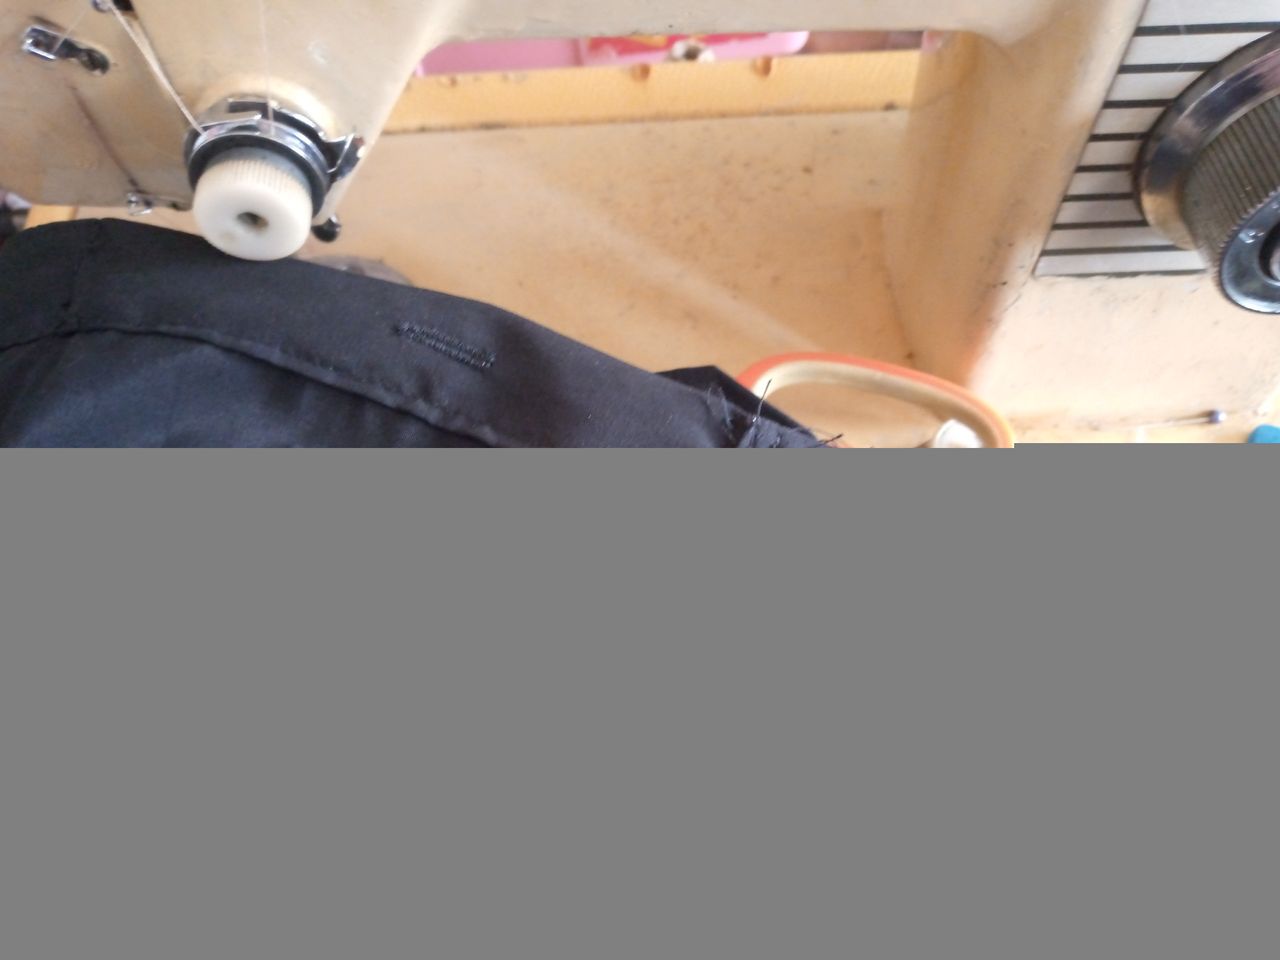
Well friends, every well-made job, as my grandmother used to say, starts with a good cut of pieces and exact measurements, so I used a size M pattern since my friend is that size, so I proceeded to cut the corresponding pieces. I cut two pieces for the front bodice with excess for buttonholes and buttons, the back bodice piece with the support at the top which is double, I also cut the cuffs, the sleeves and the bias binding of the cuffs, as well as the pieces for the collar and the pocket. We also take into account that we must cut the pieces in the non-woven fabric for the collar and cuffs.


Paso 02
Step 02
I started by ironing the fabric onto the fleece, in this case the collar and cuffs. Then we'll assemble the collar and sew it, and the cuffs to get them ready at once. Also, before sewing our sleeve to the armhole, we'll open it and make a 13 cm long cut for the sleeve opening on the back of my sleeve. We'll assemble this opening, which I'd like to show you how to do in another tutorial in case you haven't learned how to do this step.


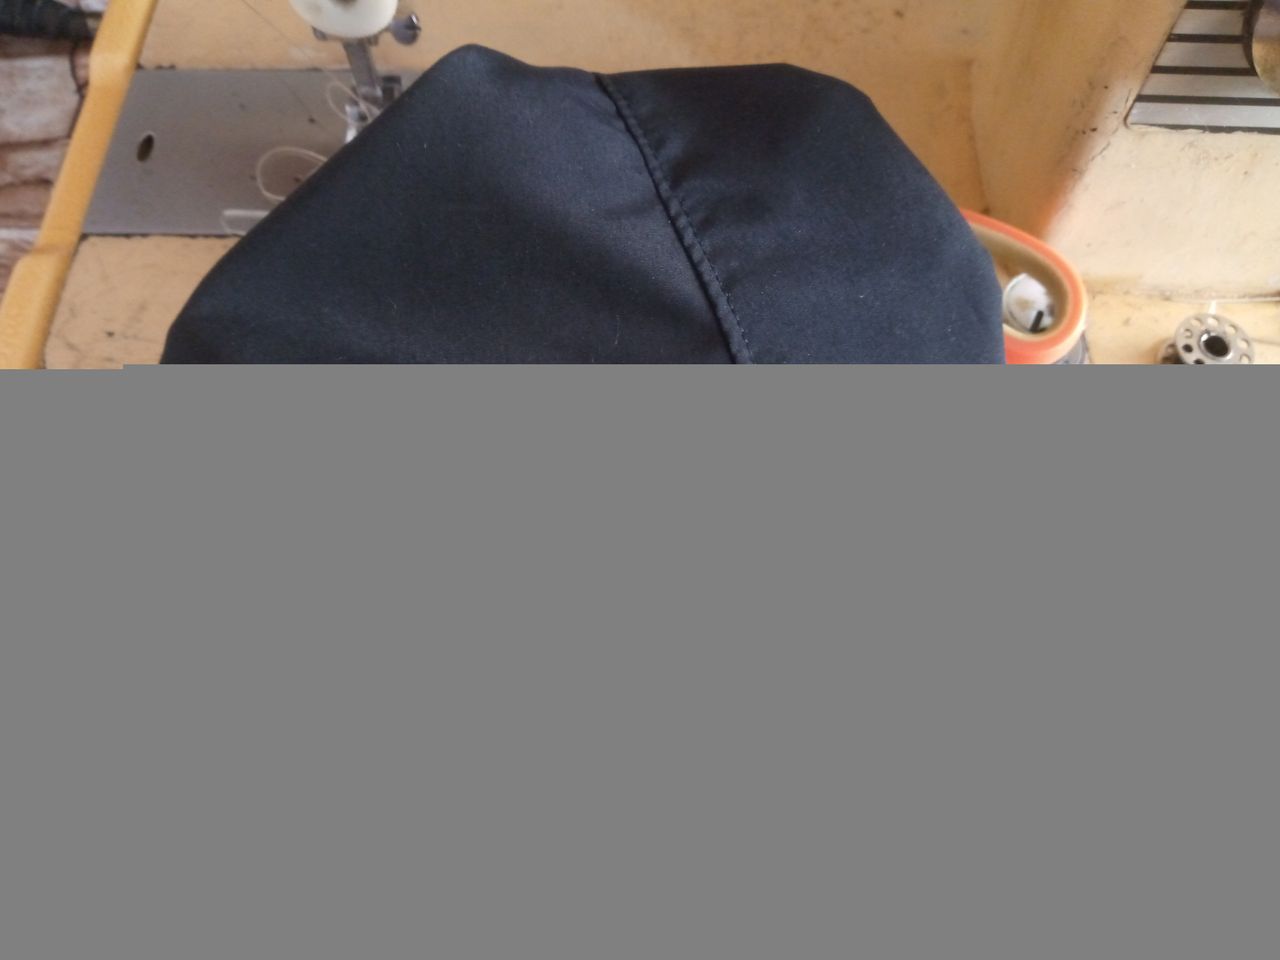
Paso 03
Step 03
Having prepared our sleeve pieces, i.e., the opening, we will continue sewing our shirt at the shoulders. We position our sleeves on each side, sew the collar to the shirt, and sew the cuffs to each one, making the pleats. We then sew or lay the shirt over with a straight stitch, especially on the sleeve and along the sides, as shown in the last image.


Paso 04
Step 04
We will now sew the buttonhole and button piece, that is, the hem on our 3 cm wide shirt. We will also make the buttonholes on the cuffs and neck cavity, sew the hem for the bottom edge, and finally sew our pocket and place each button in its place.
Resultado: | Result:
This is how our beautiful and elegant shirt turned out for my client. I liked how it looked, and in the end, she asked me to make a little bow or inverted bow in the same colors to match the shirt. I hope you liked it too, and please help me share this tutorial. Goodbye, and thank you for taking the time to read this. I love you all so much, and happy sewing!


¡Hola!...Soy Annie
Una chica que le apasiona el diseño,la costura las manualidades y crear cualquier cosa de mucho uso con mis manos,tengo como hobbie la música ,el maquillarme,la pintura y el dibujo,expresar mis ideas y sentimientos en un dibujo es algo que me gusta hacer,amo la naturaleza,un atardecer ,la playa y disfrutar con mis familiares de los buenos momentos de la vida.❤️
Creando las cosas con amor🌷♥️ | Creating things with love🌷♥️
Images:my own work | Edited by:Canva® and PicsArt © | Translator:Google Translate |Device:TecnoSpark 8C .
