

Bienvenidos a mi blog🧵💗/Welcome to my blog🧵💗
Hola amigos feliz noche estoy de vuelta con ustedes después de unos días de ausencia y arduo trabajo para mí 🤭pero estamos de vuelta y nada nos detiene,hoy les quiero enseñar cómo he estado trabajando en un bonito proyecto costuril aparte de los muchos en los que he estado ocupada ,estos corbatines son especiales para ocasiones importantes y reuniones así que se lo haré a un cliente que a penas ayer me trajo el material para hacerlo,espero les guste y puedan decirme que tal les ha parecido lo sencillo que son hacerlos.
Hello friends, good evening! I'm back with you after a few days of absence and hard work for me 🤭 but we're back and nothing can stop us! Today I want to show you how I've been working on a nice sewing project, in addition to the many others I've been busy with. These bow ties are perfect for important occasions and meetings, so I'll be making them for a client who just brought me the materials yesterday. I hope you like them and can tell me what you think about how easy they are to make.

Materiales: | Materials:
- Retazo de tela
- _ Hilo_
- Patrones
- Tijera
- Hilo y aguja
- Cierre mágico
- Máquina de coser
- Scrap of fabric
- Thread
- Patterns
- Scissors
- Needle and thread
- Velcro
- Sewing machine
Pasos a seguir: | Steps to follow:


Paso 01
Step 01
The first thing we will do, dear friends, is to place our fabric by folding it on the surface. On top of that, we will take our corresponding patterns to make the bow tie and use a color or sewing chalk in a lighter tone so that the edge of the outline where we will mark our patterns shows on the fabric. So we mark each pattern with the folded pieces.


Paso 02
Step 02
Next, we sew the pieces together along the perimeter, leaving a 1 cm seam allowance, using a straight stitch and leaving a 3 cm wide opening at the bottom. We sew all the pieces together in this way.


Paso 03
Step 03
After sewing the pieces together, we will proceed to sew the part where our bow tie is fastened, that is, the neckband. We sew each end leaving 1 cm wide and fold the piece inwards and sew with a straight stitch. Then we place the bow tie pieces, the large one at the bottom and the medium one at the top.


Paso 04
Step 04
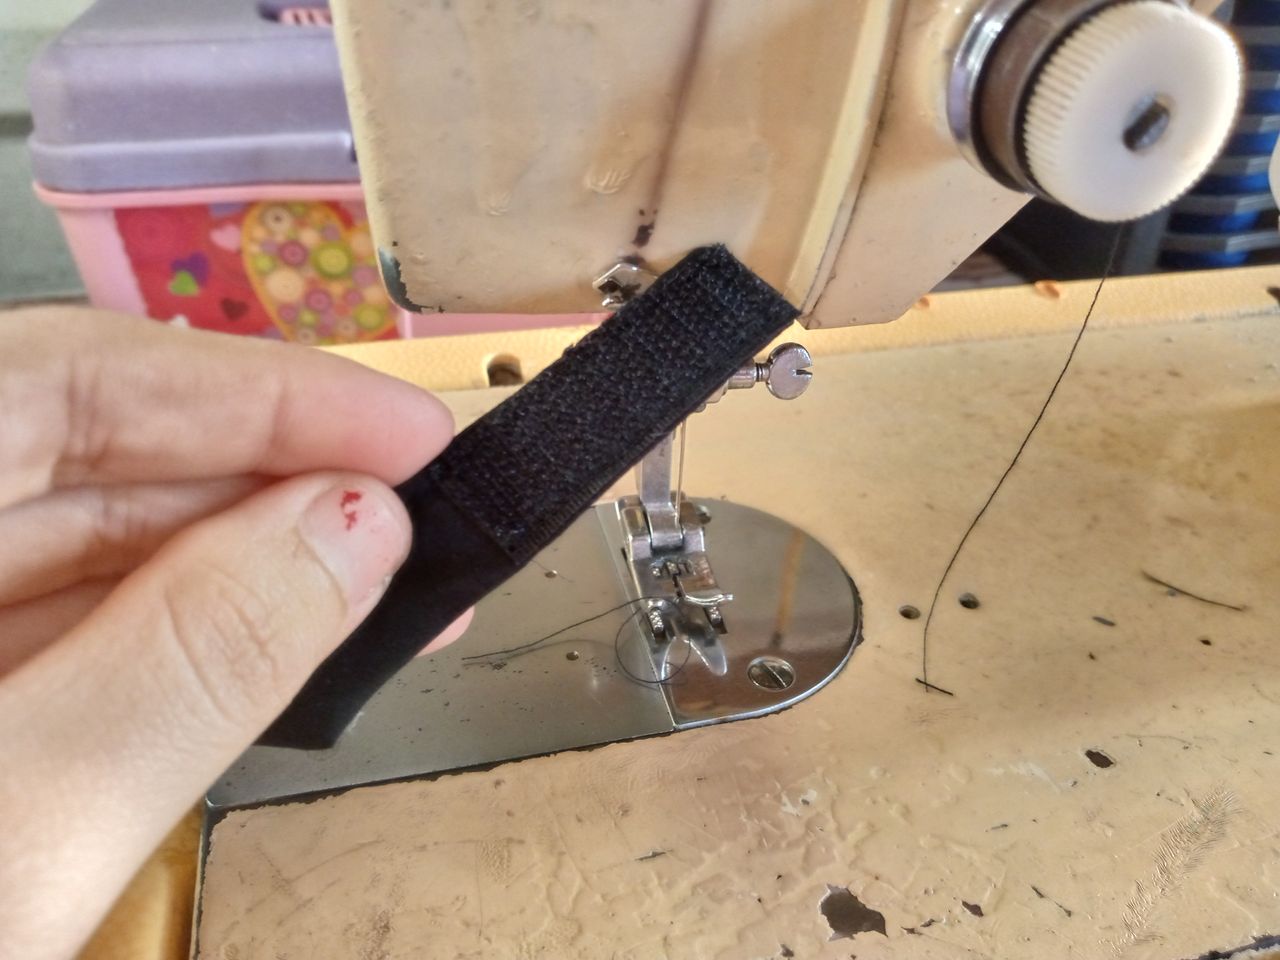
Finally, we will join the pieces with a needle and thread, giving it three or four turns, then we sew the bow tie seam, then we sew the hook and loop fastener. With this, we finish our elegant bow tie.
Resultado: | Result:
Miren lo lindo que se ve ya terminado ,me gustó mucho lo rápido que esta tarde pude hacerlo ya que tengo que hacer entrega de el mañana a mi cliente,espero les guste mucho y ayuden a compartir este sencillo tutorial también puedes guardarlo por si en alguna oportunidad necesitas hacer uno con gusto sienta se libres de hacerlo,les deseo lo mejor y que sigan los éxitos costuriles hasta otro próximo tutorial ✨❤️
Look how beautiful it looks now that it's finished! I really liked how quickly I was able to make it this afternoon since I have to deliver it to my client tomorrow. I hope you like it a lot and help share this simple tutorial. You can also save it in case you ever need to make one; feel free to do so. I wish you all the best and continued sewing success until the next tutorial! ✨❤️


¡Hola!...Soy Annie
Una chica que le apasiona el diseño,la costura las manualidades y crear cualquier cosa de mucho uso con mis manos,tengo como hobbie la música ,el maquillarme,la pintura y el dibujo,expresar mis ideas y sentimientos en un dibujo es algo que me gusta hacer,amo la naturaleza,un atardecer ,la playa y disfrutar con mis familiares de los buenos momentos de la vida.❤️
Creando las cosas con amor🌷♥️ | Creating things with love🌷♥️
Images:my own work | Edited by:Canva® and PicsArt © | Translator:Google Translate |Device:TecnoSpark 8C .
