

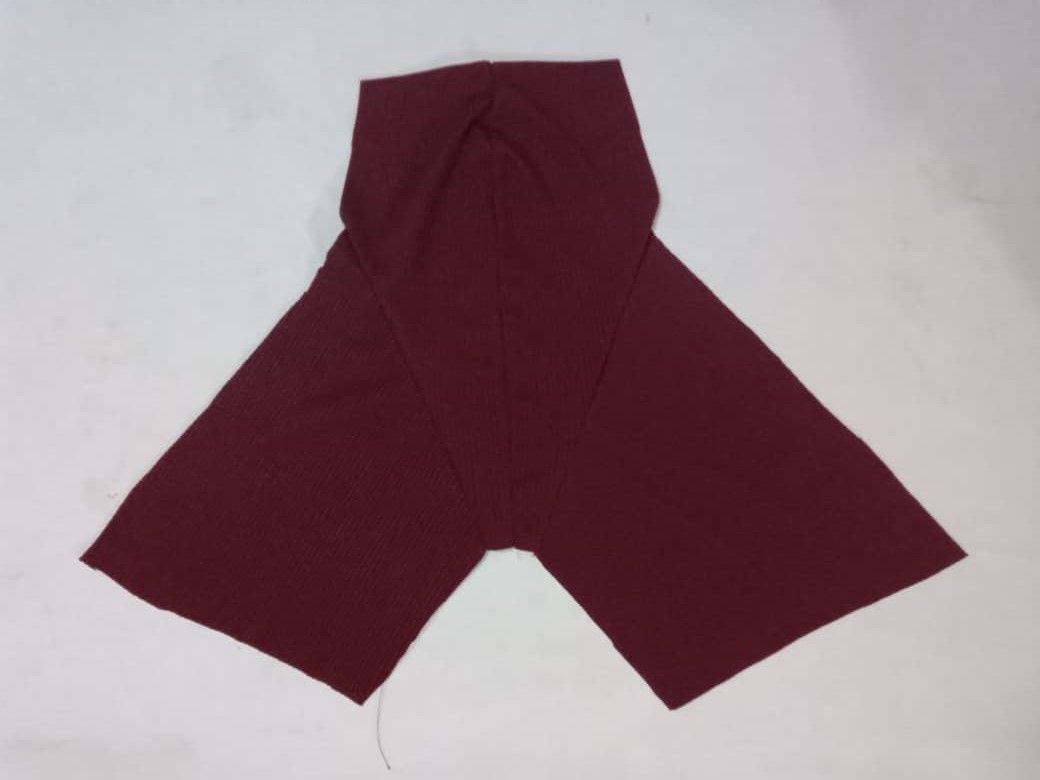
Hello, hello creative friends, lovers of threads and needles! It's a pleasure to greet you and share a new sewing project: a pair of boxer shorts in wine and gray rib knit fabric. I've used this fabric in my last few projects; its texture and stretch are ideal for this garment. The center and back pieces are wine-colored, and the sides are gray. The color combination looks great; it's also elegant and understated. This is the second time I've made this style of boxer shorts. The first time, I had difficulty closing the center piece. This time, I started the other way around, joining the center pieces and then adding the other pieces successively. The process was simpler and went smoothly. My next goal is to make it with a sewn-in center. I'm still figuring out how to do it, but from what I've thought, it seems easy. Time will tell if it works or not. For these boxer shorts I used a leftover elastic with a bear print and the word Moschino. I invite you to join me in the process of making them.

Hola, hola amigos creativos, amantes de los hilos y las agujas, es un placer saludarles y compartir un nuevo proyecto de costura se trata de un bóxer color vino y gris en tela rib, esta tela la he usado en los últimos proyectos, su textura y elongación son ideales para esta prenda, el centro y pieza trasera son de color vino y los costados de color gris, la combinación de colores se ve muy bien, además es elegante y sobria; es la segunda vez que hago vez que hago este modelo de bóxer, la primera vez tuve dificultad para cerrar la pieza central en esta ocasión inicié al contrario, uniendo las piezas centrales y sucesivamente agregando las otras piezas el proceso fue más sencillo y sin contratiempos, la siguiente meta es hacerlo con el centro embonado, aún estoy analizando como hacerlo, según lo que he pensado parece sencillo de hacer, la práctica dirá si funciona o no; para este bóxer usé un elástico sobrante con estampado de oso y la palabra Moschino, les invito a acompañarme en el proceso de elaboración.


The materials used were:
Ribbed fabric (gray and burgundy)
Scissors
Pins
Pattern
Measuring tape
Elastic (3 cm)
Sewing machine
Chalk
Los materiales usados fueron:
Tela rib (gris y vino)
Tijera
Alfileres
Molde
Cinta métrica
Elástico (3 cm)
Máquina de coser
Tiza

Elaboration
The first step was to cut the pieces; front reinforcement, back side, back center and front leg bottom, then I faced the front reinforcements, pinned them and sewed down the center.
Elaboración
El primer paso fue cortar las piezas; refuerzo delantero, costado de atrás, centro de atrás y bajo de pierna delantero, luego enfrenté los refuerzos delanteros, fijé con alfileres y cosí por el centro.


Once the center piece was sewn, I attached it to the leg hem, placed the pieces right sides together, pinned them, and sewed.
Cosida la pieza central, la uní al bajo de pierna, enfrenté por el derecho las piezas, sujeté con alfileres y cosí.

Then I joined the back side to the pieces I sewed earlier, making the wider part face up and match the length of the first pieces (reinforcement and front leg), pinned it in place and sewed with a straight stitch.
Luego uní el costado de atrás a las piezas que cosí anteriormente, haciendo que la parte más ancha quede arriba y coincida con el largo de las primeras piezas (refuerzo y delantero de pierna), sujeté con alfileres y cosí con puntada recta.


By joining the back sides, a kind of U or horseshoe shape is formed in which the back center is placed. I started from the top until I reached the crotch, then I did the same process on the other side. When fixing this piece, it must coincide with the crotch opening. I secured it with pins and sewed it as in the previous step, with a straight stitch.
After joining the central back piece, I pinned and closed the crotch, and also sewed a hem approximately one centimeter wide, which will be the bottom edge.
Al unir los costados de atrás, se forma una especie de U o herradura en la cual se coloca el centro de atrás, inicié desde arriba hasta llegar a la entrepierna, luego hice el mismo proceso en el otro lado, al fijar esta pieza debe coincidir con la abertura de la entrepierna, fijé con alfileres y cosí al igual que en el paso anterior, con puntada recta.
Luego de unir la pieza central de atrás, sujeté con alfileres y cerré la entrepierna, también cosí un dobladillo de aproximadamente un centímetro de ancho, que será el ruedo.


Once the boxer shorts were assembled, all that remained was to attach the elastic. Using a measuring tape, I measured the waist circumference and found it to be 40 centimeters wide. This was multiplied by 2 and subtracted by 5 to 7 centimeters. The elastic to be used measured 73 centimeters. Then I sewed the elastic together, joining the ends. I divided it into four parts and pinned it to the boxer shorts.
Ensamblado el bóxer solo falta colocar el elástico, con ayuda de una cinta métrica medí el contorno de cintura y tiene un ancho de 40 centímetros, esto se multiplica por 2 y se le resta de 5 a 7 centímetros, el elástico a usar mide 73 centímetros, luego cosí el elástico uniendo los extremos, lo dividí en cuatro partes y con alfileres lo fijé el bóxer.


I attached the elastic to the boxer shorts, facing the wrong side of the fabric with the wrong side of the elastic, I sewed with a straight stitch, stretching to the points marked with the pins, in this way the seam is uniform and stretches the same at the four points, then I turned it right side out and passed a zigzag stitch, with these steps a boxer short for teenagers in wine and gray is finished.
Fijé el elástico al bóxer, enfrentando el revés de la tela con revés del elástico, cosí con puntada recta, estirando hasta los puntos marcados con los alfileres, de esta forma la costura queda uniforme y se estira igual en los cuatro puntos, luego volteé por el derecho y pasé puntada de zigzag, con estos pasos está terminado un bóxer para adolescentes en color vino y gris.


The boxer shorts turned out well; my son liked the color combination, although his favorite combination is red and black. I hope you find the tutorial useful.
El resultado del bóxer se ve bien, a mi hijo le gustó la combinación de colores, aunque su combinación favorita es rojo y negro, espero el tutorial les sea de utilidad.

Blessings!
Bendiciones!
Hasta luego!

Translated with https://www.deepl.com/translator
              All images are my own.


   Todas las imágenes son de mi autoría.