Greetings needleworkers and happy new week! 🤗 It's a good day to share with you my needlework experience with a project I took on last week.
You see, since I started crocheting, I've been wanting to make something for my family and I decided to start with my brother 
It was my first time making a beanie and I didn't know how to go about it so I proceeded to learn the process first by watching tutorials on YouTube. And it appeared pretty much easy than I thought.
Having watched the video and convinced that I could do it myself, I went to the market to get the yarns I'd need for the project. I wanted a mature and boyish color that could go with any outfit. Black just wasn't an option so I settled for grey yarns. I bought two balls of 40g acrylic yarns (yeye).

Okay, I'm gonna have to skip the part where I finish the beanie and it turns out to be a total crap 😂. I figured that I miscalculated the measurements and it came out undersized. And apart from that, my work was too tight, the patterns were tiny too. How that happened still baffles me because I was sure I correctly followed the process of the YouTube tutorial... I guess not afterall 🤔.
Anyway, I didn't give up or throw my project into the dungeon 🙂. I was still bent on getting it right, so I loosened the whole work till the very end and started all over again. This time, I thought about making my yarns thicker so instead of doubling, I tripled my yarns. Of course, I had to buy an extra yarn for that.
Below is the process I followed in making the better beanie:
- After tripling my yarns, I made a slip loop and inserted my crochet hook. Then, rather than the 40 chains I previously did, I chained 50 this time and did a single crochet in every chain. After I got to the end, I chained one, turned my work over and did a single crochet in the back loops of my stitch to create vertical ridges. I repeated this process until the 40th row. While crocheting, I made sure to loosen my grip so that the stitches don't get too tight.


- Seeing that my work was now wide enough to wrap round my head, I proceeded to close up the short ends by working a slip stitch into the front loops of my last row and the foundation chains. At the end, I chained one, cut off my yarn and pulled through.

Although not easy, I'm glad I was able to do this step successfully without making errors and the stitching rhymed neatly with the other rows.
- The next step is to close the top of the hat. And to do that, I used a sewing needle with a piece of yarn. It was the easiest part of the whole making process, I just had to weave in and out all the way round the top of the hat.

Then I pulled the yarn to closen the top, making sure I was careful not to snap the yarn while pulling. Afterwards, I sewed up the small hole left, tied, cut off my yarn and turned the hat inside out.

This project took me 3 days and 3 yarns to finish. I'm just glad that it turned out great in the end unlike my first attempt.
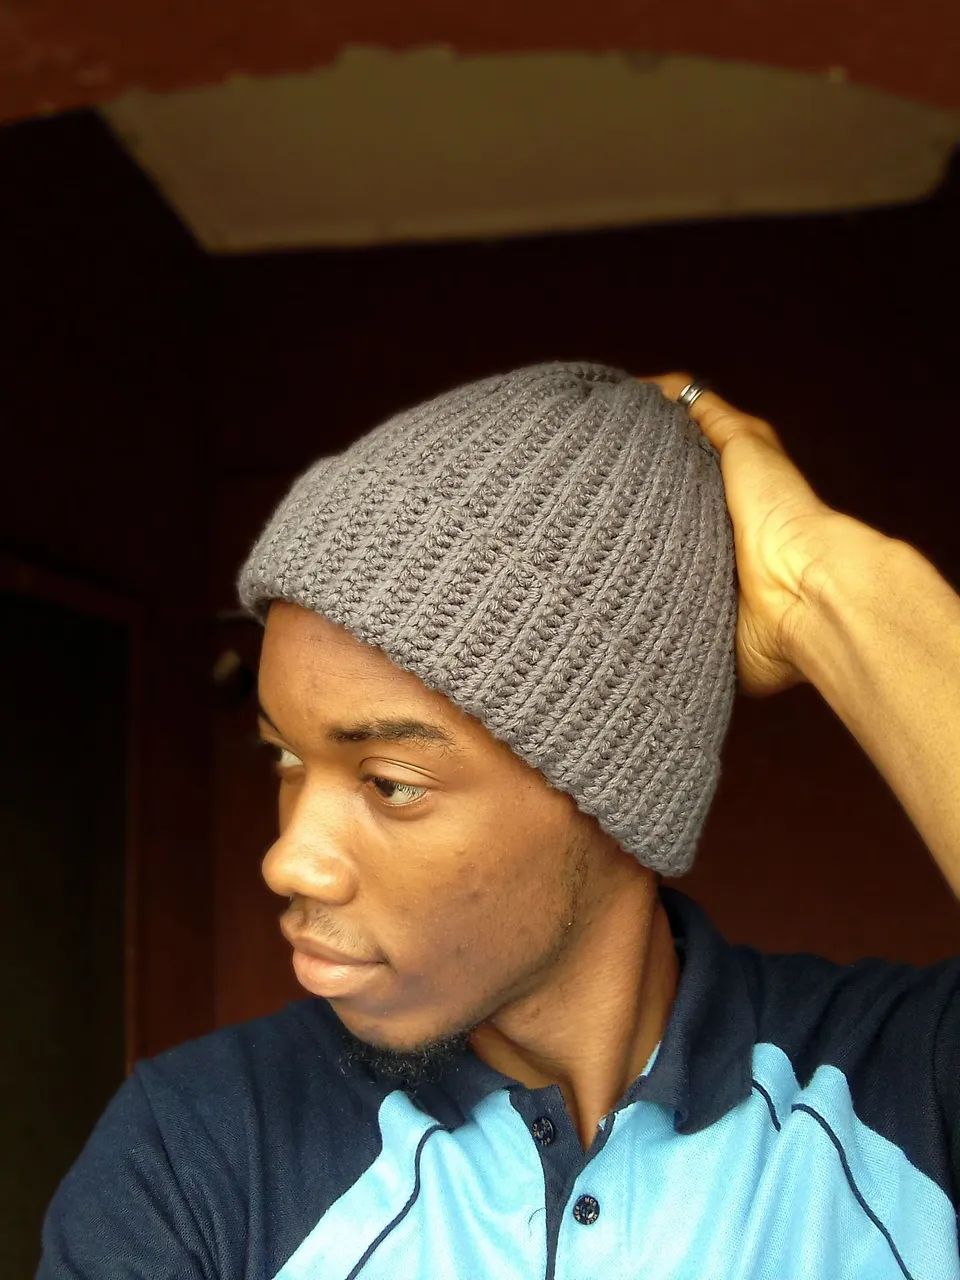
My brother was surprised and excited when I gifted the beanie to him. It felt good to be able to make something for a loved one and see that smile on their face. Below are some photos of my brother rocking his little gift from me 😁.

So guys, what do you think of my work? Please let me know in the comments 😊.
THANKS FOR READING! ❤️