Hello Hive

Happy new day to us all, I hope that we enjoyed Easter celebration. The display of love has been so massive here that even when I couldn't cook in my house I had people who sent me some food. Yesterday I took out some time to cut, sew and embellish a woman's camisole.

If you noticed lately I have been learning how to sew women's camisole. The idea behind it is to be able to sew my own under garment just to be able avoid the shy away from the cost of purchasing the expensive ones in the market.
I made an attempt at sewing one or two before but while at that I learnt a few things. How to see different types of camisole.
I'm sure you don't know that these things come in types.
The neckline designs for camisoles are often different, some come with sweetheart neckline, others with a round necklines and others still with a square necklines. They all serve different purpose.

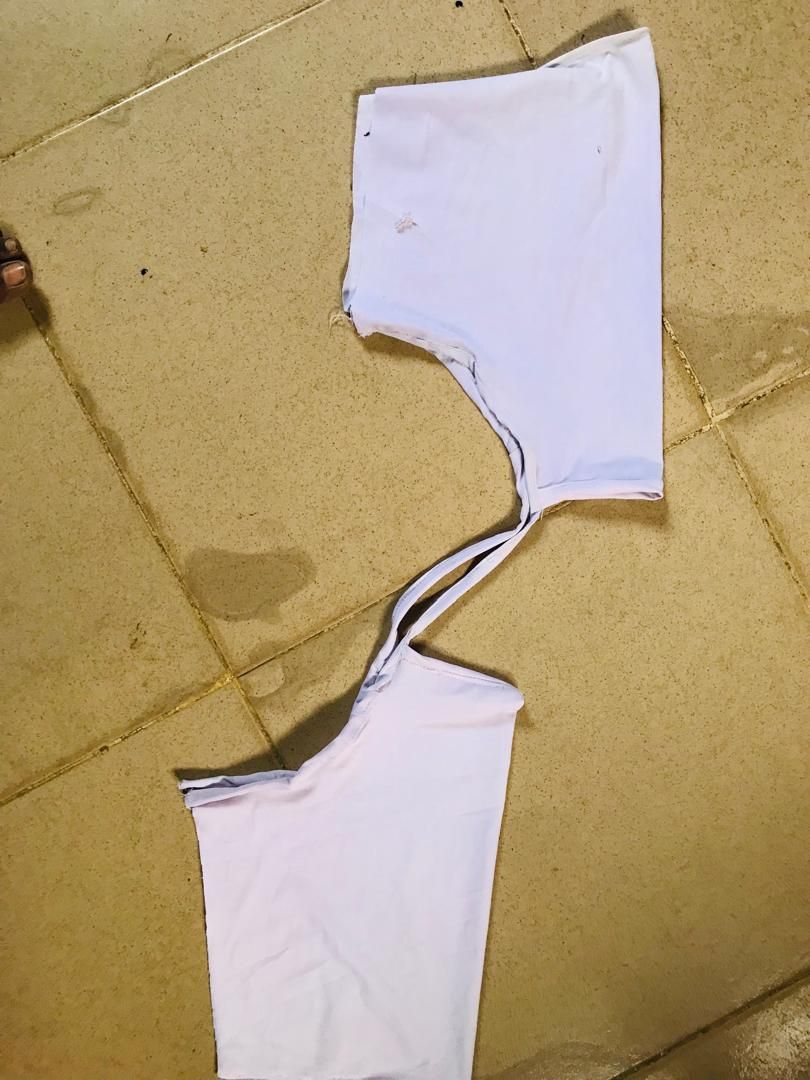
My attempt at making the square necklines
I didn't even know that there are rules to the cutting of the armhole for this undergarment until I made this one that may be useful not just for undergarment but something that can be worn on the outside as well, having seen how deep the armhole cutting went, I realized this mistake.

Hence rule number one is to avoid cutting the necklines of an offshoukder wear too deep
Rule number two is to cut the desired necklines properly either sweetheart, round or square, this will determine the design of camisole we wish to sew.
The one I had cut and sewn today is the one with the square necklines.
Start with cutting the front and back pieces.
Use your normal off shoulder bodice to do this.


The cutting of the straps follows next.

After which you turn the necklines of the camisole on the sewing machine and attach the straps

A little embellishments will make this comely especially when you wish to wear this out on any skirt or pant on a sunny day. To do this I got some
Beads
Base sequence
Needle and thread


I cut out a sequence fabric, added some stay to it and stitched it on the camisole first.
Then I continued attaching the beads and base sequence with hand needle and thread at my desired intervals
