It's needlework Monday!
Wishing you all a successful and beautiful week!
I am so excited to share with you all how I made my stylish corporate gown. It all started when I was going through my wardrobe and realised I didn't have enough corporate wear for church so I decided to make one for myself.

I went to the market to source fabric and bought a crepe fabric. When I got home, I discovered it was too light and decided to add a lining to it. I went ahead to purchase a stretch lining which turned out to be a poor choice for the crepe. Then came the part that humbled me, fixing the invincible zipper🥲. I actually wanted it to sit so flat and pretty, I had to take my time sewing it and also did some losing and resewing. If you have ever battled with an invincible zipper, please share your tips and tricks🤗. The sewing process was stressful but I pulled through, and also learnt new things. I'll be walking you through the steps I used in creating this beautiful piece.
Sewing process
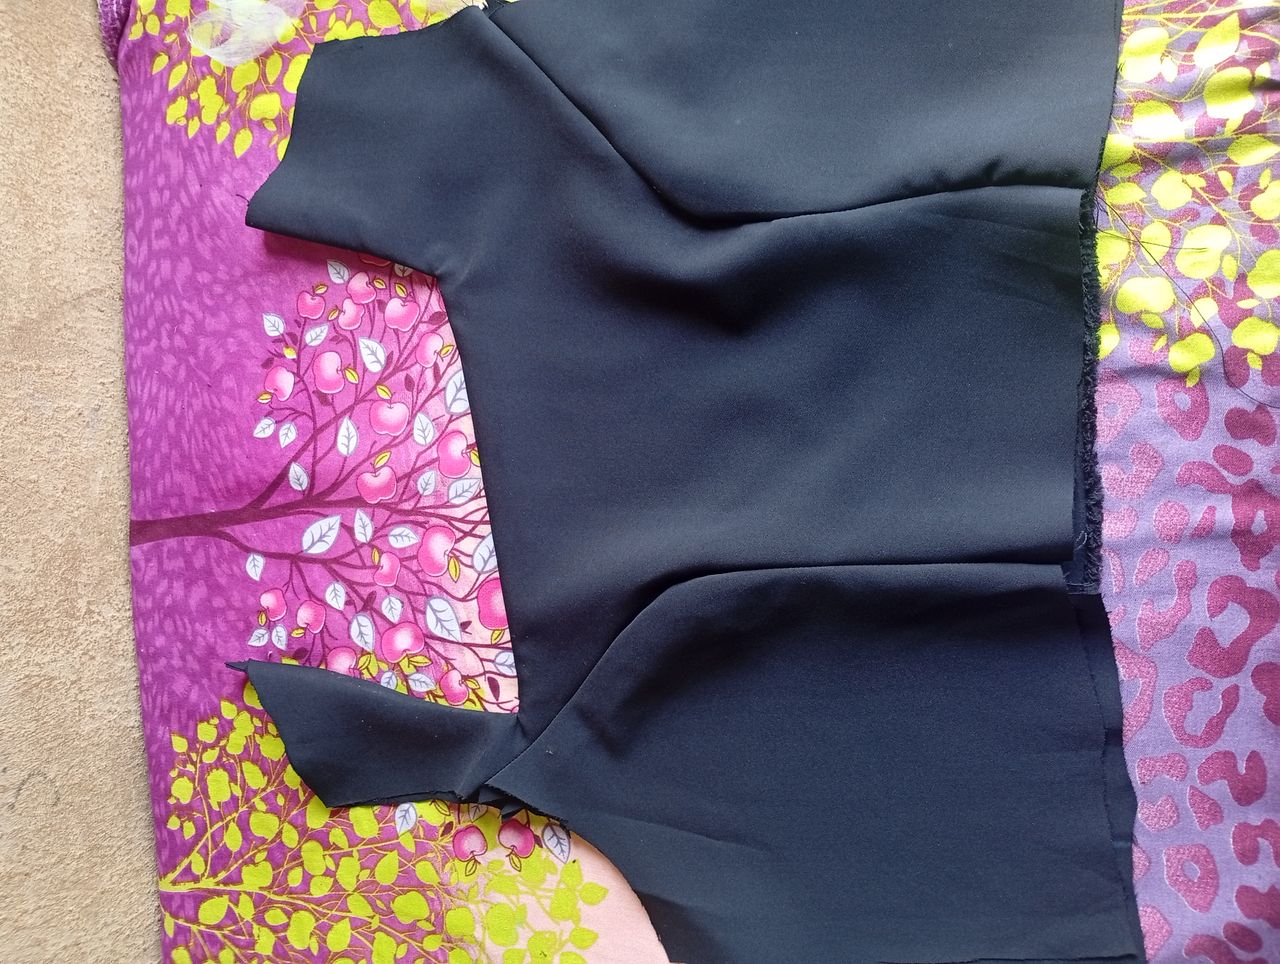
I began by drafting the upper and lower bodices directly on the fabric. For the upper part, I marked out my shoulder, neck, armhole and darts and then cut it out. For the lower part, I marked out my hip, waist measurement and then cut it out.

Next, I sewed in the darts of the front and back bodice pieces to give it a fitted shape, and then attached the lining to it, making sure to neatly turn and iron it for a smooth finish.


I went ahead to attach the lining to the lower bodices of the front and back.


Once the separate part was ready, I joined the upper and lower bodice pieces together for both the front and back. I then fixed the zipper at the centre back, ensuring it sat neatly.


For the sleeve, I attached interfacing to the cuff and then attached it to the sleeve. I then sewed in the sleeve to the gown, and I went ahead to shape the sides of the gown giving it a clean finish.


Thank you for visiting my blog