
Hello everyone! Today, I want to show you how I made a one-piece scrunchie. Well, that's what I saw it called, since I saw this type of scrunchie in a Pinterest video. So, since I wanted to see and try making one myself, I'm taking this opportunity to show you how I made mine. The video showed that they used satin fabric, but I didn't have any. Instead, I used a scrap of gold fabric, which allows me to continue recycling leftover fabric scraps. The best part is that they can be used to create something new, giving them a second life. Scrunchies have become a very cute and fashionable accessory. They also require little material to make, are easy to make, and can be given as gifts or even used for a small business.

Materiales:||Materials:
- Retazo de tela color dorado
- Tijeras
- Hilo
- Aguja de mano
- Perlas para decorar
- Liga elástica
- Scrap of gold-colored fabric
- Scissors
- Thread
- Hand needle
- Pearls for decoration
- Elastic band
Paso a paso||Step by step


Paso 1️⃣
Step 1️⃣
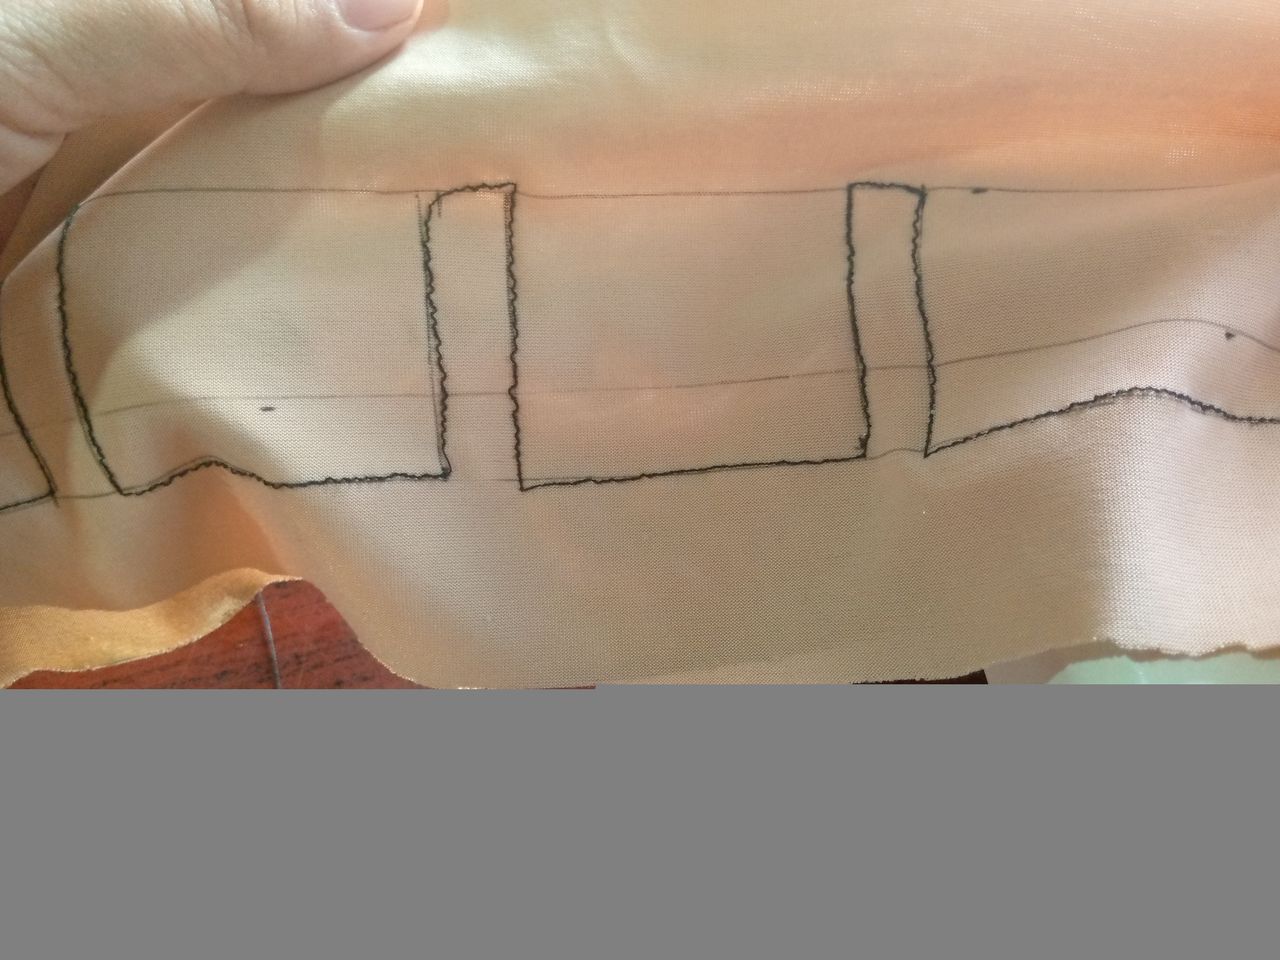
This scrunchie has steps where you need to use a ruler to mark where the sewing will go, so I started by marking the piece of fabric so that it would be a well-defined rectangle. The scrunchie measures 58 cm long and 20 cm wide. Once that part was marked, I folded the fabric in half and marked a line 1 cm from the edge of the folded fabric. Then, at the bottom, I marked a line 4 cm from the edge. With that line marked, I then marked a space of 6 cm, leaving a 1 cm space at each 6 cm mark, so that it looks like a division. Then I marked right where the division lines fall, so that it will look like a staircase.


Paso 2️⃣
Step 2️⃣
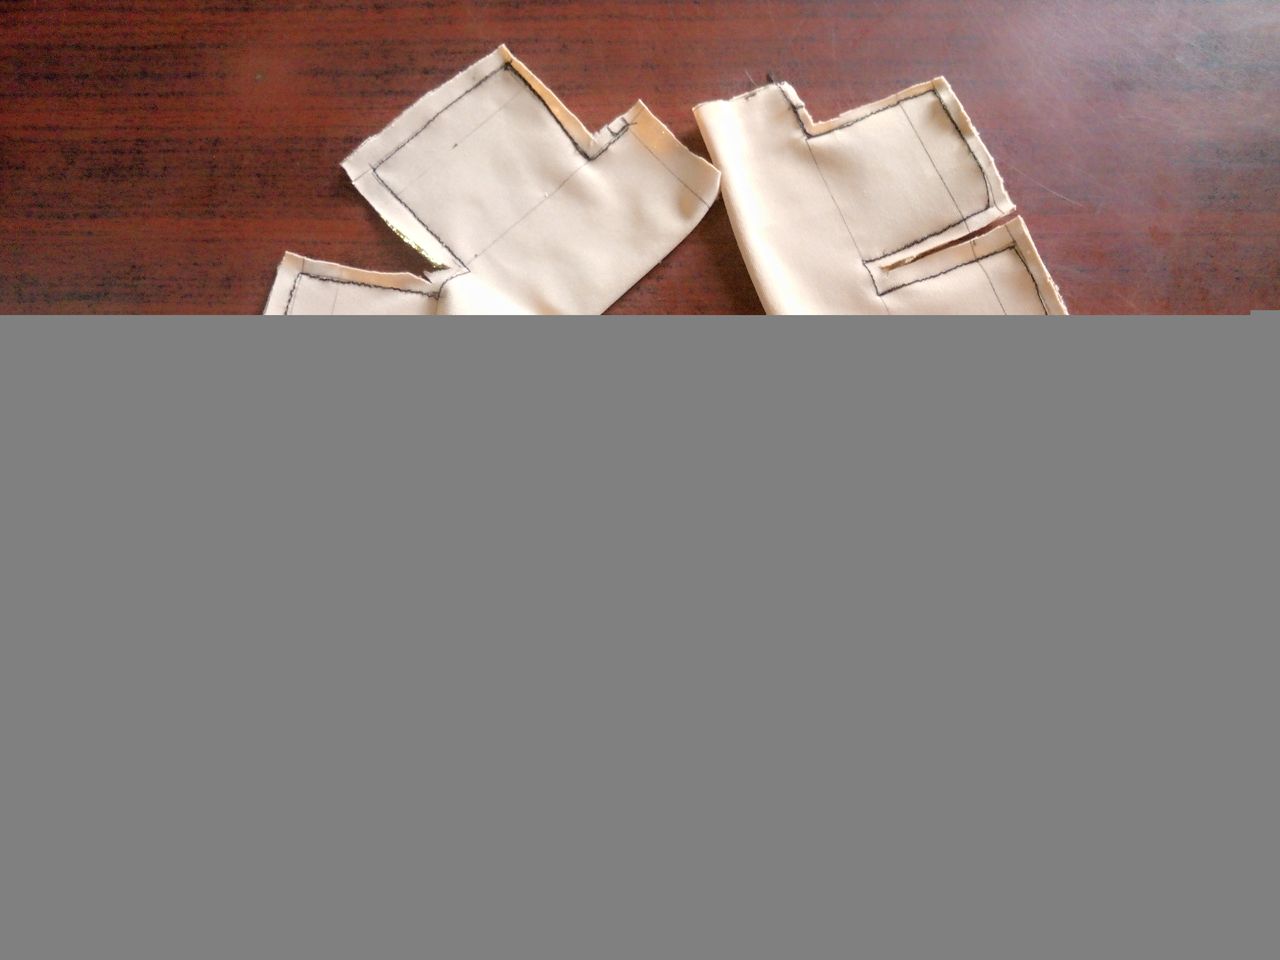
Now move on to the part where I sewed right where the first 1 cm line begins. As I sewed, you can see that it's taking on a shape like a set of teeth.


Paso 3️⃣
Step 3️⃣
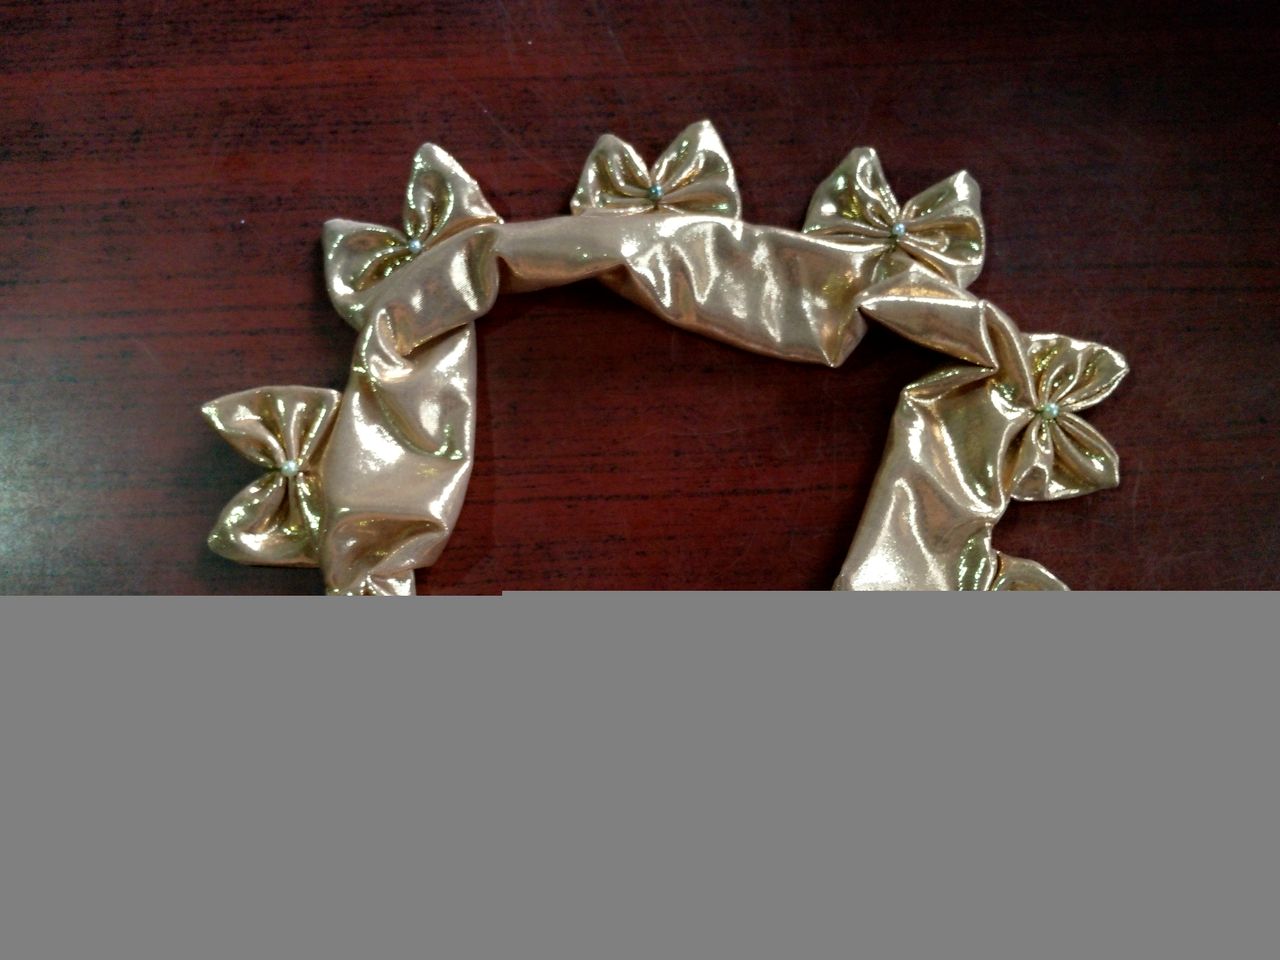
Once the entire piece was sewn, I turned the fabric right side out and used scissors to help me shape it properly. I hand-sewed the protruding parts to form a small bow, using strong stitches, and then added a pearl for decoration. I repeated this process for the other pieces.


Paso 4️⃣
Step 4️⃣
After I sewed all the mini bows with their pearls, it was time to attach the elastic band that went over the entire piece. When each end of the elastic met, I gathered it and tied a secure knot. Finally, I sewed the remaining opening closed. And that's how the scrunchie was finished.
Resultado||Result


This is how the scrunchie turned out! Now I have a new scrunchie ready to use, give as a gift, or even start a business. What do you think of this scrunchie? I look forward to your comments. Thanks for visiting and for your support.
Créditos||Crédits
The photos presented in this blog are my responsibility. The images have been edited using Canva. The photographs were taken with my Infinix Smart 7 cell phone. The content has been translated with Firefox translator.