
Hello everyone, friends of NeedleworkMonday! I'm happy to be here today to share with you how to make a ring pincushion. Let's see what materials I used and the step-by-step instructions.
(Materiales a usar:)(Materials to use:)

Retazos de fieltro de color (verde, rosado y blanco)
Hilo
Silicón líquido
Tijera
Un anillo
Una aguja de mano
Felt scraps (green, pink, and white)
Thread
Liquid silicone
Scissors
A ring
A hand needle
(Procedimiento:)(Procedure:)
- Paso 1:
Step 1:Let's start by cutting out the parts of the pincushion. I chose to make a flower because who doesn't like flowers? Besides, they go with everything. So, I cut the central part, which is a circle from the pink felt. For the petals, I cut 6 petals from the white and pink felt. Then, from the green felt, I cut a long strip and then cut the edges in the shape of semicircles. This part makes up the leaves.


- Paso 2:
Step 2:Now we move on to sewing the center part of the flower. With a needle and thread, I sewed the edge part until I formed a small bag. Then I stuffed it with the same felt, but chopped into small pieces. After that, I finished sewing it well so that it wouldn't open.


- Paso 3:
Step 3:Now we sew the petals by alternating the pink and white petals, until we form a chain of petals and sew each side so that it has a round shape, then I sewed the leaf part in the same way so that it has a round shape.


- Paso 4:
Step 4:Now we're going to put the flower pieces together. I used liquid silicone to glue each part. I started by gluing the center part to the petals, then I added the leaves, and then I cut a circle to put on the back since it's more stable for gluing to the ring.
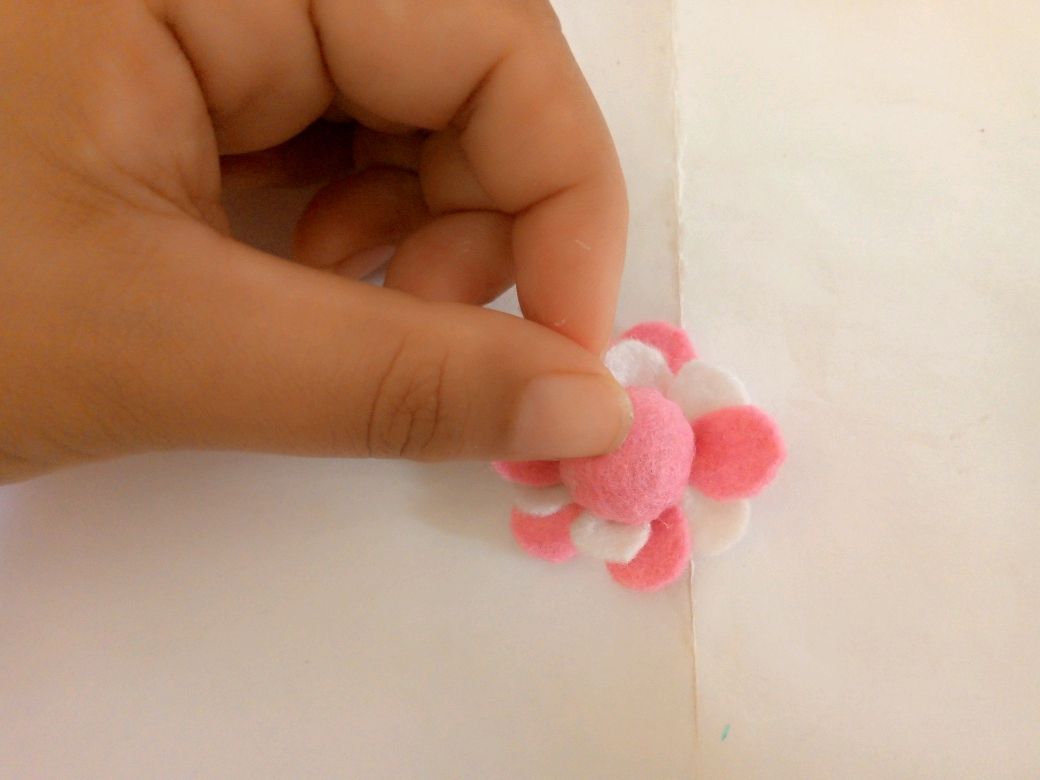


(Resultado final:)(Bottom line:)
The result is a pincushion ring to use when you need to take measurements quickly while sewing. If you like to personalize your work materials, this might give you some ideas. Thanks for watching this tutorial.


Las fotos de este blog son de mi propiedad|Las imágenes son editadas en canva|Fotografías tomadas en mi celular infinix Smart 7|El contenido está traducido en el traductor de Firefox.
The photos on this blog are my own | Images are edited in Canva | Photos taken on my Infinix Smart 7 phone | Content is translated using Firefox Translator.