
Materiales:
Taza de cerámica color blanco
Estecas (herramientas de trabajar porcelana fría)
Porcelana colores piel, verde, rojo y blanco
Pega
Pinturas de varios colores
Pinceles fino y planos


Materials:
White ceramic mug
Stakes (tools for working cold porcelain)
Porcelain skin colors, green, red and white
Job
Multi-colored paints
Fine and flat brushes
Procedimiento
✏️ tomamos la taza, hacemos una bola aplastada para hacer la cabeza, moldeamos con los dedos, (no se debe aplicar pegamento a la taza porque la pieza debe secar para que tome forma y luego es que se pega a la taza con un pegamento especial o resina)

✏️ para realizar el cuerpo, tomamos una bola color verde, aplanada, las piernas son dos palitos realizado con la misma porcelana (para ubicar entre piezas si se debe colocar pega común y corriente pero en la taza no)

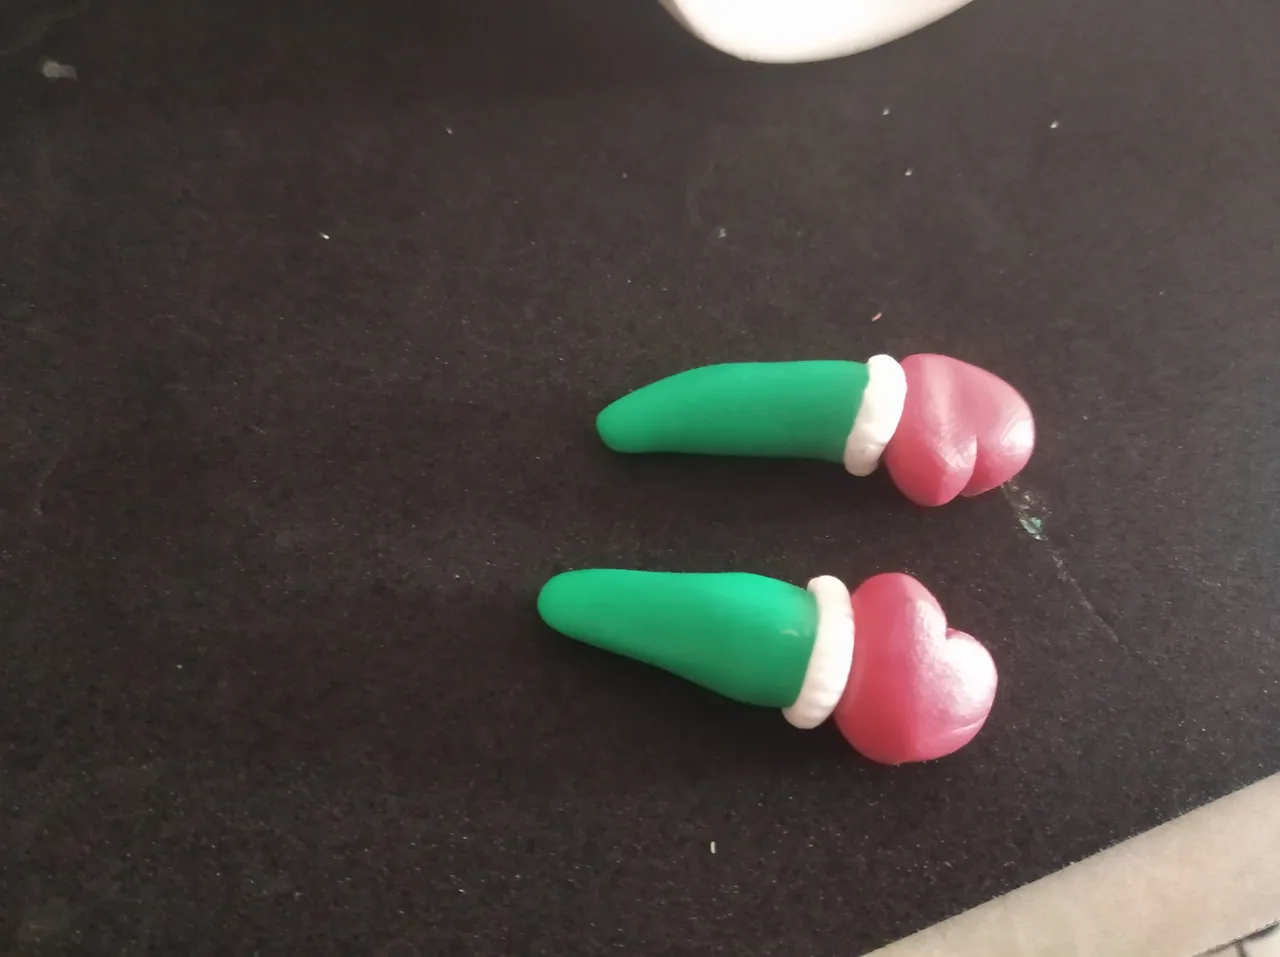
✏️ los brazos son dos gotas alargadas del mismo tamaño que luego serán pegadas en los laterales del cuerpo, se hacen los guantes color rojo, usando una bolita de porcelana fría color rojo y moldeando con una esteca, se pegan a las dos gotitas para simular los brazos con guantes, así mismo con detalles de pelusa jajajajaja por ultimo se pega al cuerpo


✏️al realizar la barba, se toma porcelana blanca, y se va colgando poco a poco dándole forma con una esteca al igual los bigotes


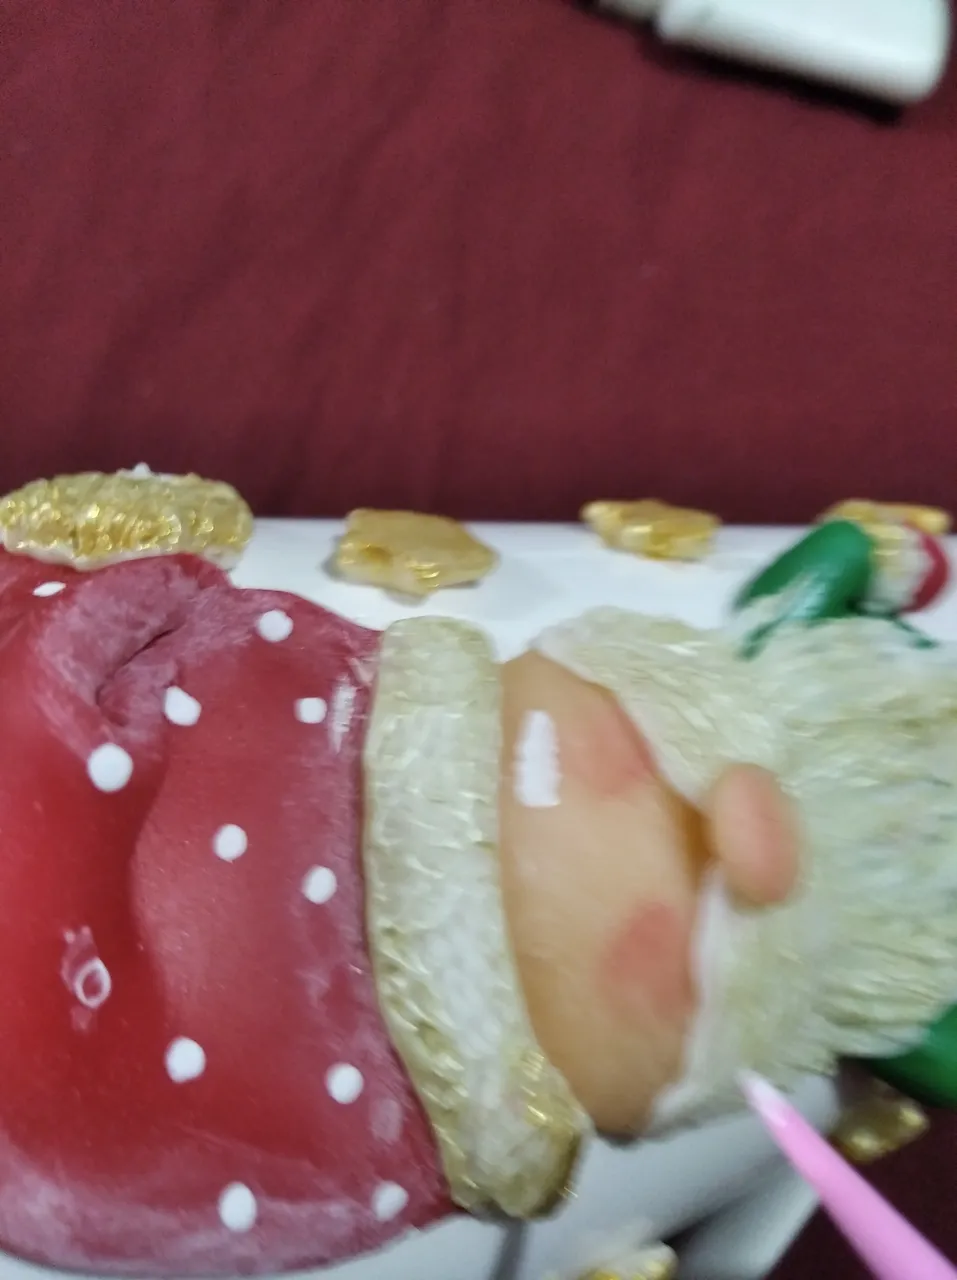
✏️ se toma porcelana roja y se moldea el gorro de santa, adaptandolo con los dedos y que quede ajustado, el gorro lleva un detalle en blanco que le digo pelusa jajajaa, para dar ese efecto se hacen puntadas con la esteca


✏️ para pintar la figura se debe esperar alrededor de 4 horas, ya seca, se procede a pintar y hacer detalles en pinturas blanca con un pincel plano, con una esteca colocamos puntitos para decorar


✏️ las mejillas de santa se matizan con tizas color rosa

✏️ la barba y bigotes son matizados con pintura color plata


✏️ se le hacen detalles en color dorado, también se pintan las estrellas


✏️ para pintar la cara, se pintan de color blanco las cejas con un palillo de madera, al igual los ojos, les hice un tono verde para resaltar, luego color negro y su puntito blanco, pestañas ¡una mirada tierna! Jajajaja


✏️ se debe dejar secar la taza aproximadamente 1 hora, luego se despega de la taza, sale fácilmente porque no esta adherida, se lija la taza, limpiando el resto con un algodón con alcohol, preparando una mezcla de resina (gemelos) para protegerla y que no se dañe con el agua y sea usada como una taza comun .


Process
✏️ we take the cup, we make a squashed ball to make the head, we mold with our fingers, (glue should not be applied to the cup because the piece must dry to take shape and then it is glued to the cup with a special glue or resin)
✏️ to make the body, we take a green ball, flattened, the legs are two sticks made with the same porcelain (to locate between pieces if common glue should be placed but not in the cup)
✏️ the arms are two elongated drops of the same size that will then be glued on the sides of the body, the gloves are made in red, using a cold red porcelain ball and molding with a stake, they are glued to the two drops to simulate the arms with gloves, likewise with details of fluff hahahahaha finally sticks to the body
✏️ when making the beard, take white porcelain, and gradually hang it, shaping it with a stake like the mustaches
✏️ Red porcelain is taken and the Santa hat is molded, adapting it with the fingers and making it fit, the hat has a white detail that I say fluff hahaha, to give that effect stitches are made with the stake
✏️ to paint the figure you must wait about 4 hours, it is dry, we proceed to paint and make details in white paints with a flat brush, with a stake we place dots to decorate
✏️ Santa's cheeks are tinted with pink chalk
✏️ the beard and mustaches are tinted with silver paint
✏️ details are made in gold, the stars are also painted
✏️ To paint the face, the eyebrows are painted white with a wooden toothpick, like the eyes, I made them a green tone to highlight, then black and its white dot, eyelashes, a tender look! LOL
✏️ The cup should be left to dry for approximately 1 hour, then it peels off the cup, it comes out easily because it is not attached, the cup is sanded, cleaning the rest with a cotton ball with alcohol, preparing a resin mixture (cufflinks) to protect it and that is not damaged by water and is used as a common cup.
We must bear in mind that these cups are used normally, they should not be placed in the microwave, washed with ordinary soap and dried for later use. It is a beautiful detail that we can give away, it is something of a lot of dedication, care, above all creativity, and a lot of patience, it is something that is not done from one moment to the next.
I hope you liked it Happy start of the month!