
Hey Bees!
What's up? Happy Tuesday to you all.
I am back with my craft and DIY works.
Today I made a shining star.
I will show you the steps and processes of course.
You know this is a lot of work and all the materials are all recycled starting from the shines.
Materials Used
- Paper
- Snacks pack
- Scissor
- Top gum
Steps And Processes
I cut the paper to a square shape and size I wanted.

Then I folded it from the center and made both sharp edges equal.

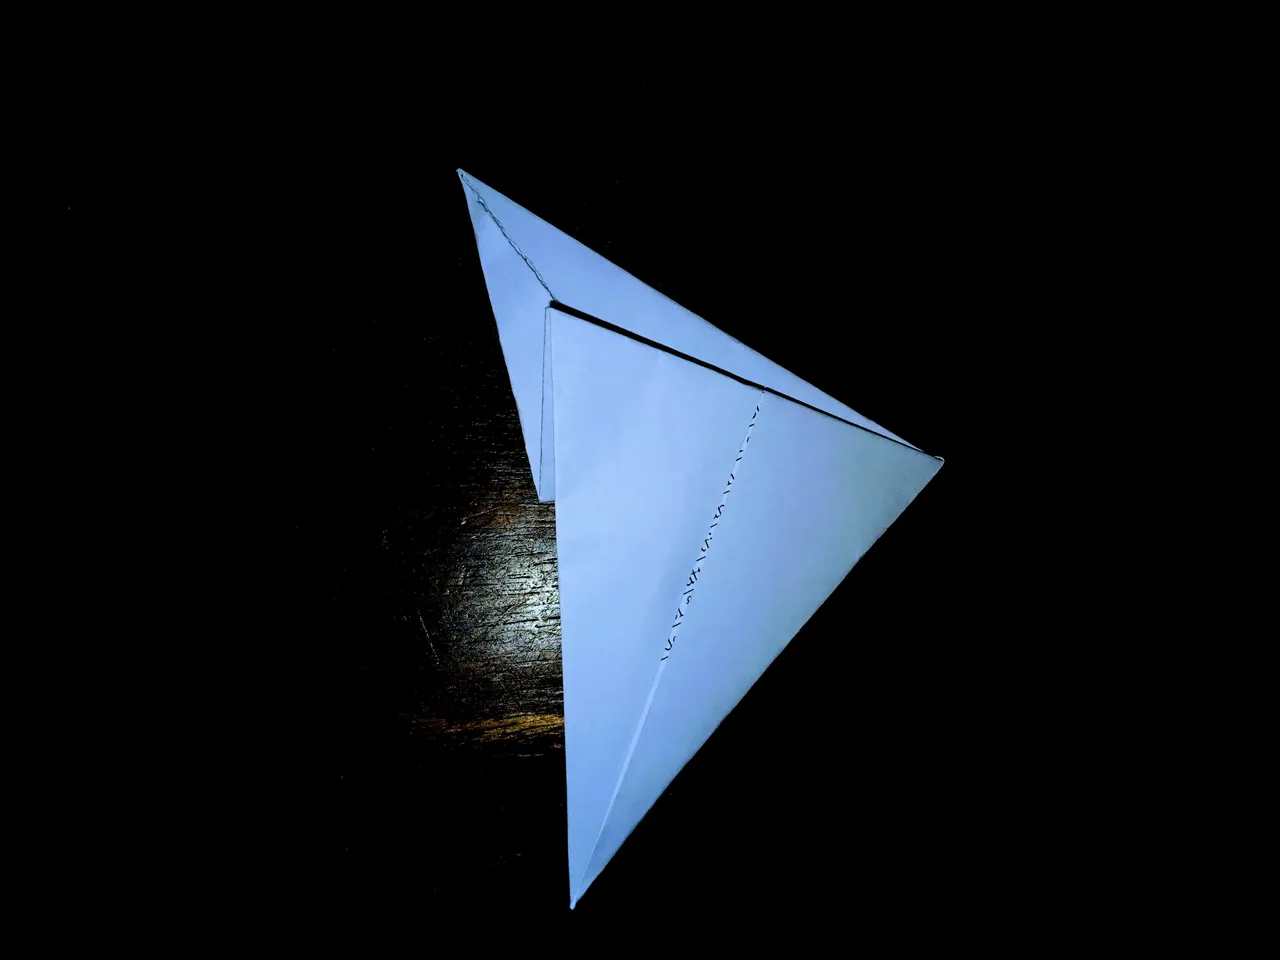
I picked the center edge and folded it to one side to give me this shape.

After I repeated the above process for five more papers, I gummed the first two-star legs together by applying gum to each side.

I repeated it for the fourth leg using the same method.

After getting the star set, I tore packages of snacks.

I applied gum to the five-star legs and stick the shines.

I applied more of it until there was no noticeable space on the star again.

I folded it at both ends to form this

I pick one sharp edge and folded it to the center, leaving a small space at the upper edges.
After that, I opened the paper and pulled out each of the sides.

I went further to gum the next star leg which is the third leg.
I also applied gun at one end of the paper before sticking it.

And then the last leg which formed the star.

Then I pieced those snack packs into tiny shiny particles.

I continued applying the shines until it became thicker.

And voilá, our lovely looking and shining star are all set and ready.

SPANISH
¡Hola abejas!
¿Qué pasa?
Feliz martes a todos.
Estoy de vuelta con mis trabajos manuales y de bricolaje.
Hoy hice una estrella brillante.
Por supuesto, te mostraré los pasos y procesos.
Sabes que esto es mucho trabajo y todos los materiales se reciclan a partir de los brillos.
Materiales usados
Papel
Paquete de bocadillos
Tijera
Chicle superior
Pasos y procesos
Corté el papel a la forma cuadrada y al tamaño que quería.
Luego lo doblé desde el centro e hice que ambos bordes afilados fueran iguales.
Escogí el borde central y lo doblé hacia un lado para darme esta forma.
Después de repetir el proceso anterior con cinco papeles más, uní las primeras patas de dos estrellas aplicando goma de mascar a cada lado.
Lo repetí para el cuarto tramo usando el mismo método.
Después de poner las estrellas, rompí paquetes de bocadillos.
Apliqué chicle en las piernas de cinco estrellas y pegué los brillos.
Apliqué más hasta que no hubo espacio visible en la estrella nuevamente.
Lo doblé en ambos extremos para formar este
Cojo un borde afilado y lo doblo hacia el centro, dejando un pequeño espacio en los bordes superiores.
Después de eso, abrí el papel y saqué cada uno de los lados.
Fui más lejos para engullir la siguiente pata estrella, que es la tercera pata.
También apliqué pistola en un extremo del papel antes de pegarlo.
Y luego el último tramo que formó la estrella.
Luego, convertí esos paquetes de bocadillos en pequeñas partículas brillantes.
Seguí aplicando los brillos hasta que se hizo más espeso.
Y voilá, nuestra hermosa y brillante estrella está lista y lista.
I invite 
