Hello fellow Hivers!
A week ago, I posted my DIY thank you card in Hive Diy Community and I'm really thankful for the support I received on my blog as it was my first time receiving such a warm support from everyone. In return to the support that the community gave me, I decided to join the contest which is back-to-school-with-hive-diy-school-pencil-case initiated by 
Before sharing my Hive Diy pencil case, let me share a short story. When I was in my elementary years, I never like drawing or creating wonderful decorations in the projects that our teachers gave to us but when I reached high school, so many things had changed because I saw some beautiful cards made by my classmates and how good my dormates are in their school projects. Those memories had been recalled as I made this Diy Pencil Case. It made me brought to how my high school days were. We may have limited school supplies to be used in our projects at that time but because of our creativity, we made something special out of it. That's how my high school days were. So now, let's go to the main content of this blog.

MY DIY PENCIL CASE


Materials Needed:
Insulation Foam - My husband brought this at home from his workplace. This is the remaining insulation foam that they had after attaching the ceiling so instead of throwing it away he just brought it at home and thankful that he did.
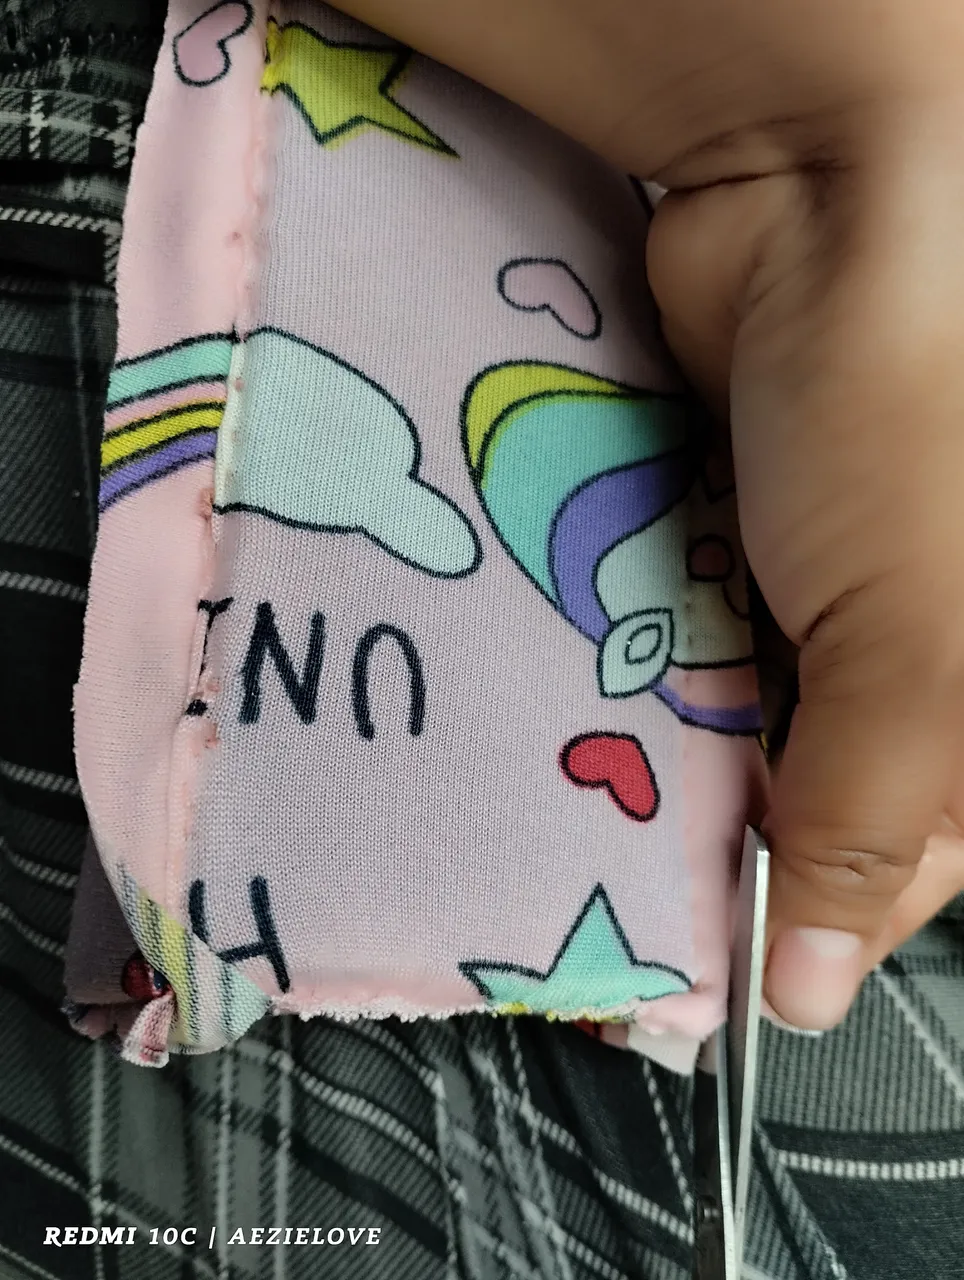
Unused Cloth - this cloth is from the pink T-shirt of my daughter. She suggested it to be used since she wasn't using it anymore.
Sewing needle and thread - I will be hand sewing some parts of this pencil case so I need a roll of thread and needle.
Rugby and Stick Glue - will be used to glue a few parts of this pencil case
Pencil, Scissors, Zipper

STEPS IN MAKING THE DIY PENCIL CASE

Get the rectangular shape insulation foam and a pencil. Place the pencil on top of it to get the length of the pencil case that I wanted to make. After getting the desired length, I add an allowance on both side because I still have to sew it. When I'm already satisfied with the length, I cut it.


Get the unused cloth, fold it almost the same size with the cut insolation foams. Place those cut foams on the folded side then cut the cloth with an allowance on the three sides of it.


Next is sew the two sides of the cloth. I sew the shorter side first since it will be much easier to put the foam inside the sewed cloth if the longer side is still open.

After sewing the two shorter sides, I put the insolation foam inside just like the photo shown. Repeat this step with those other remaining cut clothes so all the insolation foams will be covered with cloth.


Now that all the parts are attached to each other, it's time to put the zipper in it. In the photo shown, I sewed a temporary stitch to the zipper so I would not make a mistake if I sewed it properly.

This is how it looks after sewing the zipper properly. Am I done with it? Oh, I'm not yet done. I still have to put few more things to it especially the inside part where some parts of the zipper is visible.

I covered the part of the zipper that wasn't sewed with the insulation foam. After covering inside, I put few more designs outside of this pencil case to look more appealing as per request of my lovely daughter since she will be the one using it.
Are you curious what's the green thing that I attached to the sides of this pencil case? Well, it's from the used facemask. I just cut the side of the facemask which has a design and glued it using the rugby.

Now here's the final output of this DIY pencil case that I made. I tried putting scissors, glue, pencil, marker, crayons and ballpen but there's still lots of space left. It's now up to my daughter on what she will put or add on it.
Yay, finally I finished it! It takes me hours to get this pencil case done as I didn't do it continuously since I had other chores to do.
Since the contest stated to invite two friends so I would like to invite 

So, that's all for my blog today. Thank you for reading and see you again on my next blogs.
