

Hello my dear friends of this community, I wish you a beautiful day and hope you've had a wonderful time. These past few days I've been quite busy doing many things, and I feel like I haven't been very organized, especially because I feel like I have something scheduled for any given day, and then the day arrives and I can't do anything 🤷🏻♀️. I think this happens to all of us, but well, I feel like in my case it's sometimes like a lifestyle to get used to this disorganization, even though I'm a person who sometimes pushes myself to give my best and do things well, since I know I can do better because of the willpower I have. I feel like it's a discipline I practice on myself. But anyway, we're not here to talk about me, but rather to talk about another project I have for you.
Let me tell you a little about this project... This piece of fabric, which was less than 50 cm long, was supposed to be used to make two pieces. You might be wondering what they were? Well, it was supposed to be this lady's hat and a bandana. Unfortunately, when I cut the fabric, it wasn't long enough, so sadly, I only got one piece. This hat is made in one piece, as it's a single piece that takes up the circumference, length, and width. Join me in the tutorial to see more of the hat's progress.

Materiales: | Materials:
| ESPAÑOL | ENGLISH |
|---|---|
| •Tijeras | •Scissors |
| •Hilo | •That |
| •Retazo de tela de 50 cm de ancho x 50 cm de largo | •Piece of fabric 50 cm wide x 50 cm long |
| •Máquina de coser | •Sewing machine |
| •Cinta métrica | •Measuring tape |
| •Tiza o lápiz | •Chalk or pencil |
Pasos a seguir: | Steps to follow:

Paso 01
Step 01
As I was saying, we need to use enough fabric so that the cylinder of our hat is spacious. So, we're going to place our ruler on top of the fabric and mark 50 cm, and then divide it upwards and downwards by another 50 cm, both in width and length. Then we cut and fold it in half to then cut the waistband that goes around the perimeter of the hat. I'll leave the measurements here in the photos.
Paso 02
Step 02
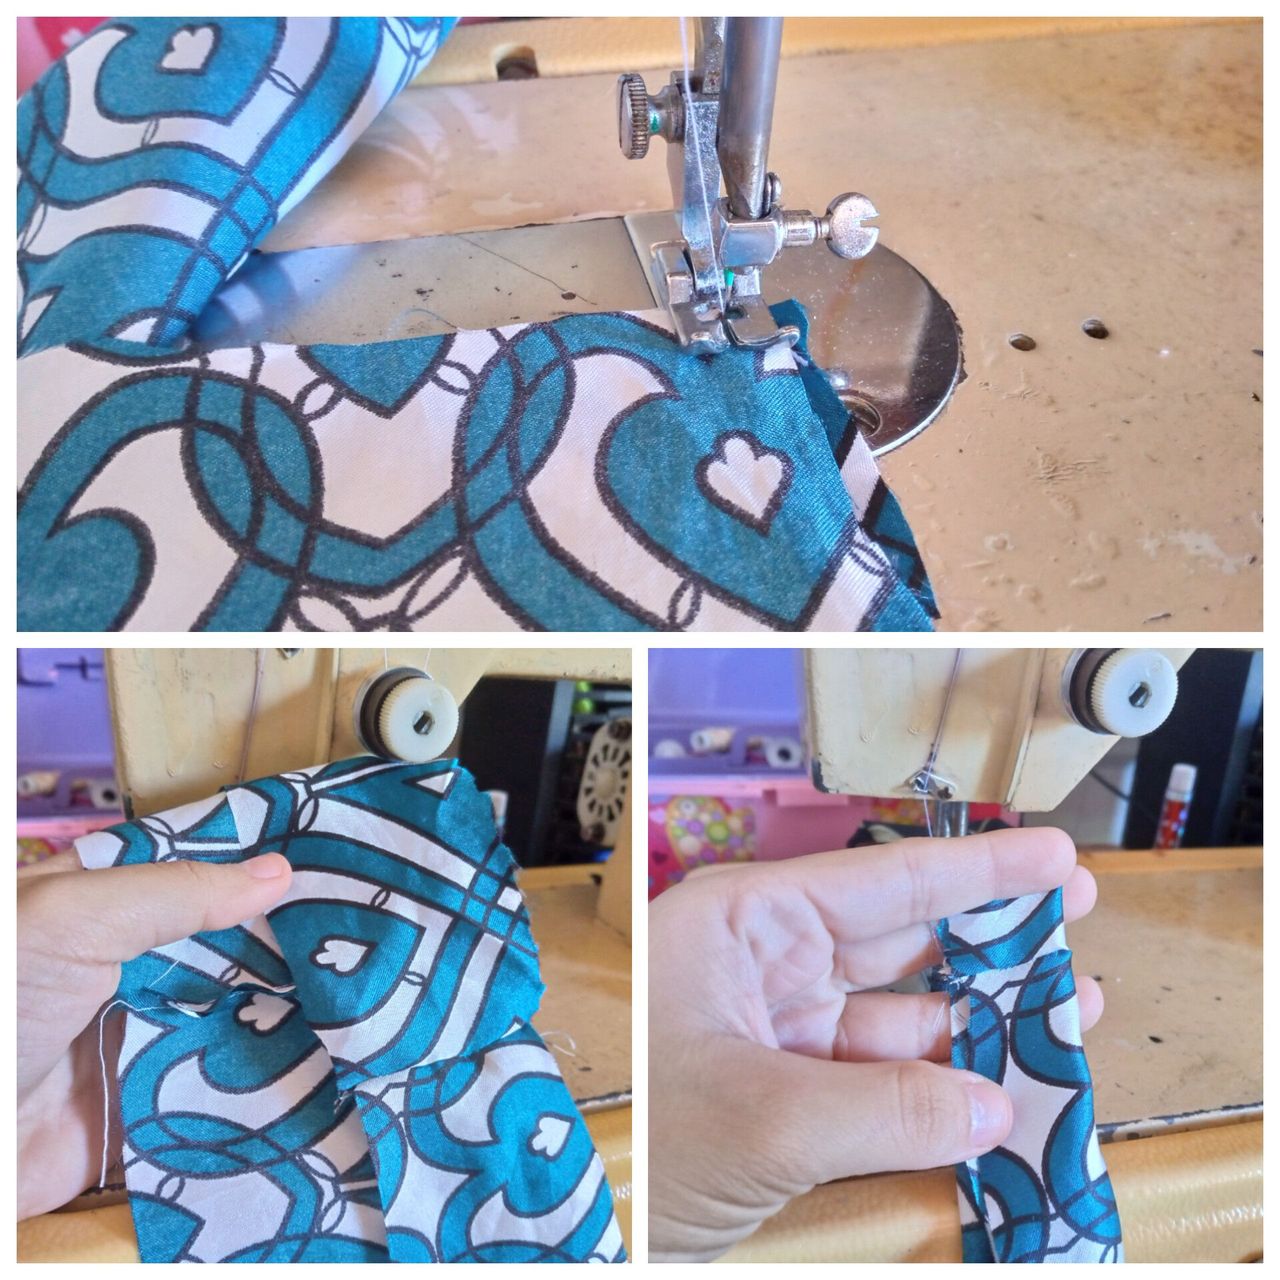
As a second step, we're going to sew our waistband along the sides. Since I cut two pieces, we'll fold these pieces in half, so the raw edge of the fabric is on top and the folded edge is on the bottom. The idea is to sew this waistband to the outline of the hat piece, in this case, a circle. Now we move on to the next step.

Paso 03
Step 03
Next, we'll sew a straight seam with a #3 stitch width and slightly loose tension. After sewing the straight seam, we'll gently pull it, and it should gather. Now, we'll sew around the waistband, leaving a small opening to insert the elastic.

Paso 04
Step 04
We sew the piece to the waistband after sewing the edge of our waistband, we use the tape tool to insert the elastic, we join both pieces with overlock stitching (I did it, you can do it with zigzag stitching), we seal the hole we made where we inserted the elastic, and with this we finish easily.
Resultado: | Result:
This is how the piece turned out. I was going to iron it, but I feel it won't be necessary since it's an easy-to-use fabric and the hat might lose its shape. I hope you really liked this little project. Don't forget to share if you did; that would show that you did. Thanks for visiting, and I wish you success in everything you do. Until the next blog post, greetings to all you artisans! 👋🏻😌


¡Hola!...Soy Annie
Una chica que le apasiona el diseño,la costura las manualidades y crear cualquier cosa de mucho uso con mis manos,tengo como hobbie diseñar ropa,la música ,el maquillarme,la fotografía,la pintura y el dibujo,expresar mis ideas y sentimientos en un dibujo es algo que me gusta hacer,amo la naturaleza,un atardecer ,la playa y disfrutar con mis familiares de los buenos momentos de la vida.❤️
✨Creando las cosas con amor🧵♥️ | ✨Creating things with love🧵♥️
Images:my own work | Edited by:Canva® and InShot | Translator:Google Translate |Device:TecnoSpark 8C .
