

🧶Bienvenido al mundo del DIY conmigo,un placer saludarles ☺️✨🎨. | 🧶Welcome to the world of DIY with me, a pleasure to greet you ☺️✨🎨.
Hello beautiful people, I wish you a good night and hope you had an excellent day. For me, there's nothing better than ending my busy day by sharing a project or two. These past few days I've been quite busy and haven't been able to share some of the DIY and sewing projects you enjoy. Lately, I've been working more on sewing projects since it's my livelihood and it's what takes up most of my time. But we're back again, enjoying your work and returning to what I love to do: writing and crafting. It's a way to filter out how bad I can sometimes feel. I want to take this opportunity to thank you all for always supporting and sharing my work. It's a great help and encouragement to me, and it motivates me to continue sharing tips and ideas with you and with those who are just starting out in this world to improve and embark on this vast world of sewing. Thank you all in advance for your valuable time. Without further ado, I want to show you the creative process of this beautiful blouse I made for myself. I hope you like it! I like it😍🧵.

Materiales: | Materials:
- 💗Trozo de tela de pelón
- 💗70 cm de tela microdurazno
- 💗Máquina de coser
- 💗Herramienta pasacintas
- 💗Patrones o medida como referencia para el corte de la tela
- 💗Tijeras
- 💗Trozo de tela de lentejuelas
- 💗Hilo
- 💗Tiza de costura
- 💗Metro de costura
- 💗Alfileres
- 💗Elástico de 1 cm de ancho
- 💗Piece of non-woven fabric
- 💗70 cm of micro-peach fabric
- 💗Sewing machine
- 💗Tape threader
- 💗Patterns or measurements as a reference for cutting the fabric
- 💗Scissors
- 💗Piece of sequined fabric
- 💗Thread
- 💗Sewing chalk
- 💗Sewing tape measure
- 💗Pins
- 💗1 cm wide elastic
Pasos a seguir: | Steps to follow:


Paso 01
Step 01
The first thing I did was use a blouse as a reference measurement to cut the pieces. I cut the front and back pieces, and the sleeves. The blouse model has gathered straps at the sides, so I cut four pieces of fabric ribbon for the straps and one for the bias tape. I also cut the heart piece and a square of non-woven fabric to place under the heart when I sew.


Paso 02
Step 02
As a second step, we place the pellon fabric or square under the front part or piece of the blouse, then we place the heart on top and with pins I will hold it by the sides to prevent it from coming loose or moving from place when we are going to sew, with a straight stitch we sew along the entire edge of the heart.


Paso 03
Step 03
Before sewing the blouse completely, it's time to sew the elastic to the sleeve. I'll be making it with a vertical gathered design on each sleeve. To do this, we'll take 13 cm of elastic for each sleeve and make a mark with chalk or a small snip with scissors at the middle point of the sleeve. This will guide me in positioning the elastic and sewing it vertically, stretching it well until it reaches the end. Once stretched enough, we sew with a straight stitch, and that's how our sleeve looks.


Paso 04
Step 04
I proceed to sew the shoulder part of the blouse, the front and back pieces, with a straight stitch and overlock. Then we open the armhole of the blouse and position our sleeves at the point of our sleeve with the shoulder seam. We sew without sewing at the point at each end of the sleeve finish, leaving 5 cm unsewn. Then we sew the edge of the sides, each one separately, and we are going to seal the sides of the blouse, leaving 3 cm. We sew a vertical seam with a straight stitch from those 3 cm that we left to the inside, and then we fold the facings. This will be the piece or channel through which we will pass our straps and gather the blouse once we put them in that place.


Paso 05
Step 05
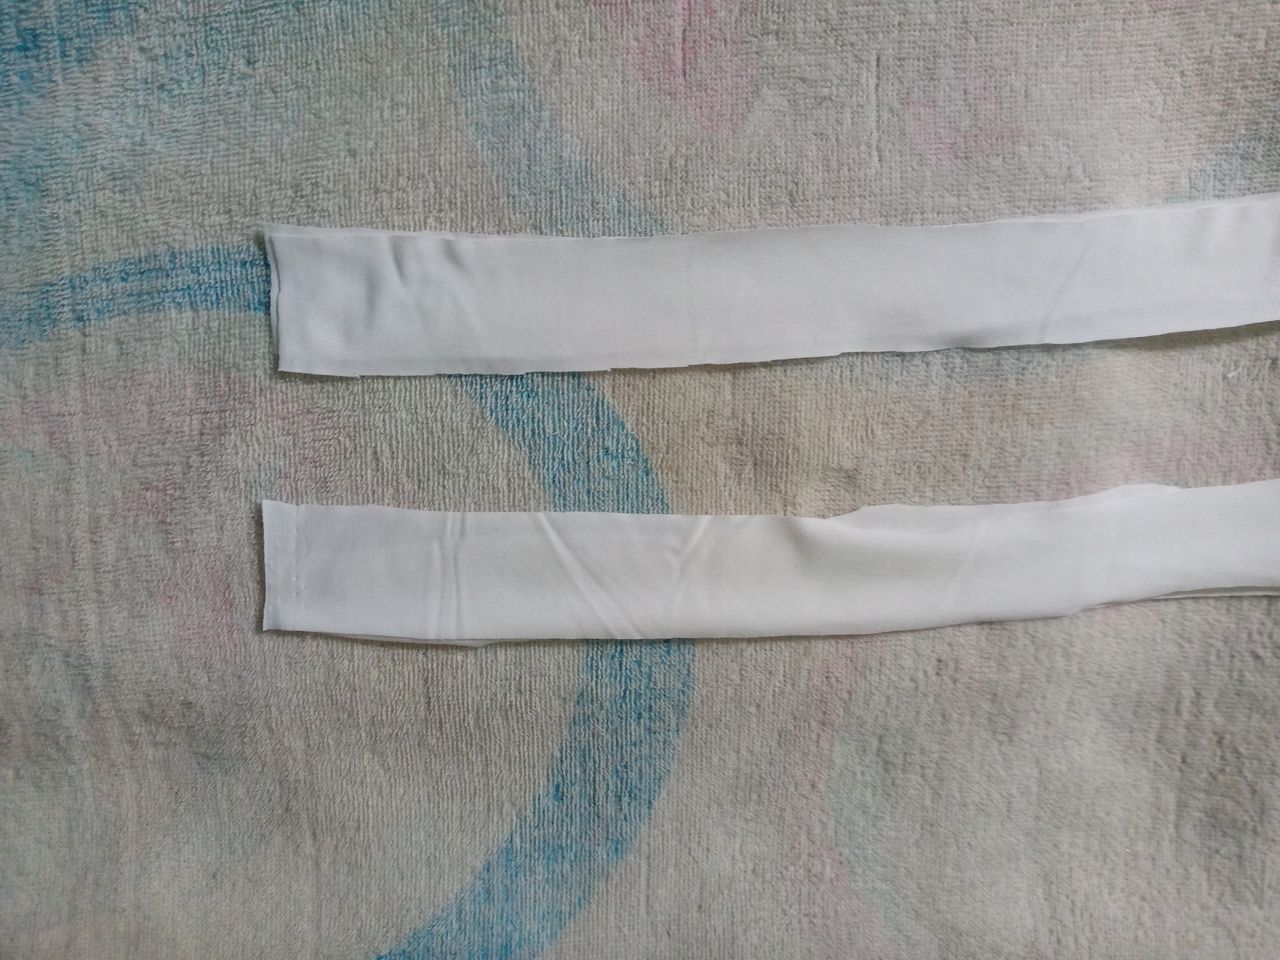
Finally, we'll sew our neck bias binding. We join it at one end, then sew it from the inside out with a straight stitch. We overlock it and proceed to sew the straps. Next, we sew the folds or hem of the blouse and insert our straps using a tape tool or whatever you have, passing them through the channel. We sew the sleeves at the bottom again with a straight stitch and overlock to seal. We make small knots at the ends of the straps, and there you have it, our blouse is finished and pretty!
Resultado: | Result:


¡Hola!...Soy Annie
Una chica que le apasiona el diseño,la costura las manualidades y crear cualquier cosa de mucho uso con mis manos,tengo como hobbie la música ,el maquillarme,la pintura y el dibujo,expresar mis ideas y sentimientos en un dibujo es algo que me gusta hacer,amo la naturaleza,un atardecer ,la playa y disfrutar con mis familiares de los buenos momentos de la vida.❤️
Creando las cosas con amor🌷♥️ | Creating things with love🌷♥️
Images:my own work | Edited by:Canva® and PicsArt © | Translator:Google Translate |Device:TecnoSpark 8C .
