Buenas tardes mi hermosa familia de Hive y de mi gran cominudad de Hive Diy. Espero estes todos excelente y bendecidos. Hoy quiero mostrarles paso a paso como hacer un hermoso arreglo floral realizado con material reciclado.
Good afternoon my beautiful Hive family and my great Hive Diy community. I hope you are all excellent and blessed. Today I want to show you step by step how to make a beautiful flower arrangement made with recycled material.
Los materiales que usaré son:
- 2 Botellas Plásticas verdes.
- 2 Botellas Plásticas transparentes.
- Tijeras.
- Pinturas.
- Pincel.
- Un encendedor.
- Una vela.
- Lápiz.
- Navajas. Papel crepe verde.
- Silicon en barras.
- Silicon líquido.
- Una bolsa plástica verde.
- Piedras pequeñas.
- Una cinta fucsia fina.
- Un marcador.
- Una pinza.
- Alambre de cobre grueso.
- Cantón de reciclaje.
The materials I will use are:
- 2 Green Plastic Bottles.
- 2 Transparent Plastic Bottles.
- Pair of scissors.
- Paintings.
- Brush.
- A lighter.
- A candle.
- Pencil.
- Knives. Green crepe paper.
- Silicon in bars.
- A green plastic bag.
- Small rocks.
- A thin fuchsia ribbon.
- A marker.
- A clamp.
- Thick copper wire.
- Canton of recycling.
Paso 1.
Step 1.
Marque sobre el cartón las formas de unas hojas para hacer los moldes de 2 tamaños diferentes.
Mark on the cardboard the shapes of some leaves to make the molds of 2 different sizes.
Paso 2.
Step 2.
Recorte los moldes para hacer las hojas.
Cut out the molds to make the sheets.
Paso 3.
Step 3.
Marque con un marcador 4 hojas en la parte superior de una botella verde, con ayuda del molde grande. Estas quedaron separadas en modo de una cruz.
Mark with a marker 4 sheets on top of a green bottle, using the large mold. These were separated in the form of a cross.
Paso 4.
Step 4.
Con el molde más pequeño marqué 4 hojas, estas quedaron en la separación de las hojas anteriores y un poco más bajas.
With the smallest mold I marked 4 leaves, these were in the separation of the previous leaves and a little lower.
Paso 5.
Step 5.
Marque un tallo de 1 centímetro debajo de cada hoja hasta el fondo de la botella.
Mark a 1 centimeter stem under each leaf to the bottom of the bottle.
Paso 6.
Step 6.
Maque sobre otra botella verde las mismas formas de las hojas y sus tallos, pero esta vez hice las hojas en la base de la botella.
I made on another green bottle the same shapes of the leaves and their stems, but this time I made the leaves at the base of the bottle.
Paso 7.
Step 7.
Recorte las dos botellas e hice las formas de las hojas y sus tallos.
I cut out the two bottles and made the shapes of the leaves and their stems.
Paso 8.
Step 8.
Quedando ambas botellas de esta forma.
Keeping both bottles in this way.
Paso 9.
Step 9.
Le corte el fondo a la botella, hice un pequeño corte para quitar la unión y conserve ese fondo de botella.
I cut the bottom of the bottle, I made a small cut to remove the union and keep that bottle bottom.
Paso 10.
Step 10.
Luego enrolle la botella que le había quitado la unión y le coloque un poco de silicon caliente para sujetarla.


Then roll up the bottle that had been removed from the junction and put some hot silicone on it to hold it.
Paso 11.
Step 11.
Encendí la vela y comencé a pasar los tallos de las hojas para darle forma y un tono de color más oscuro. Al pasar los tallos por el calor de la vela, estos tallos deben sujetarse con solo un poco de tensión para que queden de la forma deseada.
I lit the candle and began to pass the stems of the leaves to give it shape and a darker color tone. As the stems go through the heat of the candle, these stems should be held in place with just a little tension to make them the desired shape.
Paso 12.
Step 12.
Quedando ambas botellas de esta forma y color.
Remaining both bottles of this shape and color.
Paso 13.
Step 13.
Luego introduje la botella que enrolle dentro de la otra botella y la pegue con silicon caliente para que quedara fija.
Then I introduced the bottle that I rolled inside the other bottle and glued it with hot silicone so that it would be fixed.
Paso 14.
Step 14.
Con la tijera corté varias cintas de la bolsa verde de unos 2 centímetros de grosor y muy largas.
With the scissors I cut several ribbons from the green bag about 2 centimeters thick and very long.
Paso 15.
Step 15.
Del alambre de cobre corte 5 trozos de 20 centímetros aproximadamente.
Cut 5 pieces of approximately 20 centimeters from the copper wire.
Paso 16.
Step 16.
En una de las tapas de las botellas hice 5 agujeros por donde debe pasar con mucha facilidad en alambre de cobre.
In one of the bottle caps I made 5 holes through which it should pass very easily in copper wire.
Paso 17.
Step 17.
Con el cartón hice un molde y sobre una de las botellas transparente hice muchos pétalos, También hice pétalos sin moldes de diferentes tamaños.
With the cardboard I made a mold and on one of the transparent bottles I made many petals. I also made petals without molds of different sizes.
Paso 18.
Step 18.
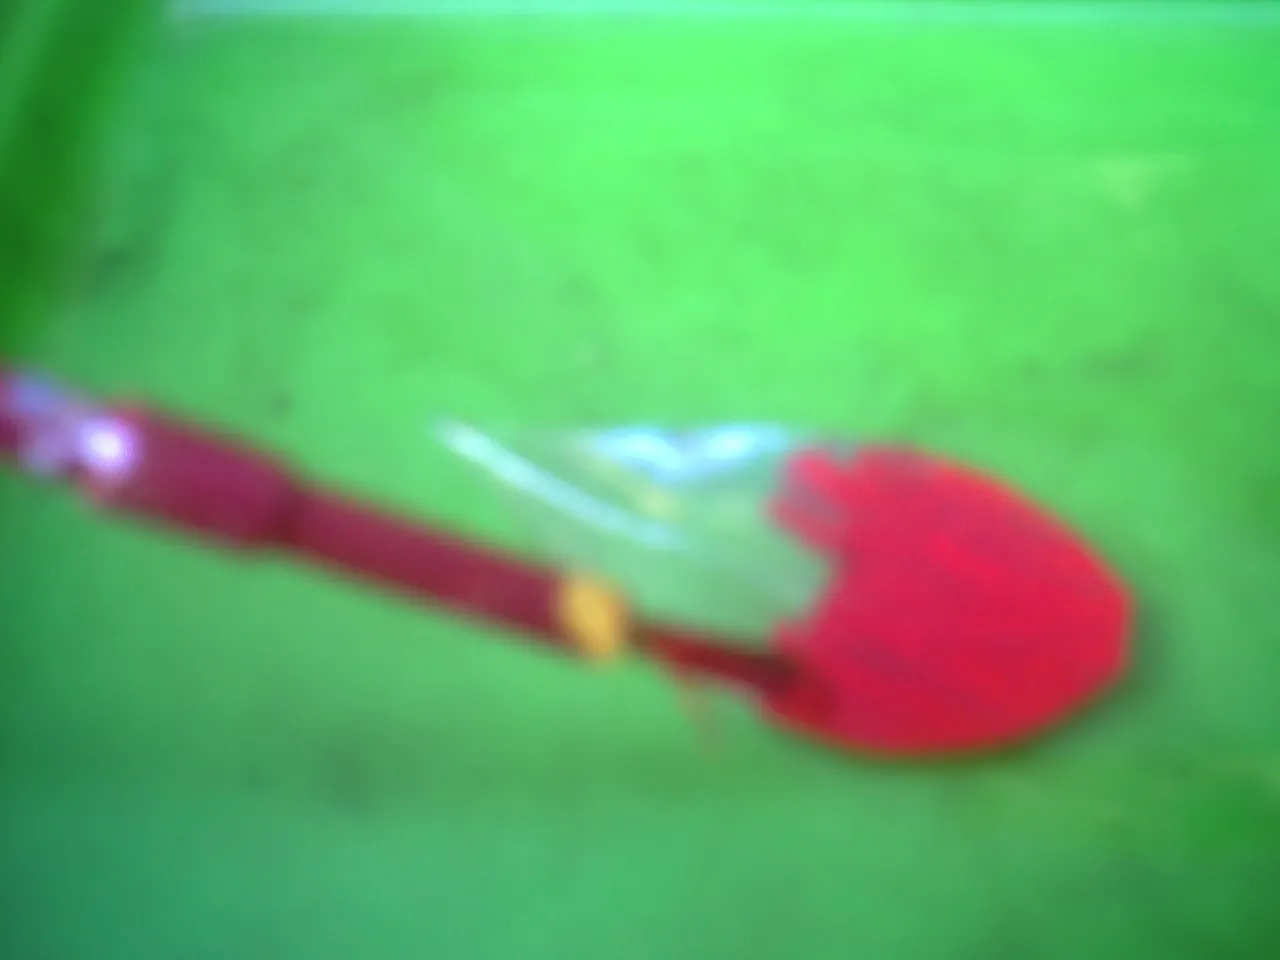
Pinte de color rojo la base de los pétalos y de amarillo la parte superior. Difumine los dos colores para hacer un tono de color naranja.
Paint the base of the petals red and the top yellow. Blend the two colors to make a shade of orange.
Paso 19.
Step 19.
Sobre una barra de silicon comencé a pegar los pétalos. Al principio pequé 3 y luego continúe pegando pétalos en la base de cada pétalo hasta obtener la forma de las flores. Pueden colocar la cantidad de pétalos que deseen.
On a silicone stick I began to glue the petals. At first I sinned 3 and then continue to glue petals at the base of each petal until you get the shape of the flowers. They can place as many petals as they want.
Paso 20.
Step 20.
Corte un trozo cuadrado de papel crepe verde y le hice un agujero en el centro e introduje la base de la flor y lo pegue en la base de la flor.
I cut a square piece of green crepe paper and made a hole in the center and inserted the base of the flower and glued it to the base of the flower.
Paso 21.
Step 21.
Corte la barra de silicon que me sirvió de base para la flor y calenté una de las puntas del trozo de alambre y lo introduje en la base de la flor, para hacer el nuevo tallo de la flor.
I cut the silicon bar that served as the base for the flower and heated one of the ends of the piece of wire and inserted it into the base of the flower, to make the new flower stem.
Paso 22.
Step 22.
Con la cinta de que corte de la bolsa verde, pegue un extremo en la base de la base de la flor y comencé a enrollarla sobre el alambre hasta su final.
Using the tape that I cut from the green bag, I glued one end to the base of the flower's base and began wrapping it over the wire to its end.
Paso 23.
Step 23.
Enrosque la tapa con los 5 agujeros en la botella e introduje las flores y corte los sobrantes de alambre.
Screw the cap with the 5 holes on the bottle and put the flowers in and cut the excess wire.
Paso 24.
Step 24.
Pegue la cinta fucsia en el borde de la base de la botella verde que había conservado y también pegue la tapa con las flores en la base.
Glue the fuchsia ribbon to the edge of the base of the green bottle that you had kept and also glue the lid with the flowers to the base.
Paso 25.
Step 25.
Coloque las piedras en la base para darle soporte al arreglo floral.
Place the stones at the base to support the flower arrangement.
Paso 26.
Step 26.
Coloque las hojas y las flores en su forma definitiva.
Place the leaves and flowers in their final shape.
Ya está listo el arreglo floral. Lo que antes era un material de desecho, ahora es un hermoso arreglo para embellecer nuestro hogar o nuestra oficina.
The flower arrangement is ready. What was once a waste material is now a beautiful arrangement to beautify our home or office.
Espero les guste, nos vemos muy pronto y mil gracias por su hermosa compañía.
I hope you like it, see you very soon and thank you very much for your beautiful company.