

[Esp]
¡Saludos comunidad!
Mi inspiración de hoy fue más hacia lo comercial, el negro es un color que combina con toda prenda de vestir y con todo color de cabello, es más este accesorio de cabello también lo he pensado para los cabello rizados hermosos.
El tipo de tela que elegí también fue pensando en lo comercial y la elegancia, es una pieza sutil y elegante que realza cualquier tipo de cabello y de cualquier largo que se pueda recoger.
Estoy disfrutando mucho de hacer esta colección de lazos, hoy te muestro cómo logré este modelo, en la medida que voy practicando están saliendo mejor.
! [English version]
Hello everyone!
My inspiration today was more commercial in nature; black is a colour that goes with any outfit and any hair colour. What’s more, I’ve also designed this hair accessory with beautiful curly hair in mind.
The type of fabric I chose was also selected with commercial appeal and elegance in mind; it’s a subtle, elegant piece that enhances any hair type and any length that can be tied up.
I’m really enjoying making this collection of hair ties. Today I’ll show you how I created this design; the more I practise, the better they’re turning out.

Materiales / Materials
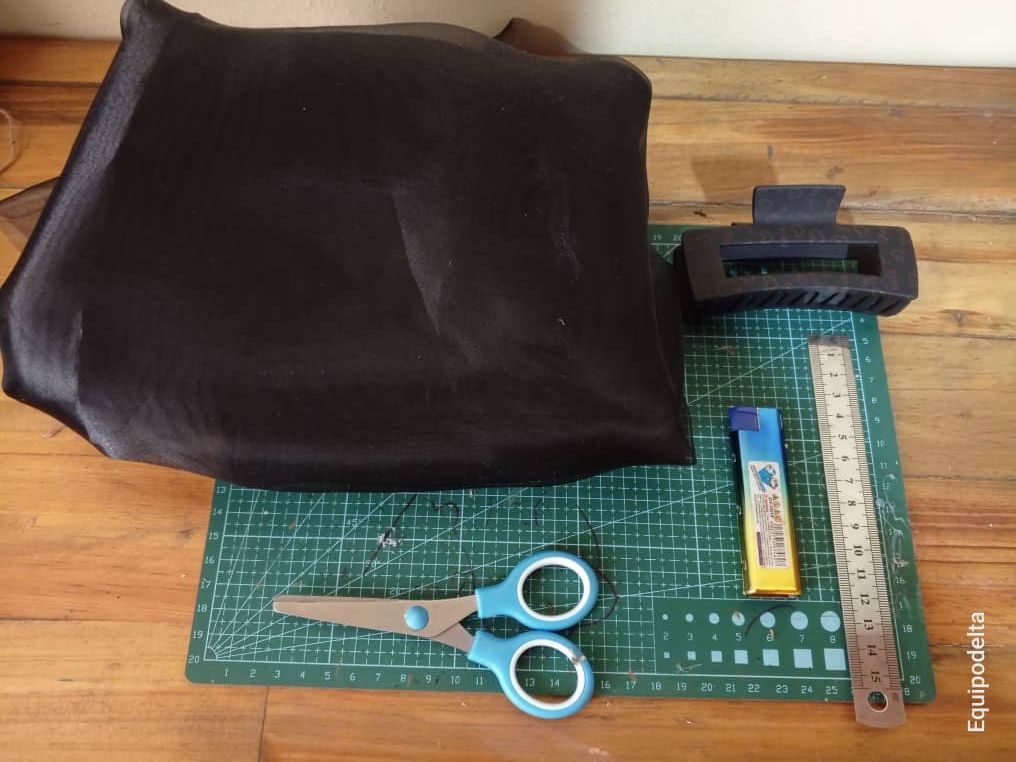

| Spanish | English | |
| Clip grande para el cabello | Large hair clip | |
| Tijera | Scissors | |
| Tela organza cristal | Crystal organza fabric | |
| Silicón caliente | Hot silicone | |
| Regla, hilo y aguja de coser | Ruler, thread and sewing needle | |
| Yesquero | Tinder | |
| Maquina de coser | Maquina de coser |
Paso a paso / Step by Step
Step 1️⃣/ Paso 1️⃣
 |  |

[Esp]
He decidido en esta pieza usar la máquina de coser para hacerle un dobladillo, primero porque lo hace ver más prolijo, mejor acabado, segundo el costo del yesquero es superior a un tubo de hilo y me dura mucho menos, además tiendo a quemarme los dedos y la tela de forma irregular, tampoco he tenido suerte con una vela, tiende a dejarme manchas de humo en la tela. Es cierto que para algunas telas no es necesario ni yesquero ni dobladillo, pero para estos tipos de tela deshilachan mucho y es mejor sellarlos con algo.
Corta la pieza del largo de la tela por 10 centímetros de ancho y necesitas 2 piezas.
Luego realiza el dobladillo con zig zag en la máquina de coser.
Si en algunas partes los pelitos de la tela se niegan a ceder, es bueno quemarlo con cuidado usando el yesquero, al fin y al cabo es solo una pequeñita parte.
! [English version]
For this piece, I’ve decided to use the sewing machine to hem it. Firstly, because it looks neater and gives a better finish; secondly, because a hemmer costs more than a spool of thread and doesn’t last nearly as long. I also tend to burn my fingers and the fabric unevenly, and I haven’t had much luck with a candle either – it tends to leave soot marks on the fabric. It’s true that for some fabrics, neither a seam sealer nor a hem is necessary, but these types of fabric fray a lot and it’s best to seal them with something.
Cut the piece to the length of the fabric, 10 centimetres wide; you’ll need two pieces.
Then sew the hem using a zigzag stitch on the sewing machine.
If in some places the fabric fibres refuse to give way, it’s a good idea to carefully singe them with the lighter; after all, it’s only a tiny bit.
Step 2️⃣/ paso 2️⃣
 |  |

[Esp]
Una vez cosido el ruedo de ambas piezas comenzamos a coser las ondas frunciendo.
La primera parte que son cada extremo de la tela tiene una medida de 8 centímetros doblados luego cose a mano una recta, hala el hilo para fruncir y seguidamente remata (como decía mi santa madre).
! [English version]
Once the hem of both pieces has been sewn, we begin to sew the gathers.
The first section—which is each end of the fabric—is folded over 8 centimetres; then sew a straight line by hand, pull the thread to gather the fabric, and then secure the end (as my dear mother used to say).
Step 3️⃣/ paso 3️⃣
 |  |

[Esp]
Si trabajas en volúmenes es más cómodo marcar cada 14 centímetros la pieza con un color que no se note mucho, en la marca pasar el hilo, aprietas para fruncir y ajusta con un nudo. Iras repitiendo este paso en ambas piezas.
! [English version]
If you’re working with large pieces, it’s easier to mark the fabric every 14 centimetres using a colour that isn’t too noticeable; thread the needle through the mark, pull it tight to gather the fabric, and secure it with a knot. Repeat this step on both pieces.
Step 4️⃣/ paso 4️⃣
 |  |

[Esp]
Comienza a pegar cada onda de tela en el gancho, revisando la separación de cada una y las dimensiones.
Al terminar un lado del gancho o pinza, repetimos los pasos del otro lado.
Esta tela es sensacional para estos proyectos, la super recomiendo.
Así queda armado nuestro elegante lazo, espero les guste cómo va mi colección.
! [English version]
Start attaching each strip of fabric to the hook, checking the spacing between them and the dimensions.
Once you’ve finished one side of the hook or clip, repeat the steps on the other side.
This fabric is brilliant for these projects; I highly recommend it.
And there you have it – our elegant bow is complete. I hope you like how my collection is coming along.


Créditos / Credits
💜💜💜

 |  |
💜💜💜

