 y que Dios me los cuide.
Bueno estoy de nuevo con una bella manualidad, que es un bonsái construido de calambres de cobre y piedras de colores.
y que Dios me los cuide.
Bueno estoy de nuevo con una bella manualidad, que es un bonsái construido de calambres de cobre y piedras de colores.
Greetings and hugs to all the members of this beautiful community of
Well I'm back with a beautiful craft, which is a bonsai made of copper cramps and colored stones.
Saben que los bonsái son árboles naturales enanos, que con un largo proceso de corte, cuidados, preparación de la tierra con nutrientes y sembrado en masetero o porron los convierten en plantas miniaturas, este arte es japones.

They know that bonsai are natural dwarf trees, that with a long process of cutting, care, preparation of the soil with nutrients and planting in a pot or porron turn them into miniature plants, this art is Japanese.

Lo principal de esta manualidad es tener mucha paciencia y los materiales a utilizarse son muy pocos, y son los siguientes:
• Medio metro de cable electrico N° 12 de varios pelos.
• piedras de colores de bisutería.
• Alicate y pinza.
• Pega y una piedra de su gusto.
The main thing about this craft is to have a lot of patience and the materials to be used are very few, and they are the following:
• Half a meter of electric cable No. 12 of several hairs.
• colored jewelery stones.
• Pliers and clamp.
• Paste and a stone of your choice.

1° Corte el cable en 3 parte de 20- 20- y 10 centímetros, y desprenda el plástico o protector que tiene el cable.
2° Una las 2 parte de 20 cm y empiece a entorchar o entrelazar de un solo lado, que sera el tronco, ver foto.
1° Cut the cable into 3 parts of 20-20- and 10 centimeters, and remove the plastic or protector that the cable has.
2° Join the 2 parts of 20 cm and begin to twist or intertwine on one side, which will be the trunk, see photo.
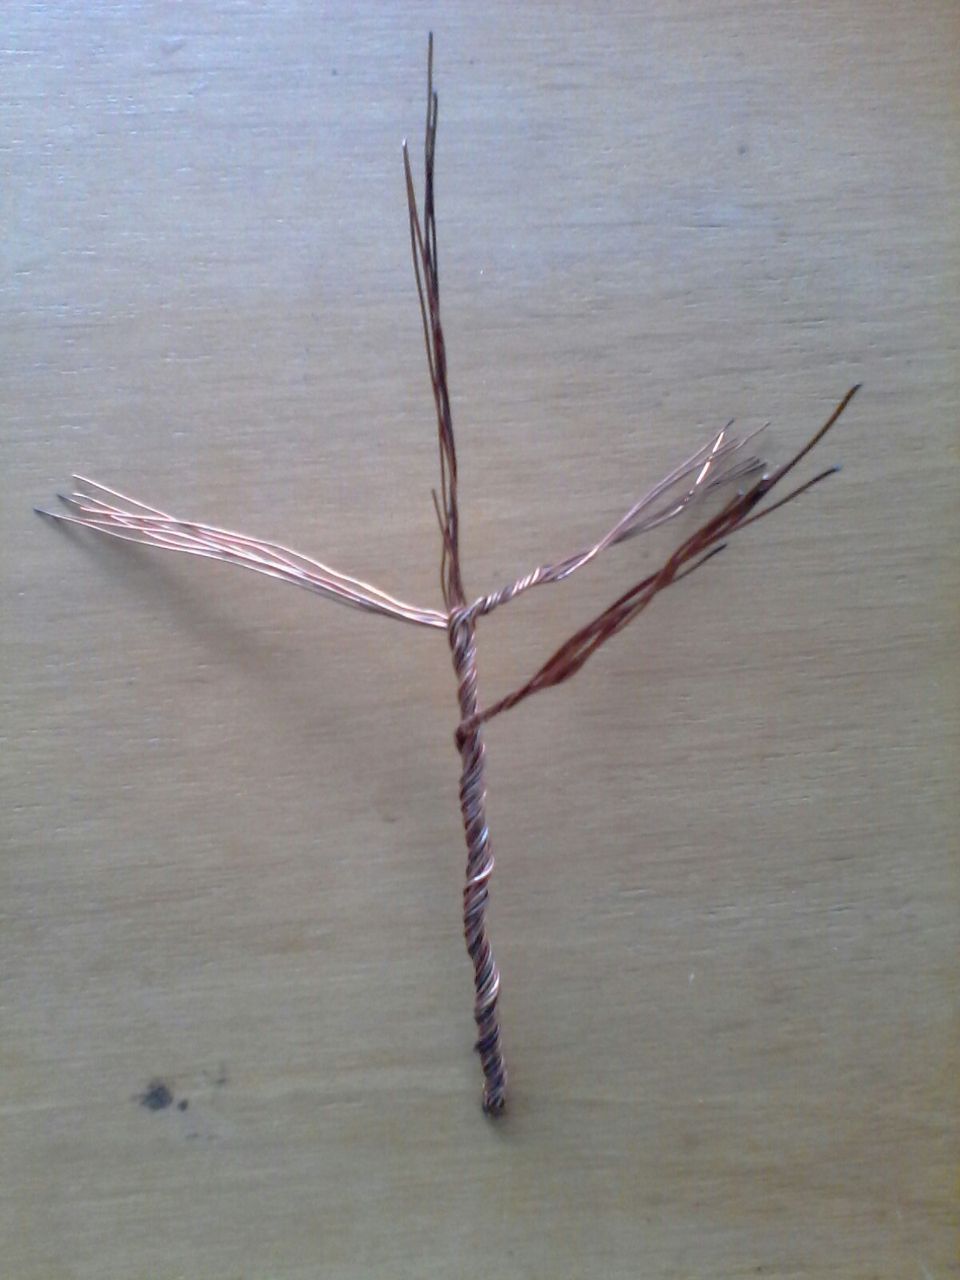

3° La parte de arriba del tronco, dividirla en varias parte, que seran las ramas.
4° La parte de 10 cm, van entorchadas de 2 alambre que harían también de ramas, como se ve en la foto.
3° The upper part of the trunk, divide it into several parts, which will be the branches.
4° The 10 cm part is wound with 2 wires that would also make branches, as seen in the photo.
5° Ahora coloque las ramas de 2 alambre entre las ramas principales y siga entorchando hasta el final.
6° Coloque las piedra donde usted las desee fijándola con pega, hagan doblaje a las ramas para que se vea mas natural.
7° Habrá un agujero en la piedra e incruste con pega.

5° Now place the branches of 2 wire between the main branches and continue twisting until the end.
6° Place the stone where you want it, fixing it with glue, bend the branches to make it look more natural.
7° There will be a hole in the stone and embed it with glue.

Saludos, abrazos y hasta la próxima publicación, que Dios los bendiga.
Traductor de Google.
Foto de mi Auyantepuy.

Greetings, hugs and until the next publication, God bless you.
Google translator.
Photo of my Auyantepuy.