Hola muy buenas tardes tengan todos mis amigos, espero que se encuentren bien, les quiero compartir un marcapáginas,sabemos que para los amantes de la lectura estos marcapáginas nunca pasan de moda , absolutamente nunca , en esta oportunidad me inspire en un sapito confuso (está aprendiendo a leer jaja) , bueno espero que pueda ser motivo para que realicen uno desde sus hogares
Hello, good afternoon, my friends. I hope you are all well. I want to share a bookmark with you. We know that for book lovers, bookmarks never go out of style, absolutely never. This time, I was inspired by a confused little frog (he's learning to read, haha). Well, I hope this inspires you to make one at home.

Materiales qué utilice:
-Foamis
-Tijera
-Silicon
-Lapiz y papel
Materials I used:
-Foam
-Scissors
-Silicone
-Pencil and paper

A continuación los pasos a seguir:
Iniciaremos realizando un patrón con las piezas para formar el cuerpo del sapito que es la temática en esta oportunidad
Here are the steps to follow:
We will start by making a pattern with the pieces to form the body of the frog, which is the theme this time.

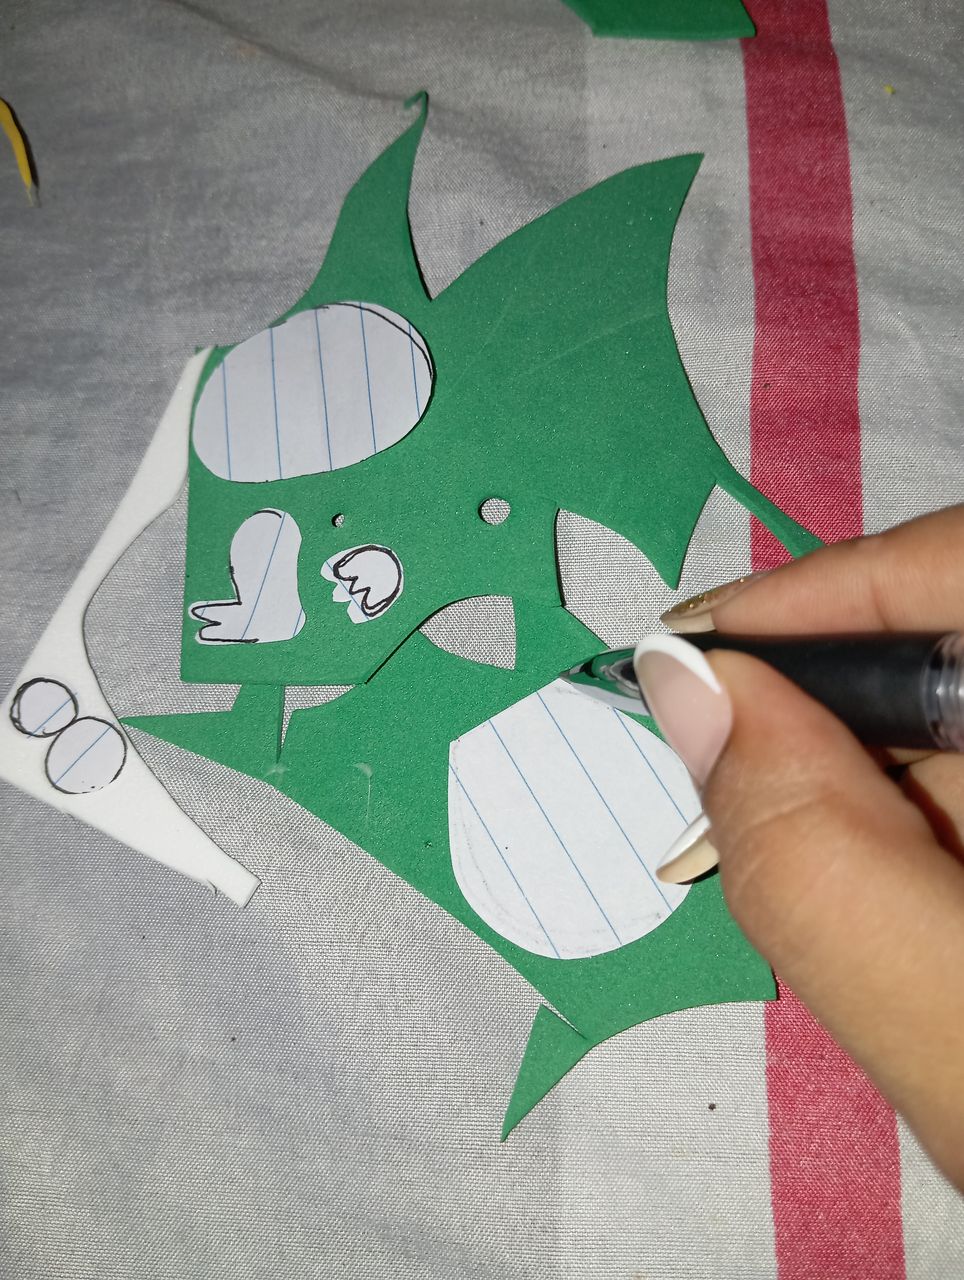
Una vez que marcamos nuestras piezas, vamos a continuar tomando el foamis y estaremos marcando en ella las piezas del patrón, marcaremos su cuerpo,cabeza , patas delanteras pequeñas y patas traseras en posición sentado
Once we have marked our pieces, we will continue by taking the foam and marking the pattern pieces on it. We will mark the body, head, small front legs, and back legs in a sitting position.
Seguidamente vamos a continuar tomando nuestra tijera y recortaremos las piezas que marcamos en el paso anterior
Next, we will continue by taking our scissors and cutting out the pieces we marked in the previous step.

A continuación vamos a iniciar pegando y formando nuestro sapito , iniciamos pegando la cabeza al cuerpo , luego continuamos pegando sus patas delanteras y patas traseras , por último continúe pegando su barriga color verde claro y su rostro con apariencia de estar confuso
Next, we will start gluing and forming our frog. We will start by gluing the head to the body, then continue by gluing the front and back legs. Finally, continue by gluing the light green belly and the face, which should look confused.

Luego continúe en este siguiente paso recortando unas piezas para hacer una flor donde estará posando el sapito , recorte la mitad de una flor , en el centro pegué su semilla amarilla y a los lados unas hojas verde
Then continue with the next step by cutting out some pieces to make a flower for the frog to sit on. Cut out half a flower, glue the yellow seed in the center, and glue some green leaves on the sides.

Seguidamente continúe pegando al sapito encima de la media flor , luego continúe realizando unos flecos con hilos de cocer los cuales pegué en la parte de abajo de la flor , en los pétalos le continúe pegando unas piedras plásticas blancas , finalizando así mi creación de hoy .
Next, stick the frog on top of the half flower, then make some fringes with sewing thread, which I stuck to the bottom of the flower. On the petals, I stuck some white plastic stones, thus finishing my creation for today

Este es el resultado final de mi hermoso marcapáginas, espero le guste amigos .
Créditos: las fotos las tomé con mi redmi 12 y traduje los textos con el traductor deepl,feliz tarde
Los marcapáginas nunca pasan de moda "diseño Sapito"
This is the final result of my beautiful bookmark. I hope you like it, friends.
Credits: I took the photos with my Redmi 12 and translated the texts with the Deepl translator. Have a nice afternoon!
Bookmarks never go out of style. "Sapito design"
