


Hello, my dear readers. I hope you are having or have had a wonderful day. We are off to a good start in December; I wish you all prosperous days as we prepare to welcome the new year with optimism, eager to continue progressing and achieving new goals.
Today I bring you a beautiful cushion with cats hugging each other, to replace your old cushions.
I'm not really a cat lover; I prefer dogs, but my daughter loves cats, so here I am again, indulging her.
Let me tell you a story that happened to me when I was a child. We lived in a house with a large yard, and I had a little friend who lived next door whom my sisters and I used to visit. The funny thing was how we got to her house.
The yards were divided by a sheet of brass, and there was a hole that led right to her house; we used to go through there. One day, as I was going through, I had to put one foot in first and then crouch down to get the rest of my body through, but when I put my foot in, I didn't notice that there was a cat on the other side on the floor, so when I stepped down, I stepped on the cat, and obviously it was going to defend itself and bit my ankle.
My scream was heard everywhere; my mom wasn't home because she was working, so we were being looked after by our older brother, who knew nothing about caring for us, so what he thought of doing was pouring alcohol on me; it hurt more than the bite itself.
Since then, I haven't liked cats; every time I saw one, I would walk away from it, going as far away as I could, thinking it might bite me.
Now, as fate would have it, my daughter loves everything I don't, starting with cats, but that's life; I'll have to adapt.
Without further ado, and so as not to overwhelm you with my childhood traumas, I'll show you the step-by-step process of making this cushion.


STEP BY STEP:
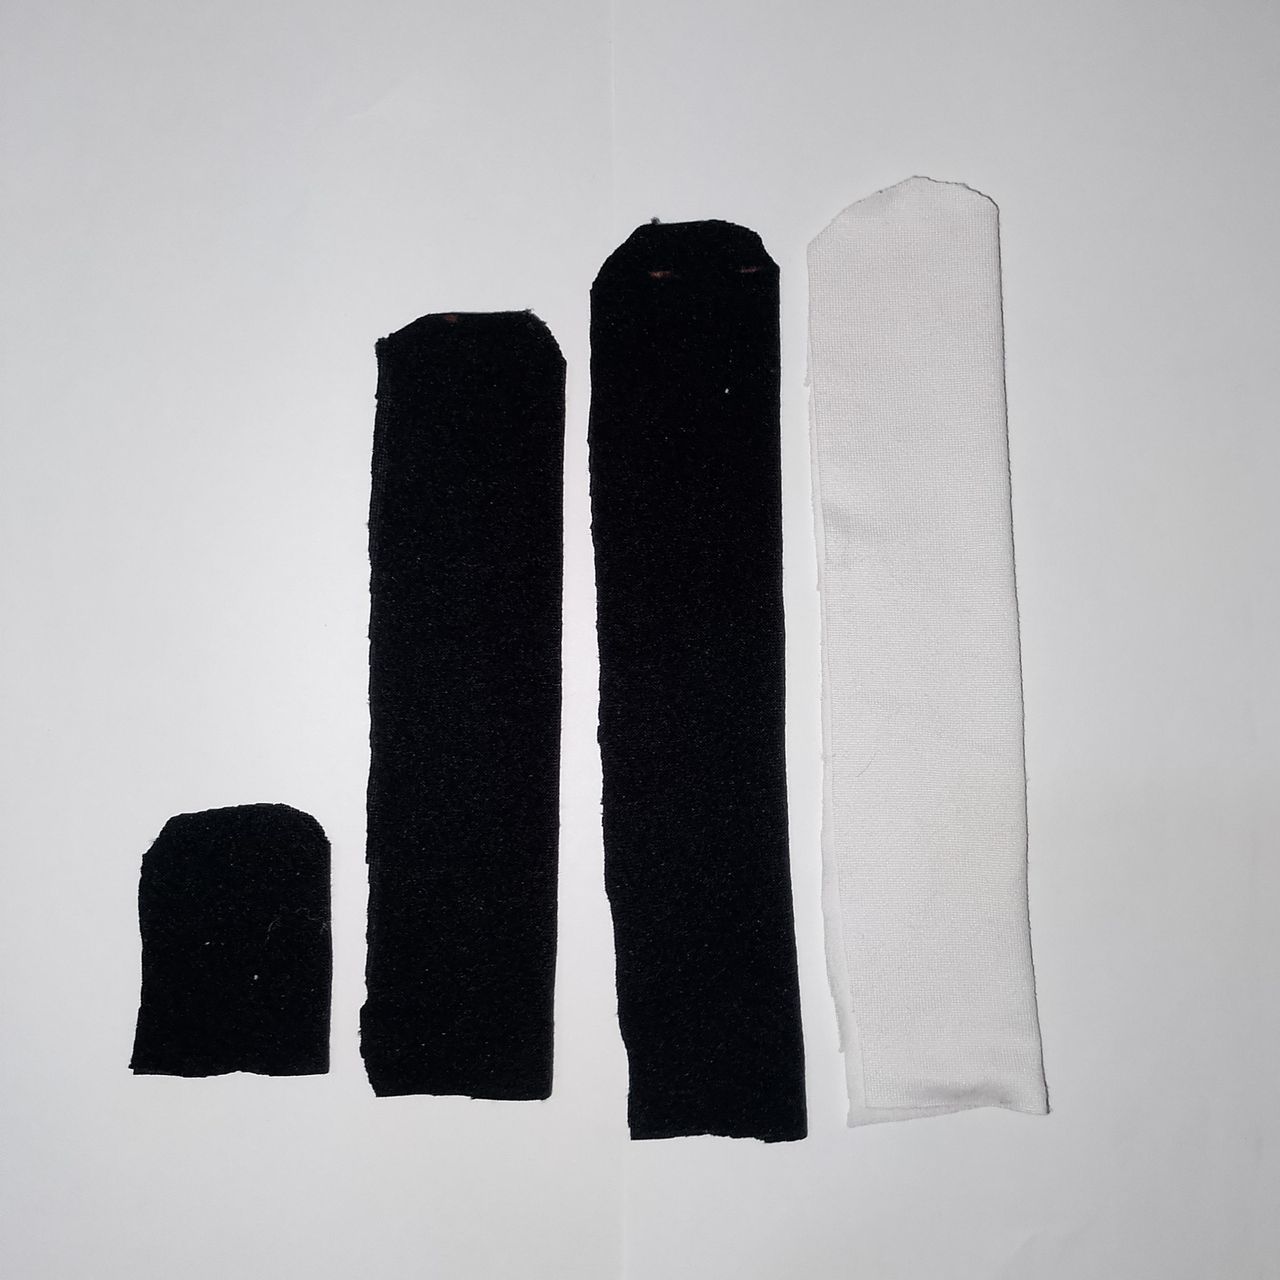
The fabric I am using is a scrap I had stored away, waiting for me to come up with something to use it for. I took the fabric, folded it, and marked a 20x10 cm rectangle on both the white and black fabric, leaving a margin for the seam. I joined them together to form a 20x20 cm square.


Then cut out some strips: two measuring 14x3 cm, one white and one black. Another strip measuring 12x3 cm and another measuring 5x3 cm, leaving a seam allowance for each one.
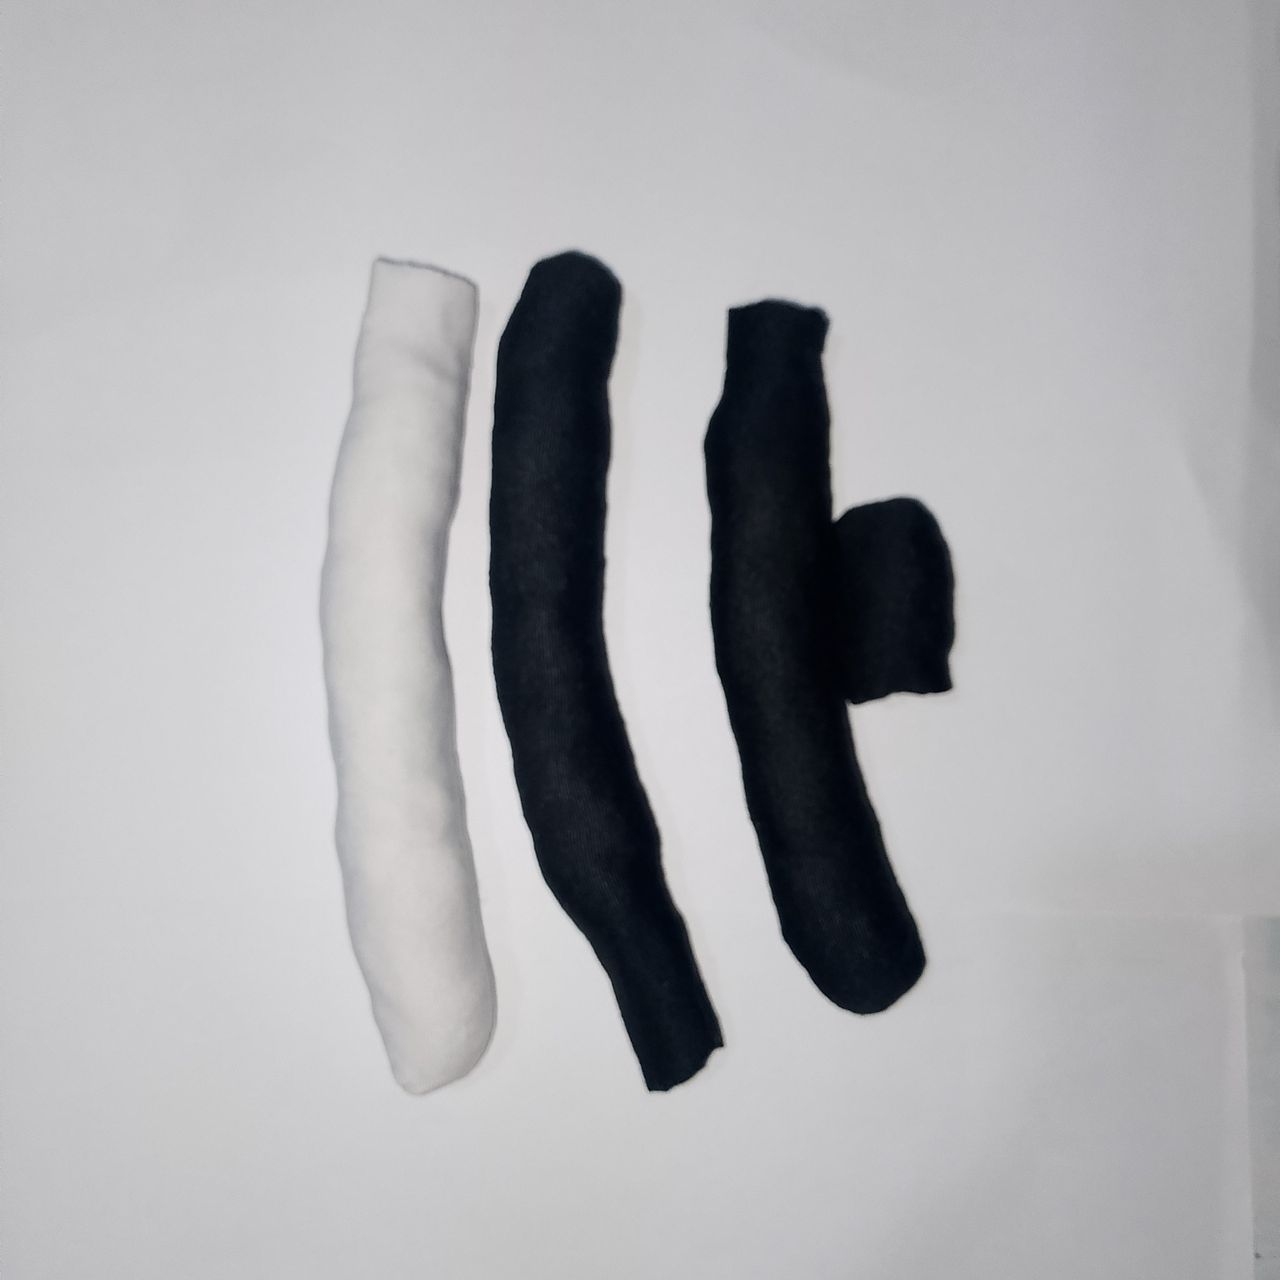
I sew them and turn them inside out, then stuff them with cotton.
 |  |
|---|
Cut out 4 small circles for the eyes, two black and two white. Using the yarn, cut 4 strands measuring 6 cm in both colors.

I sewed the eyes diagonally, as shown in the picture. I threaded the yarn through the needle and sewed it in the middle of the eyes.


With black and white thread, I sewed vertical lines on the eyes to simulate pupils.

Now I use pins to secure the legs and tails. The longer strips are the tails; I place each one in its corresponding color. The other black strips are the cat's legs, one of which goes on the black side and the shorter one on the white side.

I placed the other part of the cushion on top and sewed around the edge, leaving an opening so I could fill it.

I stuff the entire cushion and close the opening.

I finish by sewing the legs as if I were giving a hug and decorate the cat's claws with thread. I join the tails together, trying to form a heart with the tips.

And this is how beautiful the cushion looks with these kittens.
I hope you enjoyed this tutorial, which I was happy to prepare for you. I bid you farewell as always, but not before thanking you for taking the time to visit my blog and support me. And as the saying goes: “Do good, without looking at who.”

Original content:
🖤All photos were taken and edited by me using my Infinix SMART 8 phone.
🤍The cover image and materials were created with the Canva app and edited by me.
🖤 The images on the dividers were taken from: glitter-graphics.com.
🤍The English translation was done with the help of Deepl.com.
🖤 The letters indicating the languages were created on es.textstudio.com and edited by me.


Hola, mis queridos lectores. Espero que tengan o hayan tenido un excelente día. Empezamos diciembre con buen pie; les deseo a todos que estos días sean prósperos y preparándonos para recibir el año nuevo, con optimismo, con muchas ganas de seguir progresando y cumplir con nuevas metas.
Hoy les traigo un hermoso cojín de unos gatos abrazándose, para renovar los cojines viejos.
Yo realmente no soy muy amante de los gatos; me gustan más los perros, pero a mi hija sí le encantan los gatos y, pues, aquí estoy nuevamente complaciéndola en algo.
Les cuento una anécdota que me pasó cuando era niña. Vivíamos en una casa que tenía un patio grande y tenía una amiguita de vecina a la que solíamos ir a visitar, mis hermanas y yo. Lo curioso era por dónde íbamos a su casa.
Los patios se dividían con una lámina de latón y había un hueco que justo daba a su casa; solíamos pasar por allí. Un día que iba a pasar por allí, tenía que meter un pie primero y luego ir pasando agachada el resto del cuerpo, pero cuando pasé el pie, no me fijé que del otro lado en el suelo había un gato, así que cuando pisé, lo que pisé fue el gato, y obviamente él se iba a defender y me mordió en el tobillo.
Mi grito se escuchó en todos lados; mi mamá no estaba en casa porque estaba trabajando, estábamos al cuidado de nuestro hermano mayor, que no tenía conocimiento de nada de cuidados, así que lo que se le ocurrió fue echarme alcohol; me dolió más que la propia mordida.
Desde esa vez no me gustaron los gatos; cada vez que veía uno, me alejaba de él, pasaba lo más lejos que podía pensando que me podía morder.
Ahora, por cosas del destino, a mi hija le encanta todo lo que a mí no, empezando por los gatos, pero así es la vida; tendré que adaptarme.
Sin más preámbulos y para no abrumarlos con mis traumas de la infancia, les muestro el paso a paso de este cojín.

PASO A PASO:
La tela que estoy usando es un retazo que tenía guardado por allí, esperando a que se me ocurriera algo para usarla. Tome la tela, la doble y marque un rectángulo de 20x10 cm, tanto en la tela blanca como en la negra, dejando margen de tela para la costura. Las uní y así formé un cuadrado de 20x20 cm.
Luego recorte unas tiras: 2 de 14x3 cm, una blanca y una negra. Otra tira de 12x3 cm y la otra de 5x3 cm, a cada una dejándole su margen de costura.
Las coso y las volteo para luego rellenarlas con el algodón.
| |
|---|
Recorte 4 círculos pequeños para los ojos, dos negros y dos blancos. Con el estambre, recorte 4 hilos de 6 cm en ambos colores.
Cosí los ojos en forma diagonal, tal como se muestra en la imagen. Y los hilos de estambre, los inserté en la aguja y los cosí en el medio de los ojos.
Con el hilo negro y blanco le cosí, las rayas de los ojos en forma vertical, para simular las pupilas.
Ahora me ayudo con los alfileres y fijo las patas y las colas. Las tiras más largas son las colas; coloco cada uno en su color correspondiente. Las otras tiras negras son las patas del gato, de las cuales una va del lado negro y la más corta, del lado blanco.
Le coloqué encima la otra parte del cojín y cosí por todo el borde, dejando una abertura para poder rellenar.
Relleno todo el cojín y cierro la abertura.
Termino cosiendo las patas como si estuviera dando un abrazo y le decoro con el hilo las uñas del gato. Y las colas las uno tratando de formar un corazón con las puntas.
Y así de hermoso quedo el cojín con estos gatitos.
Espero que hayan disfrutado de este tutorial, que con mucho gusto les preparé. Me despido como siempre, no sin antes agradecerles por tomarse el tiempo de visitar mi blog y apoyarme. Y como dice el dicho: "Haz bien, sin mirar a quién".
Contenido de la creación original:
🖤Todas las fotos fueron tomadas y editadas por mí utilizando mi teléfono Infinix SMART 8.
🤍La imagen de portada y los materiales fueron creados con la aplicación Canva y editados por mí.
🖤 Las imágenes de los separadores fueron tomadas de: glitter-graphics.com.
🤍La traducción al inglés se realizó con la ayuda de Deepl.com.
🖤 Las letras que indican los idiomas se crearon en es.textstudio.com y fueron editadas por mí.
</div