
🦒🦒🦒🦒🦒🦒🦒🦒🦒🦒
Saludos a todos y cada una de las increíbles y maravillosas abejas que hacen vida en este ecosistema llamado #hive, en especial a las de esta comunidad de hive #diy que siempre nos sorprenden con sus hermosas creaciones, que son las que hacen que nuestra blockchain siempre esté llena de colorido.
Tuve que ausentarme unos días porque la tensión se me ha subido mucho como consecuencia de él calor que está pegando aquí en Venezuela, y me mandaron mucho reposó, pero les digo que no puedo estar tranquila, así que hoy aprovechando una noticia que me dieron de que mi nieta va a tener un bebé, decidí realizarle una hermosura de carpeta para que guarde sus papeles del control del embarazo en la clínica, aquí como siempre les voy a dejar la lista de materiales, el paso a paso y claro que las fotos del resultado Final, espero que les guste.
🦒Materiales 🦒
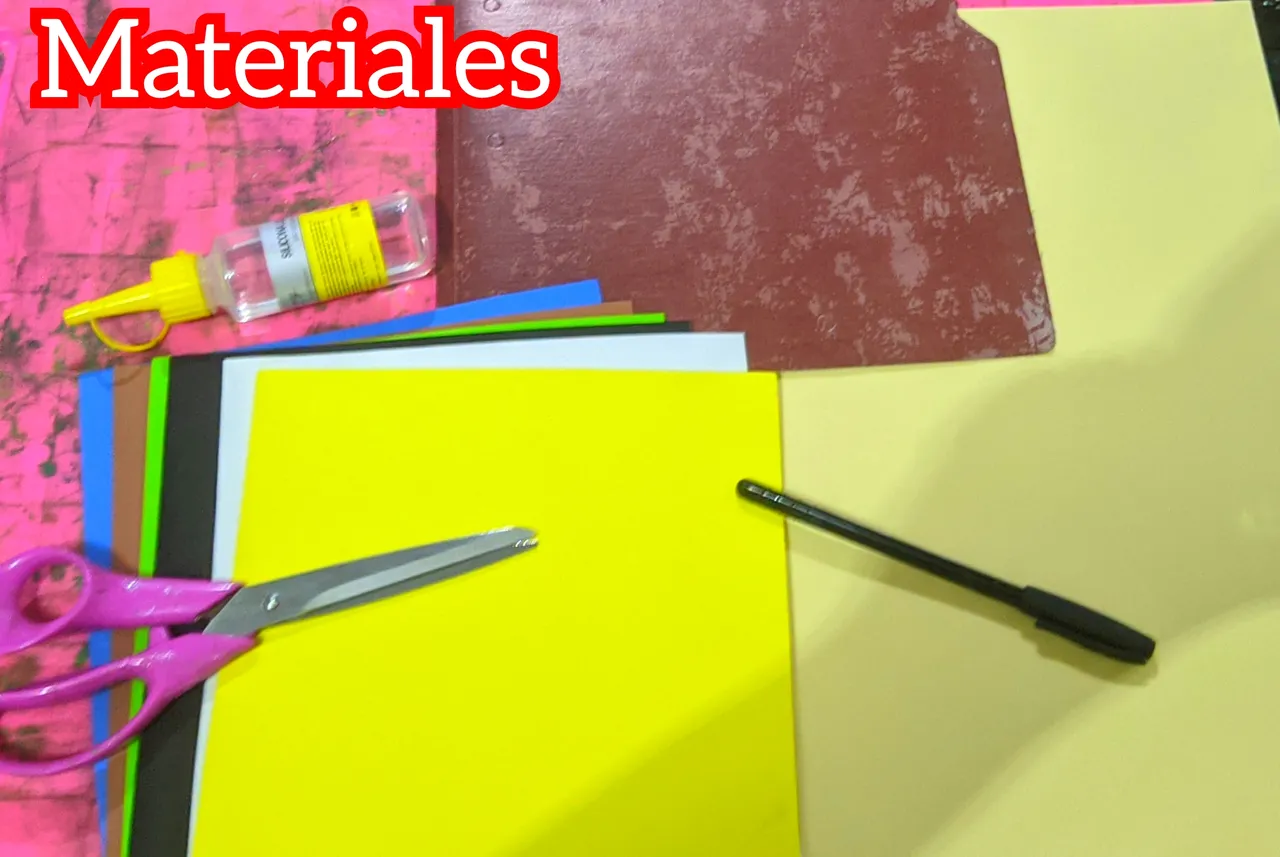
🦒 (1) carpeta de cartulina gruesa.
🦒 Foami sin escarcha beige doble carta, amarillo, marrón, azul, blanco, y blanco tamaño carta.
🦒 silicón líquido.
🦒 Paleta de sombras.
🦒 Pincel fino y de sombrear.
🦒 Pintura al frío blanca y negra.
🦒 Regla.
🦒 Lápiz.
🦒Paso a paso🦒
🦒Paso 1:

Agarre el foami beige doble carta y lo doble a la mitad, luego coloque la carpeta encima, cuando ya ví que están centrados aplicó él silicón líquido y procedí a pegar, para cubrir la carpeta con el Foami y dejamos secar.
🦒 Paso 2:
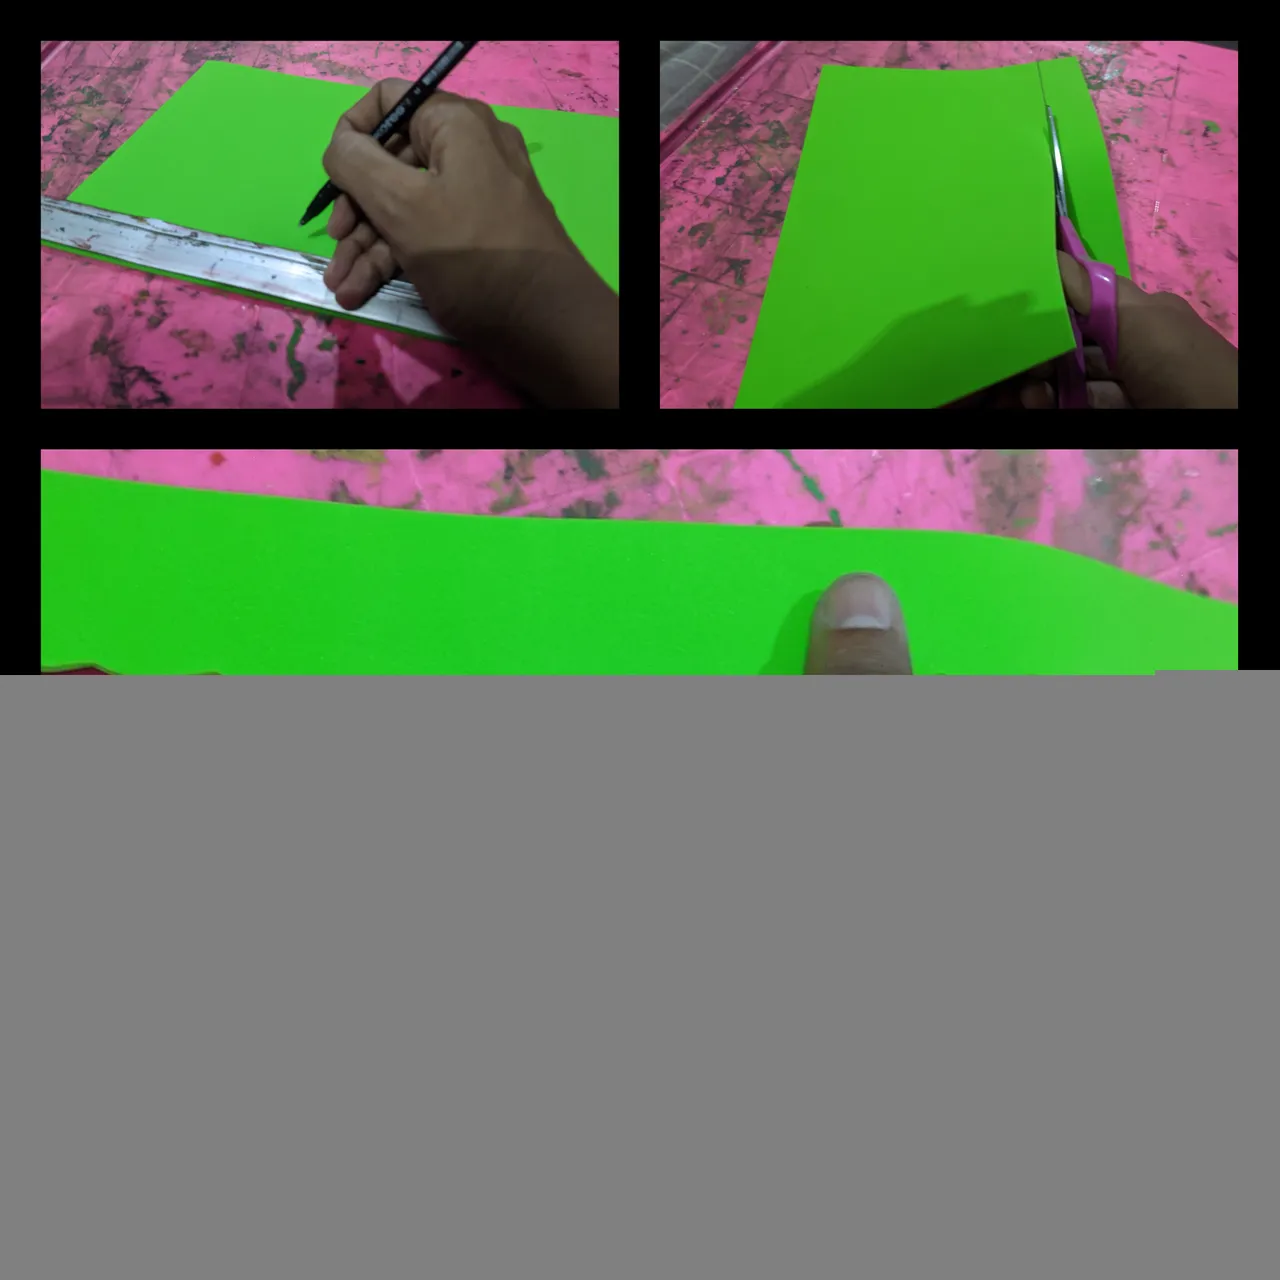
Después agarré el foami verde manzana y marque una tira del ancho de la regla, luego con la tijera recorté y picamos un borde bonito en forma de ondas, luego en el saliente de la carpeta que nos quedó aplique silicón líquido y pegamos la tira de foami verde manzana que recorté, le hago un poco de presión y dejó que se seque.
🦒 Paso 3:

Ahora voy a trabajar con el foami azul, y con ayuda de una tapa de un envase redondo marque el círculo y recorte, después también le aplicó silicón líquido y pegamos en la parte de abajo de la carpeta, pero centrada y dejo secar.
🦒Paso 4:

Para este trabajo quise trabajar con una linda jirafa bebé que me gustó, y la dibuje en una hoja de cuaderno, que me va a servir de patrón, y luego recorté.
Cuando ya tengo el molde lo colocó encima del foami amarillo y dibujamos a la jirafa y finalmente la recortamos.
🦒Paso 5:

Cuando ya tenía la silueta de la jirafa agarró el foami marrón y dibujó y recortó la parte de la boca de la jirafa y la pegó a la silueta con el silicón líquido.
🦒Paso 6:

También recorté pequeñas manchas marrón y la parte interna de las orejas con foami color piel y pega con silicón líquido.
🦒 Paso 7:

Ahora tomo el pincel fino y la pintura negra y dibujo los ojitos, la nariz y la boca de la jirafa, así como también las divisiones de las patas. Luego tomé el pincel de sombrear y apliqué sombra rosada en las mejillas y le pegamos las patas del foami marrón.
🦒 Paso 8:

Cuando la jirafa está terminada, le eche silicón líquido y pegamos en el centro del círculo de color azul.
🦒 Paso 9:

Agarre en el foami blanco y dibuje y recorte unas nubecitas y las pegamos en el círculo azul.
🦒 Paso 10:

En el foami amarillo dibuje y recorte unas estrellas las cuales pegue en una esquina de la carpeta.
🦒 Paso 11:

Llegó el momento de sombrear todo, con mis sombras en tonos pasteles y el pincel de sombrear, también dibuje punto y puntadas en el borde azul.
🦒Paso 12:

Hice unas letras en foami verde manzana y montadas sobre marrón y les dibuje unas puntadas con la pintura blanca, luego con el silicón líquido pegamos en el borde verde manzana que tiene la carpeta.
🦒 Paso 13:

Finalmente saqué dos pestañas del foami verde manzana y pegamos en la carpeta, está servirá para abrir y cerrar la carpeta, y listo hemos terminado el trabajo.
🦒 Fotos finales 🦒


Cómo pueden ver el resultado es bien lindo, lo hice con muchísima emoción por la pronta llegada de mi primer bisnieto, espero que el trabajo les haya gustado, nos vemos en el próximo trabajo que realice, saludos a todos y que Dios los bendiga.
🦒Para este post use el programa polish que trae mi teléfono Xiaomi redmi con el que tomé las fotos y también use el traductor deepl versión gratis.

🦒 ENGLISH 🦒
🦒🦒🦒🦒🦒🦒🦒🦒🦒🦒🦒
Greetings to each and every one of the amazing and wonderful bees that make life in this ecosystem called #hive, especially to those of this hive #diy community who always surprise us with their beautiful creations, which are the ones that make our blockchain always colourful.
I had to go away for a few days because my blood pressure has risen a lot due to the heat that is hitting here in Venezuela, and they sent me a lot of rest, but I tell you that I can not be quiet, so today taking advantage of the news that I got that my granddaughter is going to have a baby, I decided to make a beautiful folder for her, I decided to make her a beautiful folder to keep her pregnancy control papers in the clinic, here as always I will leave the list of materials, the step by step and of course the photos of the final result, I hope you like it.
🦒Materials 🦒
🦒 (1) thick cardboard folder.
🦒 Foami without frosting beige double letter, yellow, brown, brown, blue, blue, white, and white letter size.
🦒 liquid silicone.
🦒 Shadow palette.
🦒 Fine brush and shading brush.
🦒 Black and white cold paint.
🦒 Ruler.
🦒 Pencil.
🦒Step-by-step🦒
🦒Step 1:
Carry the double letter beige foami and fold it in half, then place the folder on top, when I saw that they are centered I applied the liquid silicone and proceeded to glue, to cover the folder with the Foami and let it dry.
🦒 Step 2:
Then I took the apple green foami and marked a strip the width of the ruler, then with the scissors I cut and cut a nice edge in the form of waves, then on the protrusion of the folder that we had left I applied liquid silicone and glued the strip of apple green foami that I cut, I put a little pressure and let it dry.
🦒 Step 3:
Now I'm going to work with the blue foami, and with the help of a round container lid I mark the circle and cut it out, then I also apply liquid silicone and stick it on the bottom of the folder, but centered and let it dry.
🦒Step 4:
For this work I wanted to work with a cute baby giraffe that I liked, and I drew it on a notebook sheet, which I will use as a pattern, and then cut it out.
When I have the pattern I put it on top of the yellow foami and draw the giraffe and then cut it out.
🦒Step 5:
When she had the giraffe silhouette she took the brown foami and drew and cut out the mouth part of the giraffe and glued it to the silhouette with the liquid silicone.
🦒Step 6:
I also cut out small brown spots and the inside of the ears with skin-coloured foami and glue with liquid silicone.
🦒 Step 7:
Now I took the fine brush and the black paint and drew the giraffe's eyes, nose and mouth, as well as the divisions of the legs. Then I took the shading brush and applied pink shadow on the cheeks and glued the brown foami paws to it.
🦒 Step 8:
When the giraffe is finished, apply liquid silicone and glue it in the centre of the blue circle.
🦒 Step 9:
Hang on the white foami and draw and cut out some little clouds and glue them on the blue circle.
🦒 Step 10:
On the yellow foami, draw and cut out some stars and glue them in the corner of the folder.
🦒 Step 11:
It was time to shade everything, with my pastel shadows and the shading brush, I also drew dot and stitches on the blue border.
🦒Step 12:
I made some letters in apple green foami and mounted them on brown and drew some stitches with the white paint, then with the liquid silicone we glued them on the apple green border of the folder.
🦒 Step 13:
Finally I took two tabs out of the apple green foami and glued them into the folder, this will serve to open and close the folder, and that's it, we have finished the job.
🦒 Final photos 🦒
As you can see the result is very nice, I did it with a lot of emotion for the soon arrival of my first great-grandchild, I hope you liked the work, see you in the next work I do, greetings to all and God bless you.
🦒For this post I used the polish program that comes with my Xiaomi redmi phone with which I took the photos and also used the free version of deepl translator.