¡Saludos Comunidad Creativa! | ¡Greetings Creative Community!
¡Feliz Inicio de Semana! En esta hermosa mañana vengo a compartirles la elaboración de una de mis manualidades favoritas, rosas de foami y estas en especial son ideales para floreros, son muy fáciles de hacer y el resultado es realmente hermoso, así que espero que les guste este tutorial y se animen a elaborar estas rosas en casa.
¡Happy Start of the Week! On this beautiful morning I come to share with you the elaboration of one of my favorite crafts, foami roses and these in particular are ideal for vases, they are very easy to do and the result is really beautiful, so I hope you like this tutorial and encourage you to make these roses at home.


Materiales | Materials
🌹 Foami rosado o del color de su preferencia.
🌹 Cartulina escolar verde.
🌹 Papel de seda verde.
🌹 Silicón caliente.
🌹 Pega blanca.
🌹 Tijera.
🌹 Lápiz.
🌹 Regla.
🌹 Palito de altura.
🌹 Objeto circular.
🌹 Pink Foami or the color of your preference.
🌹 Green school cardboard.
🌹 Green tissue paper.
🌹 Hot silicone.
🌹 White paste.
🌹 Scissor.
🌹 Pencil.
🌹 Rule.
🌹 Height stick.
🌹 Circle object.

Procedimiento ✂ | Process ✂
🌹 PASO 1. Con el objeto circular hacemos varios círculos en el foami rosado y recortamos, luego con la regla marcamos justo en el centro y cortamos todos los círculos a la mitad.
🌹 STEP 1. With the circular object we make several circles in the pink foami and cut them out, then with the ruler we mark right in the center and cut all the circles in half.


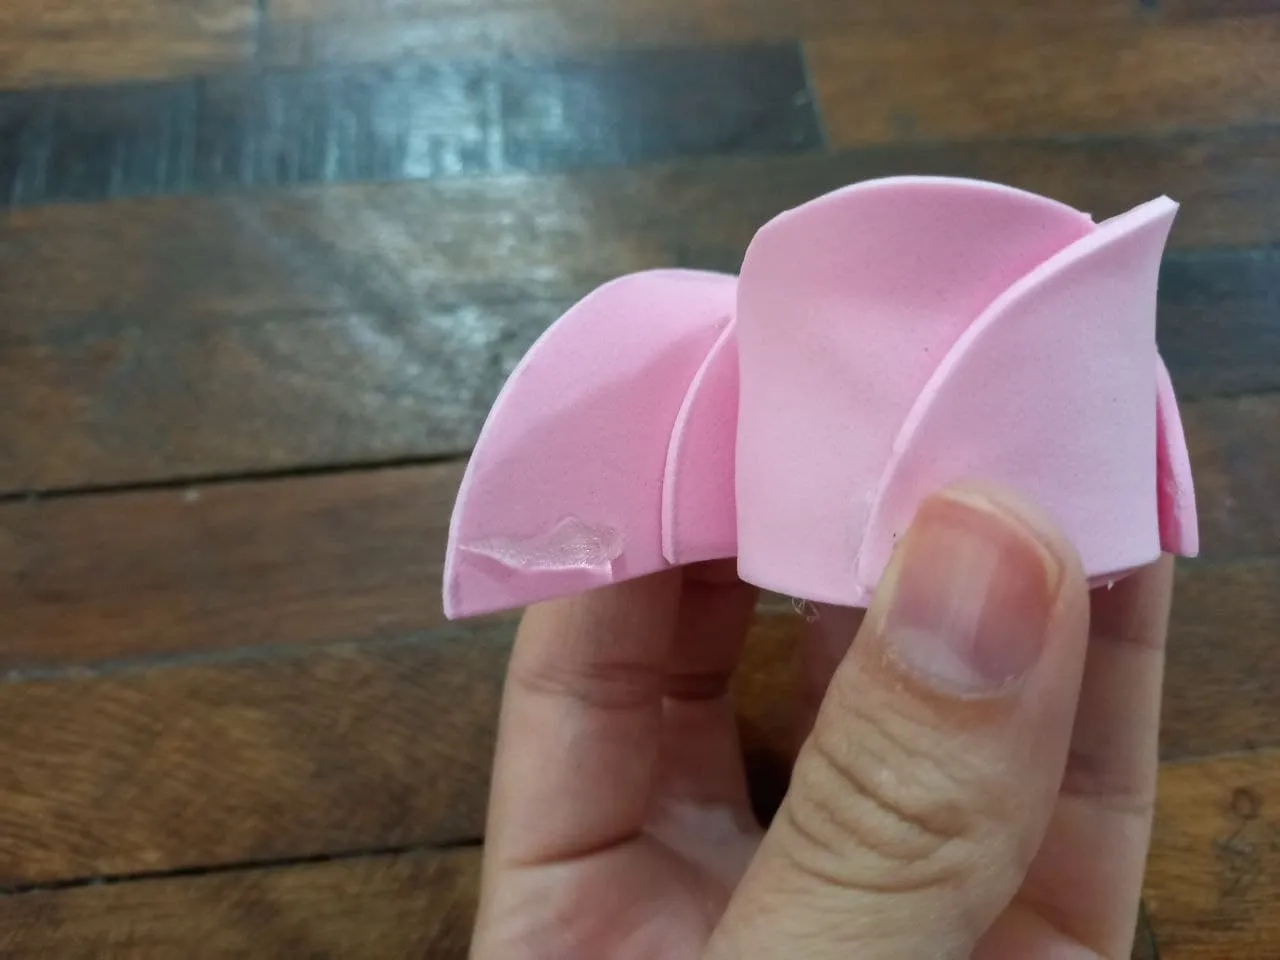
🌹 PASO 2. Aplicamos silicón en la mitad de una de las piezas de foami y la colocamos con la parte recta hacia abajo, sobre la parte con silicón pegamos otra pieza, luego otra sobre esa y seguimos hasta pegar la cantidad que deseemos, en mi caso solo utilizaré 10, luego de haberlas unido tomamos una de las puntas y comenzamos a cerrar enrollando hasta llegar hasta el final, donde aplicaremos silicón para sellar, luego con los dedos estiramos un poco hacia afuera la parte superior de las piezas de foami dando así la forma de la rosa.
🌹 STEP 2. We apply silicone in the middle of one of the pieces of foami and place it with the straight part down, on the part with silicone we glue another piece, then another one on top of that and continue until we paste the amount that we want, in my case I will only use 10, after having joined them we take one of the ends and begin to close by rolling until we reach the end, where we will apply silicone to seal, then with our fingers we stretch the upper part of the pieces a little outwards of foami thus giving the shape of the rose.


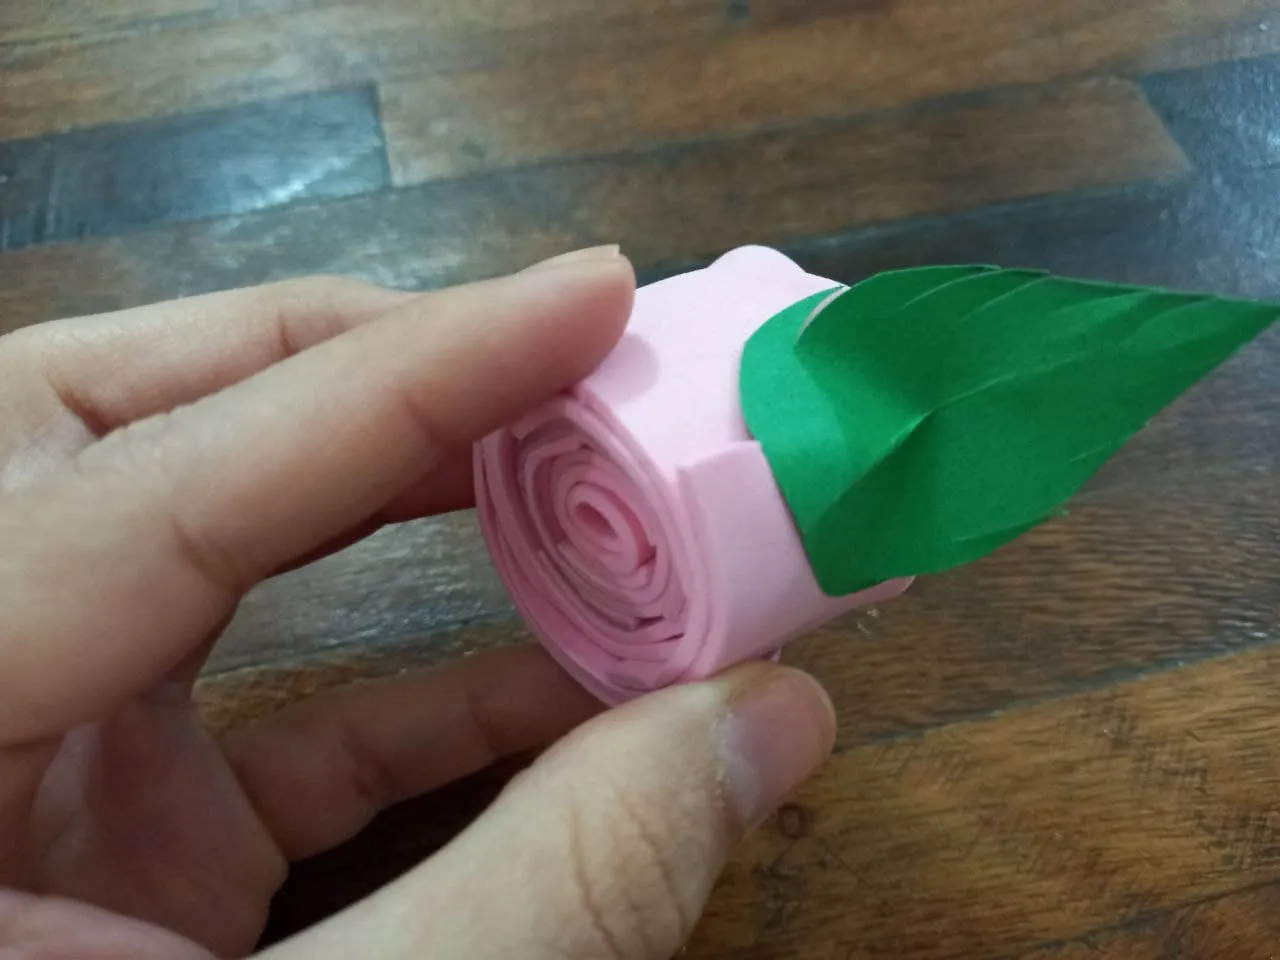
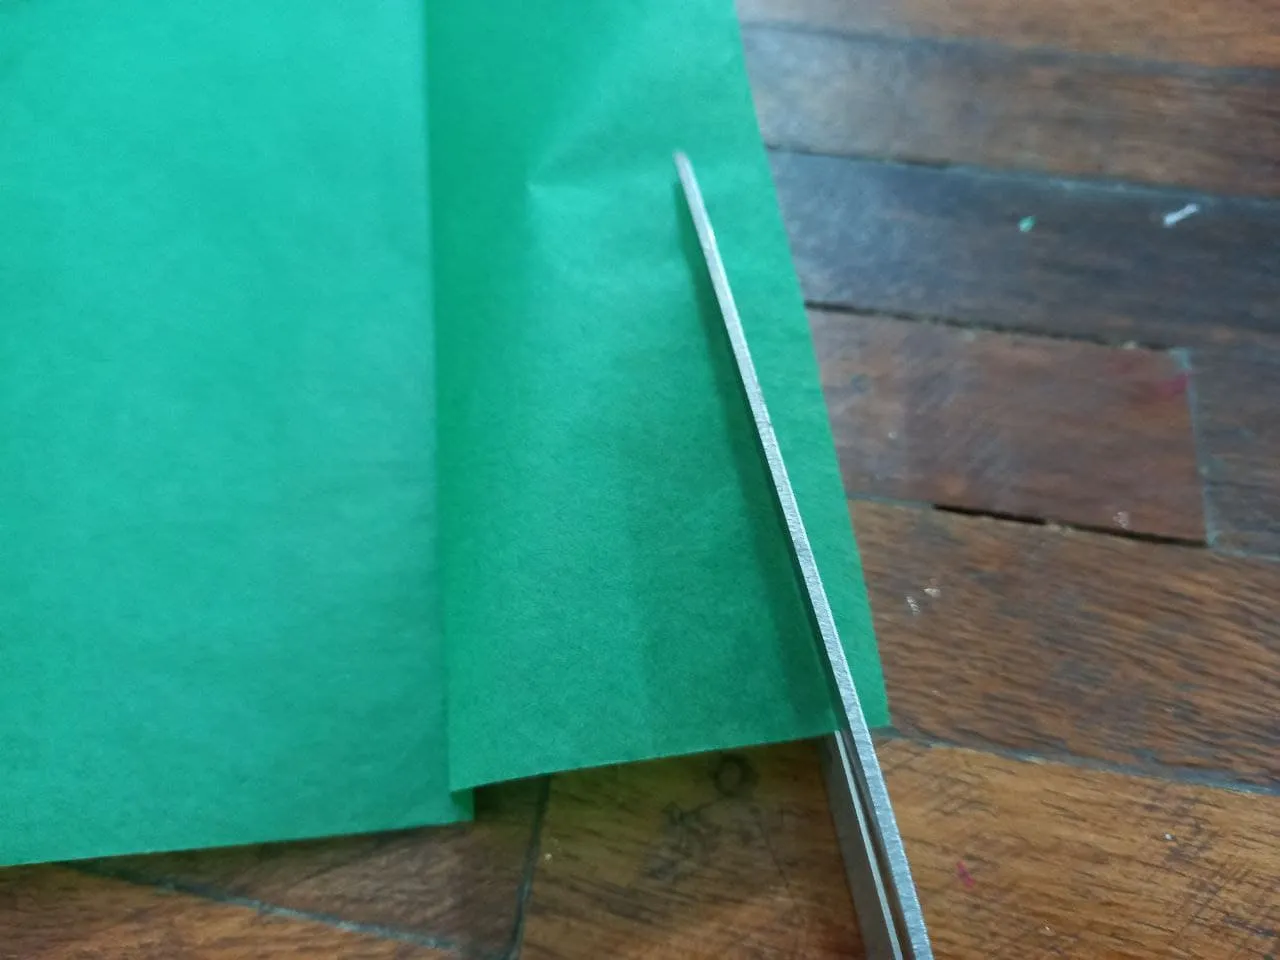
🌹 PASO 3. Hacemos 2 hojitas de cartulina verde, le hacemos unos pequeños cortes a los lados, doblamos a la mitad de manera vertical y abrimos quedando como resultado una línea marcada en el centro, luego aplicamos silicón en la parte inferior de la hoja y pegamos cada una a un lado de la rosa de foami.
🌹 STEP 3. We make 2 sheets of green cardboard, make some small cuts on the sides, fold it in half vertically and open, leaving a marked line in the center, then apply silicone to the bottom of the sheet and stick each one to one side of the foami rose.


🌹 PASO 4. Recortamos una tira larga y delgada de papel de seda verde, aplicamos un poco de pega blanca en una de las puntas del palito del altura y enrollamos la tira de papel de seda hasta llegar al final y cubrirlo por completo, por ultimo introducimos una de las puntas del palito de altura yo forrado en el centro de la parte inferior de la rosa de foami con un poco de silicón para fijar bien.
🌹 STEP 4. We cut a long and thin strip of green tissue paper, apply a little white glue on one of the ends of the height stick and roll the strip of tissue paper until we reach the end and cover it with complete, finally we introduce one of the ends of the height stick I lined in the center of the lower part of the foami rose with a little silicone to fix it well.


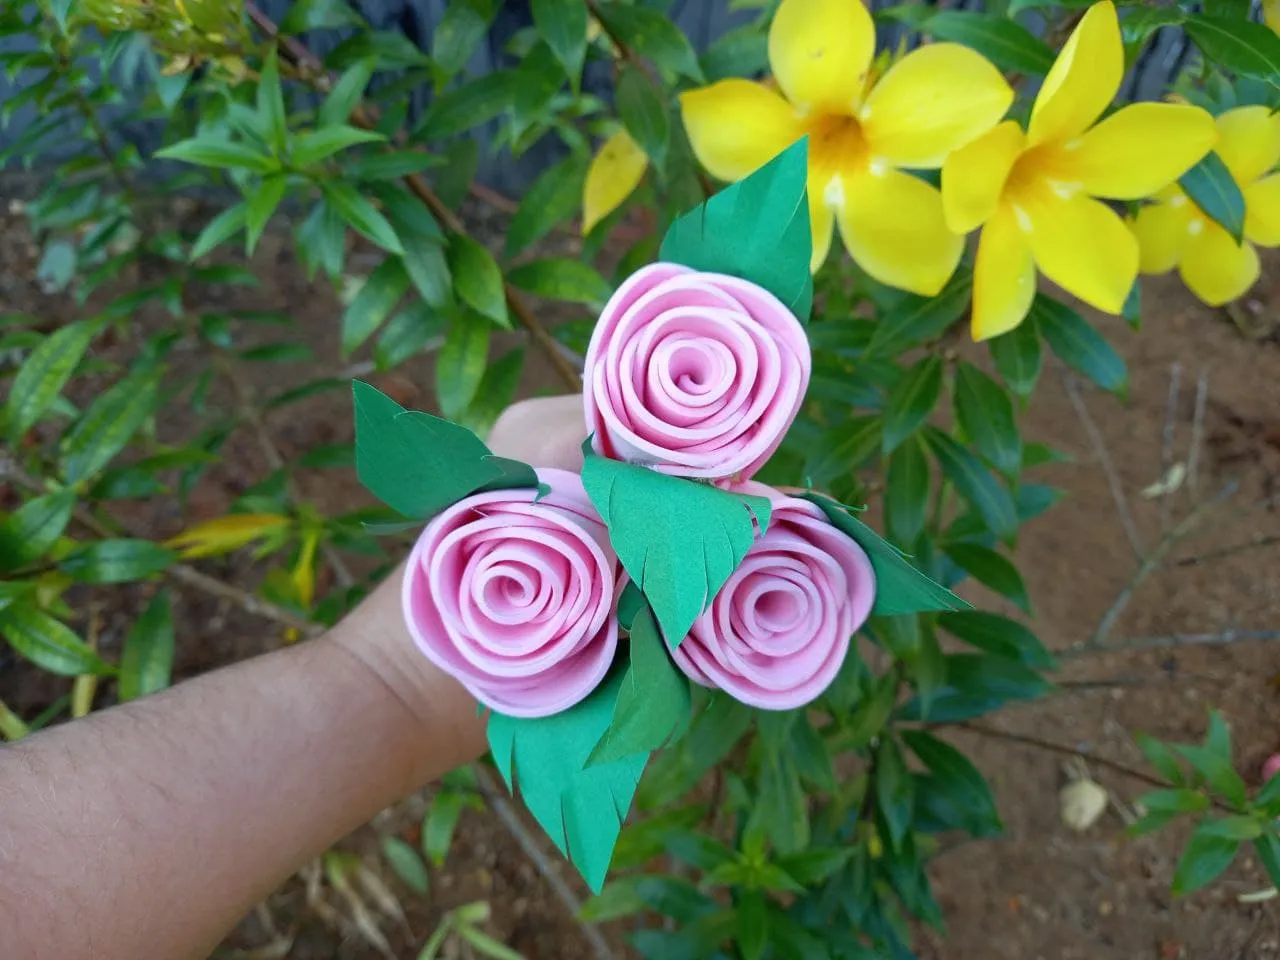
¡Y listo! De esta sencilla manera y siguiendo apenas unos pocos pasos tenemos unas hermosas rosas ideales para floreros, podemos hacerlas de color y tamaño de nuestra preferencia, de cualquier forma lucen hermosas y dan un toque muy delicado a cualquier lugar que decoremos con ellas, espero que les haya gustado este tutorial y puedan elaborar estas lindas rosas en casa.
¡And ready! In this simple way and following just a few steps we have some beautiful roses ideal for vases, we can make them in the color and size of our preference, in any way they look beautiful and give a very delicate touch to any place that we decorate with them, I hope you like them. have liked this tutorial and can make these beautiful roses at home.
Resultado🌹 | Result 🌹


Todas las fotografías son de mi propiedad.
Fotografías capturadas con mi Samsung Galaxy A12
Separador de texto elaborado en Canva.
Nos vemos en mi próxima publicación.
¡Tengan un feliz día!
All photographs are my property.
Photos captured with my Samsung Galaxy A12
Text separator made in Canva.
See you in my next post.
¡Have a happy day!