¡Saludos Comunidad Creativa! | ¡Greetings Creative Community!
Hoy les traigo un tutorial para elaborar un lindo topper para tortas con motivo navideño el cual es uno de los iconos más representativos de esta época, el árbol de navidad, es un adorno perfecto para nuestra torta navideña y aunque aún no lo he utilizado en una estoy muy segura de que lucirá hermoso y hará resaltar este delicioso postre, espero que les guste y lo puedan elaborar en casa.
Today I bring you a tutorial to make a cute Christmas cake topper which is one of the most representative icons of this time, the Christmas tree, it is a perfect ornament for our Christmas cake and although I have not used it in one yet I am very sure that it will look beautiful and will make this delicious dessert stand out, I hope you like it and can make it at home.


🌟Foami escarchado verde navidad, rojo, plateado y dorado.
🌟Cartulina metalizada dorada.
🌟Papel de seda dorado.
🌟Palito de altura.
🌟Hoja de papel.
🌟Tijera.
🌟Lápiz.
🌟Barra de silicón.
🌟Pistola de silicón.
🌟Abrehuecos.
🌟Frosted Christmas green, red, silver and gold foami.
🌟Gold metallic cardboard.
🌟Gold silk paper.
🌟 Height stick.
🌟 Sheet of paper.
🌟Scissor.
🌟Pencil.
🌟Silicone bar.
🌟Silicone gun.
🌟 Hole opener.


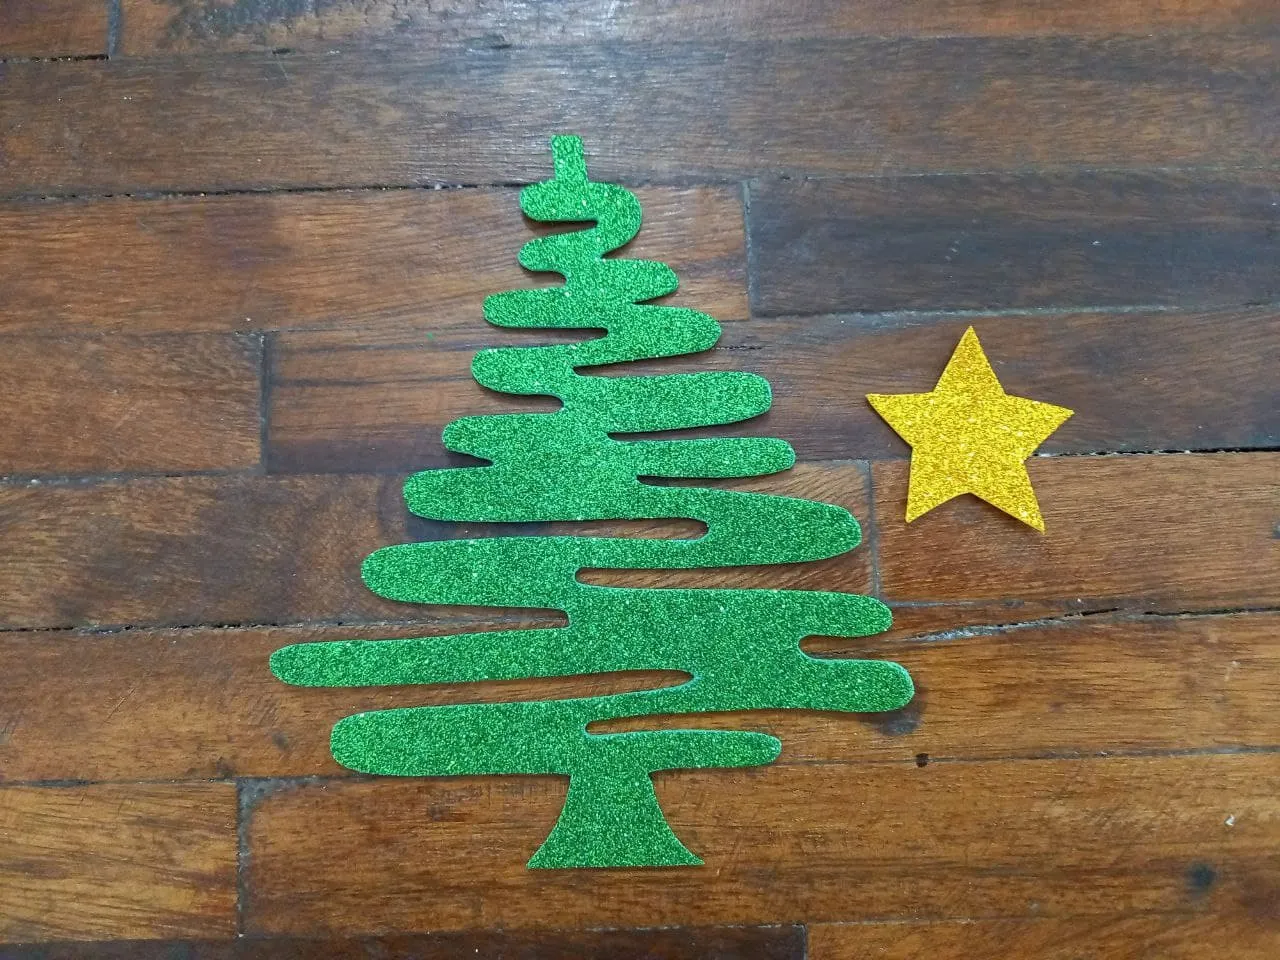
🎄 PASO 1. En la hoja de papel hacemos el molde, yo utilizaré este diseño que les mostraré a continuación, también haremos una estrella, recortamos y pasamos la figura del arbolito al foami verde escarchado, la estrella al foami dorado escarchado y recortamos.
🎄 STEP 1. On the sheet of paper we make the mold, I will use this design that I will show you below, we will also make a star, cut out and pass the figure of the tree to the frosted green foami, the star to the frosted golden foami and we cut.


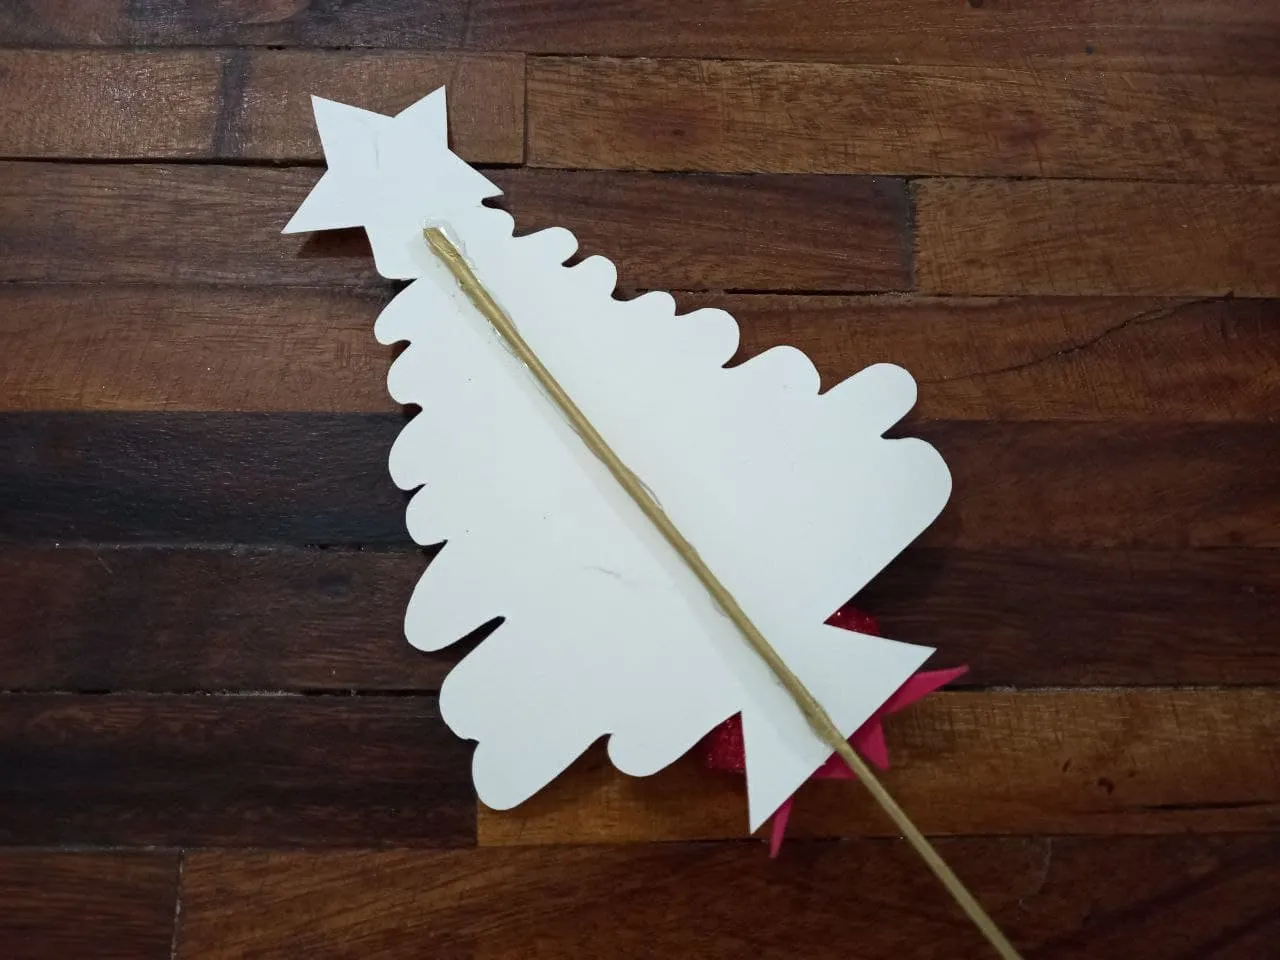
🎄 PASO 2. Pegamos la estrella en la punta del arbolito, luego pegamos el arbolito sobre la cartulina metalizada dorada y recortamos el exceso de cartulina dejando un delgado borde de esta alrededor del arbolito.
🎄 STEP 2. We glue the star on the tip of the tree, then we glue the tree on the gold metallic cardboard and cut the excess cardboard leaving a thin edge of it around the tree.


🎄 PASO 3. Con el foami rojo escarchado hacemos un lazo y lo pegamos en el pie del árbol, si quieres aprender a elaborar un lindo lazo de foami aquí te dejo mi tutorial completo.
🎄 STEP 3. With the frosted red foami we make a bow and stick it on the foot of the tree, if you want to learn how to make a nice foami bow here is my tutorial complete.


🎄 PASO 4. Hacemos varios agujeros en el foami escarchado rojo y plateado y tomaremos los círculos resultantes y los pegaremos sobre el arbolito alternando los colores para decorarlo.
🎄 STEP 4. We make several holes in the red and silver frosted foam and we will take the resulting circles and glue them on the little tree alternating the colors to decorate it.


🎄 PASO 5. Cortamos una tira delgada y larga de papel de seda dorado y con el vamos a forrar el palito de altura, luego lo pegamos en la parte trasera del arbolito.
🎄 STEP 5. We cut a thin and long strip of gold tissue paper and with it we are going to line the tall stick, then we glue it to the back of the tree.


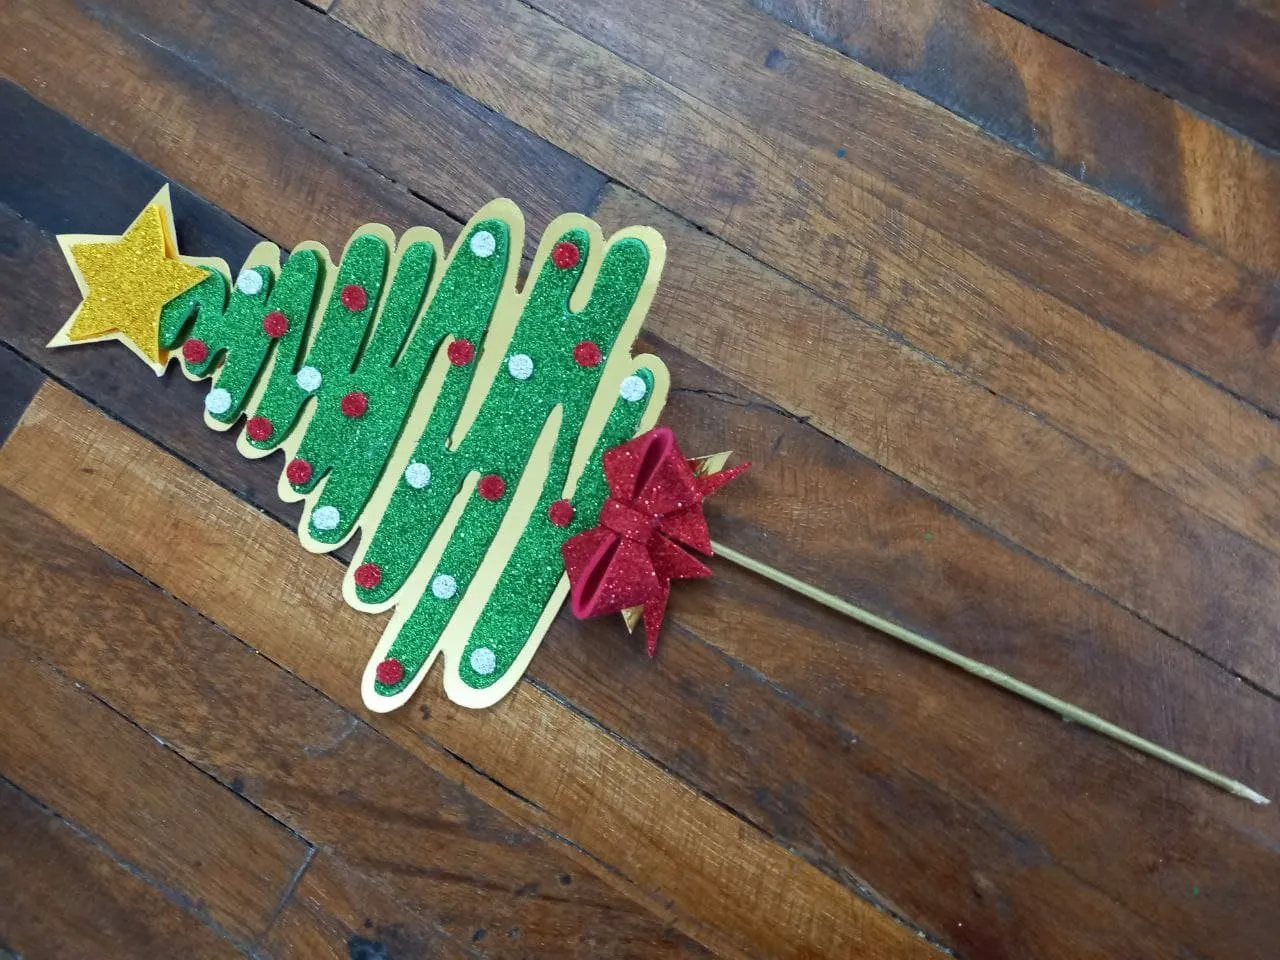
¡Y listo! Ya tenemos un hermoso torpper navideño para colocar en nuestra torta en la cena de navidad, es un adorno muy lindo y elegante que sin duda adornará nuestras mesas dándole un toque navideño único, espero que les haya gustado este pequeño tutorial y esta idea pueda serles de utilidad.
¡And ready! We already have a beautiful Christmas torpper to place on our cake at Christmas dinner, it is a very cute and elegant ornament that will undoubtedly decorate our tables giving it a unique Christmas touch, I hope you liked this little tutorial and this idea can be of interest to you. utility.


Todas las fotografías son de mi propiedad.
Fotografías capturadas con mi Samsung Galaxy A12
Separador de texto elaborado en Canva.
Nos vemos en mi próxima publicación.
¡Tengan un feliz día!
All photographs are my property.
Photos captured with my Samsung Galaxy A12
Text separator made in Canva.
See you in my next post.
¡Have a happy day!