Feliz y bendecido inicio mes de Noviembre amigos de Hive Diy, espero estén muy bien en este día, ya preparandonos para dar la bienvenida a la mejor época del año, "La Navidad" y es propicia la ocasión para también dar inicio a las manualidades propia de la época, así que si Dios quiere, nos estaremos leyendo seguido por acá.
He decidido realizar en este primer día un hermoso angelito con foami o goma Eva, es muy fácil de hacer, necesitaremos pocos materiales y podemos del color que deseemos, es ideal para decorar nuestro arbolito navideño, coronas o detalles para guirnaldas, aquí encontrarán el paso a paso, espero les guste.
Happy and blessed beginning of November friends of Hive Diy, I hope you are very well on this day, already preparing to welcome the best time of the year, "Christmas" and it is the occasion to also start your own crafts of the time, so God willing, we'll be reading often around here. I have decided to make on this first day a beautiful little angel with foam or Eva rubber, it is very easy to do, we will need few materials and we can have the color we want, it is ideal to decorate our Christmas tree, crowns or details for garlands, here you will find the step step by step, I hope you like it.
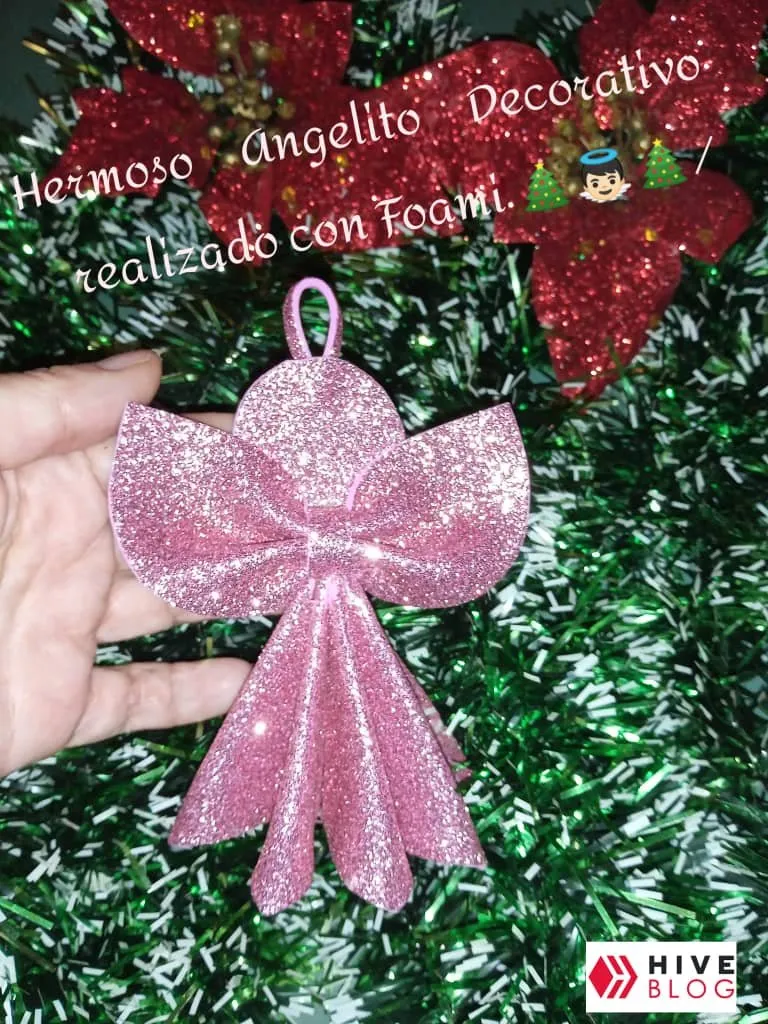
Hermoso Angelito Decorativo realizado con Foami 🎄👼🏻🎄
Materiales
Foami escarchado
Tijera
Silicón caliente
Regla
Lápiz
Palito de altura
Molde circular de 9 y 3 cm de diámetro
Cartulina de 7x6 cm
Beautiful Decorative Angel made with Foami 🎄👼🏻🎄
Materials
frosty foami
Scissors
hot silicone
Rule
Pencil
height stick
Circular mold of 9 and 3 cm in diameter
7x6cm cardboard

Paso a Paso/ Step by Step
Paso 1
Primero vamos a necesitar el molde para la base del angelito, para ello vamos a realizar el molde con la cartulina, entonces la doblamos a lo largo y marcamos a 2cm y hacemos los siguientes cortes, de modo que quede como un diamante con un lado más alto que otro.
Step 1
First we are going to need the mold for the base of the little angel, for this we are going to make the mold with the cardboard, then we fold it lengthwise and mark it at 2cm and make the following cuts, so that it looks like a diamond with one more side higher than another.

Paso 2
Luego con el molde anterior vamos a marcar en el foami escarchado, 7 piezas de esta y recortar.
Step 2
Then with the previous mold we are going to mark on the frosted foami, 7 pieces of this and cut.

Paso 3
Seguido de ello vamos a pegar cada uno de estos con el silicón, por el lado más alto.
Step 3
Followed by this we are going to paste each of these with the silicone, on the highest side.

Paso 4
Comenzamos a dar forma del angelito, entonces pegamos cada uno de estas piezas alrededor del palito de altura.
Step 4
We begin to shape the little angel, then we glue each of these pieces around the height stick.

Paso 5
Para culminar el cuerpo, debemos hacer un semicírculo con el molde de 9cm, recortamos y arruchamos en el centro y pegamos con otro pedacito de Foami, seguidamente pegamos encima de lo que hicimos en el paso anterior.
Step 5
To complete the body, we must make a semicircle with the 9cm mold, cut and curl in the center and paste with another piece of Foami, then paste on top of what we did in the previous step.

Paso 6
Después vamos a realizar la cabeza, para ello marcamos 2 círculos de 3 cm de diámetro, recortar, también vamos a recortar una tira de Foami, la cual vamos a pegar en el centro de este círculo y luego ponemos el otro encima, lo pegamos al cuerpo y así damos la forma completa al angelito.
Step 6
Then we are going to make the head, for this we mark 2 circles of 3 cm in diameter, cut, we are also going to cut a strip of Foami, which we are going to paste in the center of this circle and then we put the other one on top, we paste it to the body and thus we give the complete shape to the little angel.


Hasta aquí mi Proyecto Navideño de este día, espero les haya gustado, muchas gracias por el apoyo. Saludos 😊🎄
So far my Christmas Project for this day, I hope you liked it, thank you very much for the support. Greetings 😊🎄
Todas las imágenes son de mi autoria por  , tomadas especialmente para esta publicación.
All images are my own by
