Hello Hive friends, this is my first post of the year and I hope everyone has started with renewed energy and a lot of motivation to try new things. This morning, taking advantage of the day off, I was learning how to make cat bookmarks. Yes, cat origami! A very simple and satisfying project to create. These small and adorable bookmarks not only look very cute in books but are also very useful for protecting the pages. In short, they are purrfect.
Hola amigos de Hive, este es mi primer post del año y espero que todos hayan comenzado con renovadas energías y muchas ganas de hacer cosas nuevas. Hoy en la mañana, aprovechando el día libre, estuve aprendiendo a hacer marcadores de gatitos. ¡Sí, origami de gatitos! Un proyecto muy sencillo y satisfactorio de crear. Estos pequeños y adorables marcadores no solo lucen muy lindos en los libros, sino que también son muy útiles para proteger las páginas. En resumen, son purrfectos.

To explain the process of making origami, I took photos throughout the process and created a small animation. I hope it helps you understand the procedure and follow it. It's very simple. Basically, when you have the folds at all angles, you just need to shape it by pulling out the ears and adjusting it to the height you want.
Para explicar el proceso de hacer un origami, fui tomando fotos a lo largo del proceso y creé una pequeña animación. Espero que les ayude a entender el procedimiento y a seguirlo. Es muy sencillo. Básicamente, cuando tengas los dobleces en todos los ángulos, solo necesitas darle la forma sacando las orejitas y ajustarlo a la altura que prefieras.
When you have everything ready, the best part comes: decorating. Here you can let your imagination run wild. Although the original tutorial was for making kittens, you can give it the shape you prefer. For example, I also created a little fox that I liked a lot. Here is the list of materials and the animation, as well as some photos of the final result.
Cuando tengas todo listo, viene la mejor parte: decorar. Aquí puedes dar rienda suelta a la imaginación. Aunque el tutorial original era para hacer gatitos, puedes darle la forma que prefieras. Por ejemplo, también creé un zorrito que me gustó mucho. Les dejo con la lista de materiales y la animación, así como unas fotos del resultado final.
Materials:
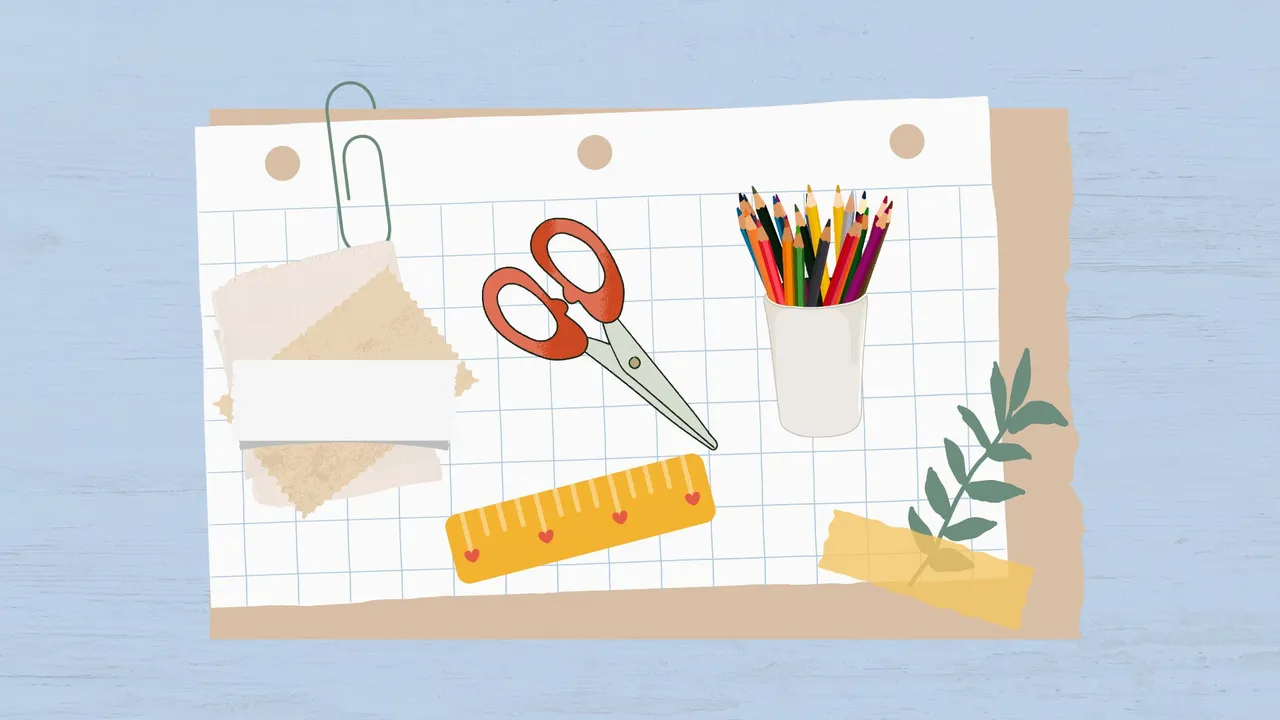
- Sticky notes (any small square piece of paper)
- Most importantly: your hands
- Colored pencils
- Markers
- Stickers
- Scissors
- Glue (optional)
Materiales:
- Notas adhesivas (cualquier pedacito de papel cuadrado)
- Lo más importante: tus manos
- Lápices de colores
- Rotuladores
- Adhesivos
- Tijeras
- Pegamento (opcional)
Undoubtedly, this is a very relaxing activity suitable for all ages. I am sure that children will love it and will have a lot of fun.
Sin lugar a dudas, esta es una actividad muy relajante y adecuada para cualquier edad. Estoy seguro de que los niños la amarán y pasarán ratos muy divertidos.
 |  |
|---|
Besides being a creative and relaxing activity, origami also has additional benefits. It helps improve hand-eye coordination and fine motor skills, and it can also be a great way to reduce stress. Folding paper and seeing how it transforms into a three-dimensional figure can be very rewarding. I invite you to leave your comments and, if you do, upload photos of your own creations!
Además de ser una actividad creativa y relajante, el origami también tiene beneficios adicionales. Ayuda a mejorar la coordinación mano-ojo y las habilidades motoras finas, y también puede ser una excelente manera de reducir el estrés. Doblar papel y ver cómo se transforma en una figura tridimensional puede ser muy gratificante. Los invito a dejar sus comentarios y, si lo hacen, ¡suban fotos de sus propias creaciones!

Steps to make a cat bookmark:
- Take a sticky note and place it with the adhesive side up.
- Fold the note in half diagonally to form a triangle.
- Fold the two lower corners of the triangle upwards to form the cat's ears.
- Adjust the height of the ears as you prefer.
- Decorate your cat with markers, colored pencils, or stickers to give it a personal touch.
Pasos para hacer un marcador de gatito:
- Toma una nota adhesiva y colócala con el lado adhesivo hacia arriba.
- Dobla la nota por la mitad en diagonal para formar un triángulo.
- Dobla las dos esquinas inferiores del triángulo hacia arriba para formar las orejitas del gatito.
- Ajusta la altura de las orejitas según tu preferencia.
- Decora tu gatito con rotuladores, lápices de colores o adhesivos para darle un toque personal.

I sincerely want to thank you for taking the time to read this article. Your support means a lot to me and motivates me to continue sharing content that can be useful and interesting for you. If you found this article useful or enjoyed reading it, I would greatly appreciate your comments. Success and Happy New Year!
Quiero agradecerles sinceramente por tomarse el tiempo de leer este artículo. Su apoyo significa mucho para mí y me motiva a seguir compartiendo contenido que pueda ser útil e interesante para ustedes. Si encontraron este artículo útil o disfrutaron leyéndolo, les agradecería enormemente sus comentarios. ¡Éxitos y feliz año nuevo!

 | I’m Ernesto, a Cuban passionate about art and writing. Always learning, always growing. Excited to share and learn more every day! I write about art, drawing, video games, nature, and review the things I like. My goal is to inspire and connect with others through my creative journey. |
|---|
Translated with DeepL.com (free version)
I apologize if there are any grammatical errors, English is not my native language, I have tried to be as careful as possible.
I regularly create images on Pixabay, which are free of copyright. Access my gallery by clicking here.
All assets, illustrations and banners have been created by me and are original content, unless otherwise specified.
The cover of this article was created using Canva.