
Hello DIY Hub friends, how are you today? I hope you're having a wonderful day. This afternoon I'm going to show you how I made a home decoration—a little house made from wooden pallets. I made this house to be part of my home decor, giving it that warm, cozy feel. After all, who doesn't love decorating their home with handmade and colorful things? I personally enjoy these kinds of crafts because I feel it's not just about crafting, but also about expressing our creativity at home. The best part is that this craft is easy to make and requires few materials. I invite you to join me in this creative post. Let's start with the materials I used and the step-by-step instructions, and don't miss the final result!☺️
Materiales://Materials:

- Paletas de madera de color natural
- Pedazos de paletas que tenía de color amarillo y anaranjado
- Tijeras
- Un botón grande de color amarillo
- Silicón al frío
- Regla
- Lápiz
- Marcador de color verde y rojo
- Natural-colored wooden popsicle sticks
- Pieces of yellow and orange popsicle sticks
- Scissors
- One large yellow button
- Craft glue
- Ruler
- Pencil
- Green and red markers
Paso a paso// Step by step


Paso nro 1
Paso nro 1
I wanted to start by making the base of the house, so I took eight popsicle sticks and glued them together, one next to the other. I then placed another popsicle on top of all the others at the bottom and let it dry completely. Once everything was dry, I marked the area where the roof would go, using a ruler to draw a triangle shape. Then I carefully cut it out because the popsicle sticks were very hard.


Paso nro 2
Paso nro 2
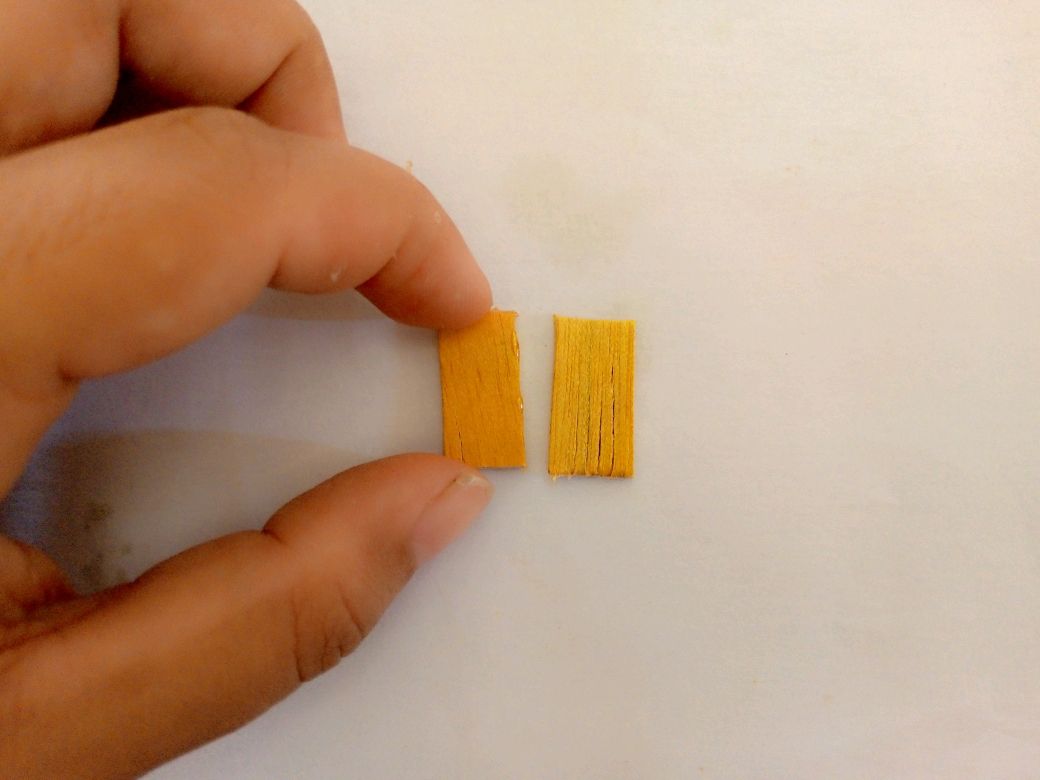
Next, I made the little window. I took two small pieces of yellow popsicle stick, glued them together, and then added two more pieces of popsicle stick that I had cut into a cross shape. I kept applying glue and letting it dry each time because it became very difficult to glue everything together since the sticks weren't adhering well to the silicone. Finally, I made a frame for the window, glued it on, and let it dry completely.

Paso nro 3
Paso nro 3
I also prepared the door at the same time, as well as the little window. I wanted to do this part beforehand because they take a long time to dry, and if they don't dry well, everything can fall apart.


Paso nro 4
Paso nro 4
Now, after letting everything dry for a while, I started to assemble the little house. I put on the roof, the door, and the little window, and then let it dry completely.


Paso nro 5
Paso nro 5
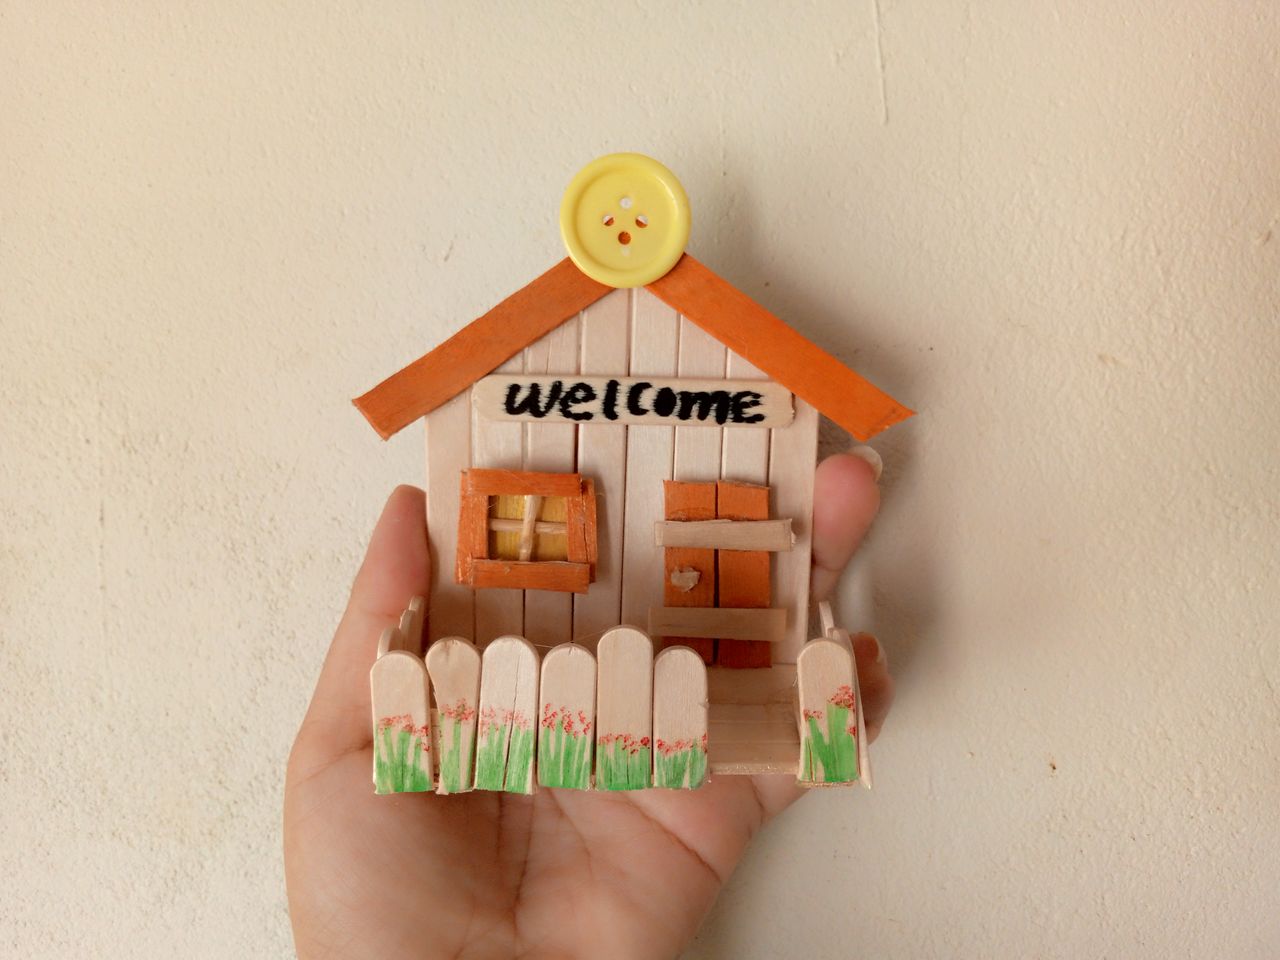
Now, to finish off this lovely decoration, I decided at the last minute to add a little garden in front, with a fence. To do this, I built the front section using the oval-shaped corner pieces of the popsicle sticks. Then I added a small sign with the word "welcome," drew little flowers on it with red and green markers, and placed a button at the top of the roof as decoration, which can also be hung on the wall.

Paso nro 6
Paso nro 6
Then I put a little sign with the word welcome on it, drew little flowers on it with red and green markers, and placed the button at the top of the roof as decoration and so that it can also be placed on the wall.
Resultado final//Bottom line

And so, friends, this lovely decoration is finished! Let me know what you think in the comments. Thank you all for joining me today, bye! ☺️
The photos presented in this blog are my responsibility. The images have been edited using Canva. The photographs were taken with my Infinix Smart 7 cell phone. The content has been translated with Firefox translator.