✨🦒🎨¡Hola amigos amantes de la creatividad! Espero que hayan pasado un muy buen comienzo de semana.✨
Espero se encuentren de lo mejor y hayan pasado un bonito lunes. En esta ocasión uniéndome al concurso del mes, el cual consiste en elaborar una cartuchera, ya que estamos en inicios de clases. Me pareció una magnífica idea, porque estos tutoriales pueden ayudar a los padres a ahorrar un poco de dinero y crear algo bonito para los pequeños.
Me costó mucho sacar una idea de cartuchera, quería crear algo fácil que, en su mayoría, estuviera utilizando materiales reciclados, sin dejar de hacer algo bonito y original. Tenía algunas ideas en mente, pero al final me decidí por hacer una especie de cajita con base, tapa y unas tiras para cerrar. Para elaborar esta cartuchera, utilicé materiales como cartón grueso y telas para reciclar un poco.
Recuerdo que, en primaria, lo que más cuidaba y apreciaba de mis útiles escolares era mi cartuchera, digamos que era un poco la niña de los plumones, pero que los cuidaba tanto que ni siquiera los usaba. Por cuestiones de la vida, jamás supe cómo, pero siempre faltaban colores al llegar a mi casa, no sé cómo ocurría esto porque siempre los tenía bien vigilados, por suerte mi madre sabía que eso siempre me ocurría, por lo que compraba dos cajas de colores para ir reponiendo los perdidos. Recuerdo que me ponía muy triste porque yo los cuidaba muchísimo.
🔸Sin más que añadir, a continuación los dejo con el paso a paso:
✨🦒🎨¡Hello friends who love creativity! I hope you had a very good start to the week.✨
I hope you are doing well and had a nice Monday. On this occasion, joining the contest of the month, which consists of making a pencil case, since we are at the beginning of classes. I thought this was an excellent idea, as these tutorials can help parents save a little money and create something nice for the little ones.
It was very difficult for me to come up with an idea for a pencil case, I wanted to create something easy that, for the most part, was using recycled materials, while still making something beautiful and original. I had some ideas in mind, but in the end I decided to make a kind of box with a base, lid and some strips to close it. To make this pencil case, I used materials such as thick cardboard and fabrics to recycle a little.
I remember that, in primary school, what I cared for and appreciated most of my school supplies was my pencil case. Let's say I was a bit of a pencil case girl, but I took such care of them that I didn't even use them. For reasons of life, I never knew how, but there were always colors missing when I got home, I don't know how this happened because I always kept a close eye on them, luckily my mother knew that this always happened to me, so she bought two boxes of colors to replace those lost. I remember that she made me very sad because I took great care of them.
🔸Without more to add, then I leave you with the step by step:

♥️ESPERO QUE TE GUSTE,
¡Empecemos!
♥️I HOPE YOU LIKE IT,
Let's start!

🎨 MATERIALES | 🎨 MATERIALS
- Cartón grueso.
- Cartulina metalizada.
- Tela con el diseño deseado.
- Foami amarillo, marrón y carne.
- Foami escarchado rosado, azul y verde.
- Pinturas, tizas o marcadores.
- Tijeras.
- Lápiz.
- Regla.
- Hoja.
- Thick cardboard.
- Metallic cardboard.
- Fabric with the desired design.
- Yellow, brown and flesh foami.
- Pink, blue and green frosty foam.
- Paints, chalks or markers.
- Scissors.
- Pencil.
- Ruler.
- Sheet.
🦒 PROCEDIMIENTO | 🦒 PROCESS
- PASO 1:
✂️ Lo primero que hice fue la cajita donde irán los lápices o crayones. La hice con cartulina metalizada dorada, en este caso, la base de 20 cm x 7 cm, las paredes de 20 cm x 2 cm y los pliegues de 1 cm. Le di forma a la caja y pegué los pliegues.
- STEP 1:
✂️ The first thing I made was the little box where the pencils or crayons will go. I made it with gold metallic cardboard, in this case, the base 20 cm x 7 cm, the walls 20 cm x 2 cm and the folds 1 cm. I shaped the box and glued the folds.


- PASO 2:
📏 Una vez listo, saque las medidas para la base y tapa principal. Para las medidas, sume 1 cm más de largo en cada cartón. Para las 2 piezas más grandes tracé y recorté en cartón grueso, 21 cm x 8 cm y para la pieza más pequeña, 8 cm x 3 cm. Las pequé en forma vertical de la siguiente forma: las piezas más largas a los lados y la más pequeña en medio, dejando un espacio entre cada pieza.
- STEP 2:
📏 Once ready, take the measurements for the base and main lid. For measurements, add 1 cm more length to each cardboard. For the 2 largest pieces I traced and cut out, on thick cardboard, 21 cm x 8 cm and for the smallest piece, 8 cm x 3 cm. I cut them vertically in the following way: the longest pieces on the sides and the smallest in the middle, leaving a space between each piece.


- PASO 3:
✂️ Luego, recorté la tela 1 cm más grande que las piezas de cartón y pegué el borde hacia adentro. Por otra parte, recorté dos tiras con la misma tela y pegué cada una en el borde de las piezas más grandes. Luego, para que quedara prolijo, tape la parte interna con la misma tela y una vez lista, pegué la caja en medio de una de las piezas más largas.
- STEP 3:
✂️ Next, I cut the fabric 1 cm larger than the cardboard pieces and glued the edge to the inside. On the other hand, I cut out two strips with the same fabric and glued each one to the edge of the larger pieces. Then, to make it look neat, I covered the inside with the same fabric and once ready, I glued the box in the middle of one of the longest pieces.
 |  |  |

- PASO 4:
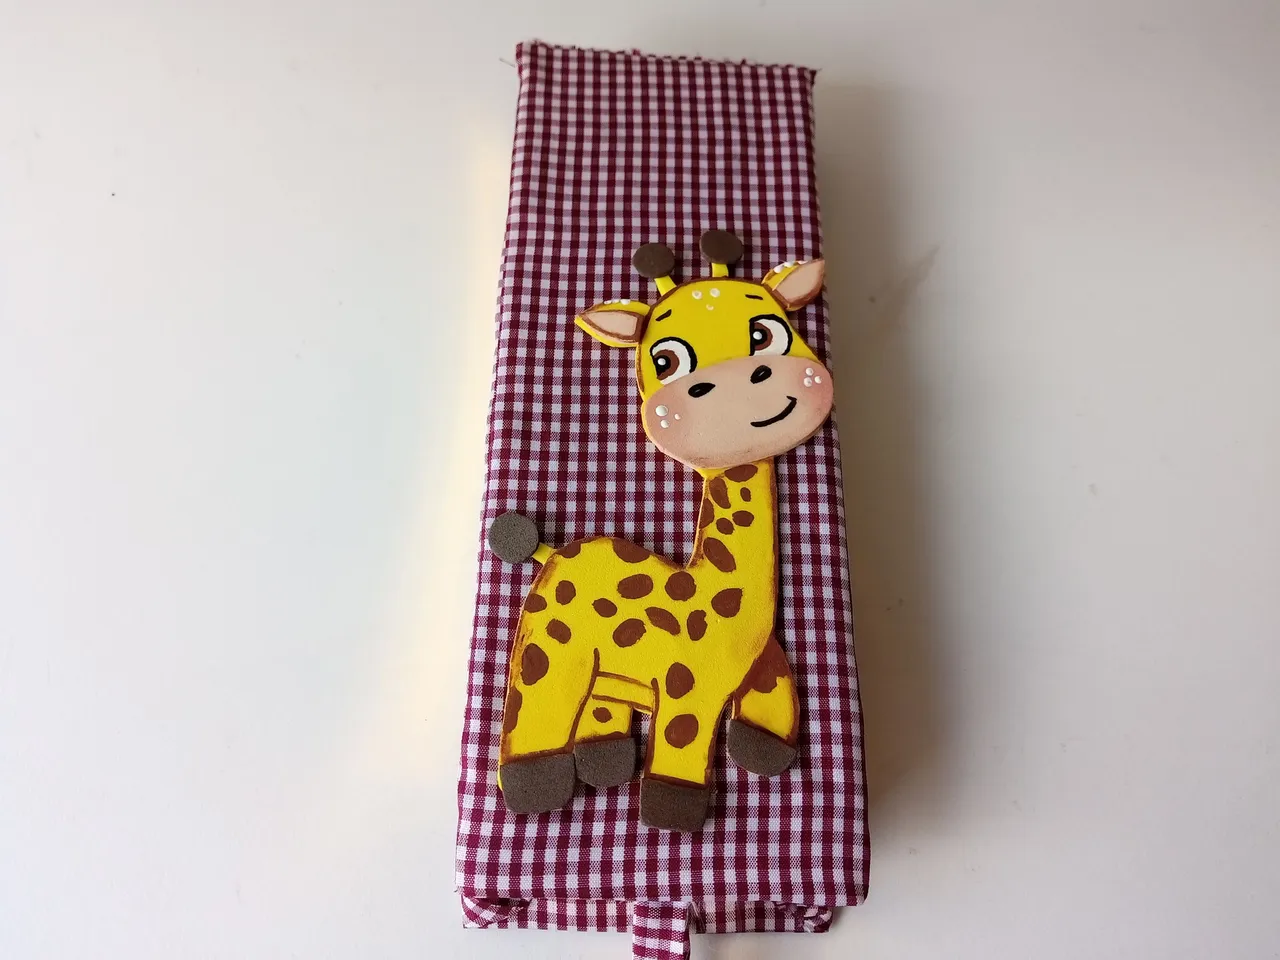
🎨 Ahora sí, es momento de elaborar la decoración. Dibujé el patrón de la jirafa y luego pasé cada parte a los colores correspondientes en foami, en este caso, el cuerpo en foami amarillo, la trompa y parte interna de las orejas en carne y las patas, cola y cuernos en marrón.
- STEP 4:
🎨 Now, it's time to prepare the decoration. I drew the pattern of the giraffe and then I painted each part with the corresponding colors in foam, in this case, the body in yellow foam, the trunk in color and the inner part of the ears in flesh, and the legs, tail, and horns in brown.

- PASO 5:
🎨 Pegué las patas, la cola, los cuernos y dibujé las manchas con pintura marrón. También, delineé toda la figura con la pintura y pegué la trompa y parte interna de las orejas. Dibujé los detalles del rostro como las cejas, fosas, boca y ojos.
- STEP 5:
🎨 I glued the legs, tail, horns and drew the spots with brown paint. Also, I outlined the entire figure with paint and glued the trunk and inner part of the ears. I drew the details of the face such as eyebrows, nostrils, mouth and eyes.


- PASO 6:
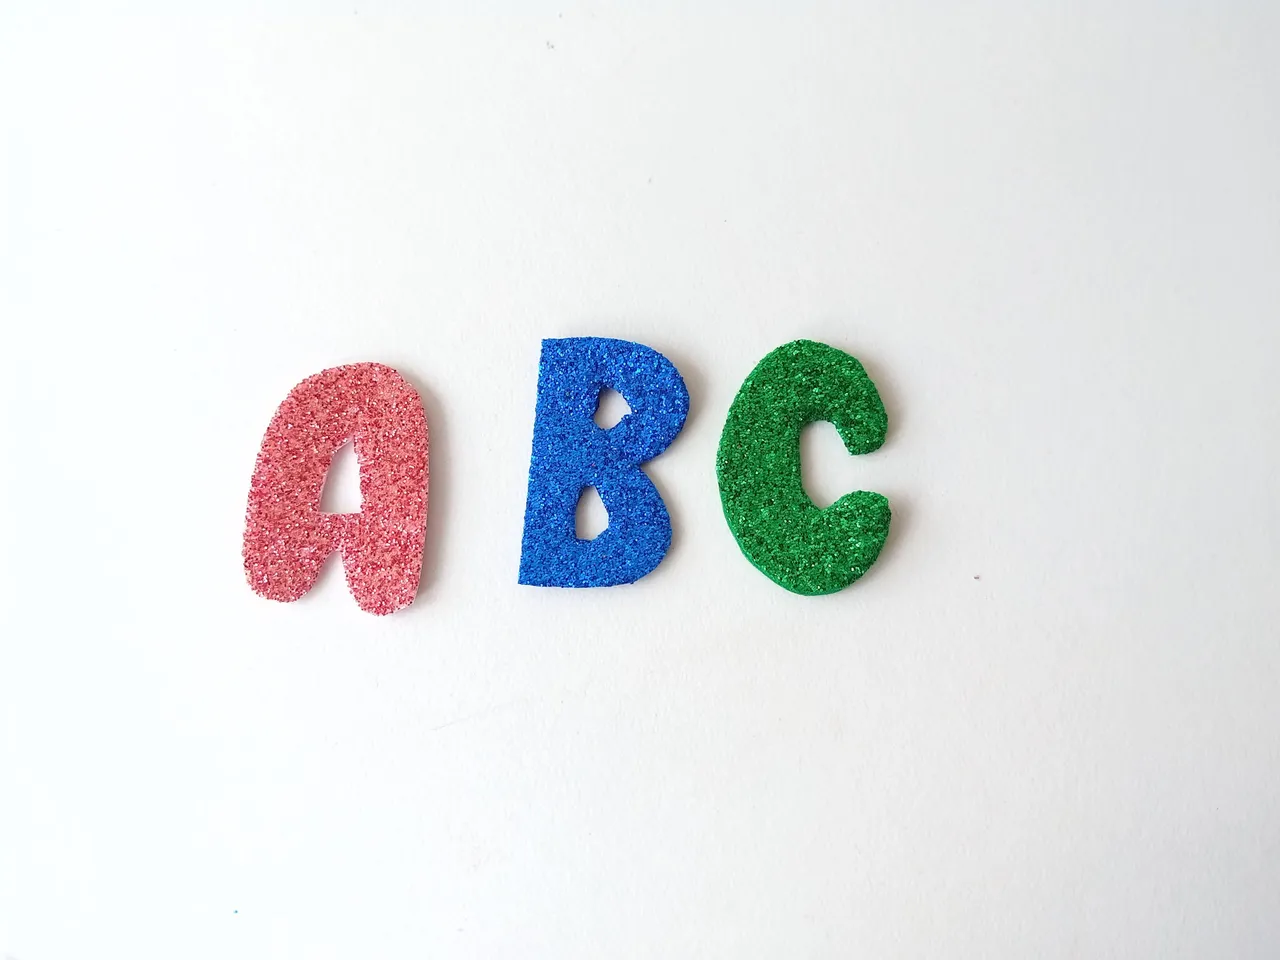
🎨 También, pinté puntos de luz en los ojos, mejillas y orejas. Por último, pegué la figura en la cartuchera y como detalle extra, recorté las letras A, B Y C en distintos colores de foami escarchado, recorté y pegué en la parte vacía de la cartuchera.
- STEP 6:
🎨 Also, I painted points of light on the eyes, cheeks and ears. Finally, I glued the figure to the pencil case and as an extra detail, I cut out the letters A, B and C in different colors of frosted foam, cut out and glued them to the empty part of the pencil case.

✨¡Y listo!✨ De esta forma sencilla y utilizando en su mayoría, materiales reciclados, podemos hacer una hermosa idea para que los chicos guarden sus crayones y lápices. Antes de finalizar, quisiera extender la invitación a mis bellas compañeras 

❤️Hasta la próxima publicación.
✨¡And ready!✨ In this simple way and using mostly recycled materials, we can make a beautiful idea for children to store their crayons and pencils. Before finishing, I would like to extend the invitation to my beautiful colleagues
❤️Until the next post.
✨RESULTADO: | ✨RESULT:


!TE DESEO UN GRAN DÏA¡
Todas las fotografías son de mi propiedad.
Separador y Fotos editadas en Canva
!I WISH YOU A GOOD DAY
All photographs are my property.
Photos edited in Canva