✨💌¡Hola amigos amantes de la creatividad! Espero que hayan pasado un muy buen comienzo de semana.💌✨
En esta ocasión les comparto el paso a paso para elaborar una hermosa tarjeta acordeón. Recuerdo que antes hacía mucho este tipo de detalles para regalarle a mi novio, ya que me parecían muy bonitos, fáciles de hacer y, sin duda, son un hermoso detalle en el que no solo tienes que escribir, sino que también puedes hacer hermosos dibujos. Les comparto este paso a paso, por el hecho de que sé que es un proceso rápido de elaborar y que la mayoría de nosotros buscamos este tipo de detalle para regalo a nuestra pareja o a un ser querido. Además, es una excelente opción como acompañante de un regalo más elaborado. Sea como sea, o la idea que tengas para regalarlo, aquí te dejo esta hermosa idea.
🔸Sin más que añadir, a continuación los dejo con el paso a paso:
✨💌¡Hello friends who love creativity! I hope you had a very good start to the week.💌✨
This time I share the step by step to make a beautiful accordion card. I remember that before I did a lot of this type of detail to give to my boyfriend, because I thought they were very cute, easy to do and without a doubt, they are a nice detail in which you not only have to write, but you can also make beautiful drawings. I am sharing this step by step, because I know that it is something quick to prepare and that most of us are looking for this type of detail to give to our partner or a loved one. In addition, it is an excellent option as a companion to a more elaborate gift. Be that as it may, or the idea you have to give it away, here I leave you this beautiful idea.
🔸Without more to add, then I leave you with the step by step:

♥️ESPERO QUE TE GUSTE,
¡Empecemos!
♥️I HOPE YOU LIKE IT,
Let's start!

✂️ MATERIALES | ✂️ MATERIALS
- Cartulina escolar negra.
- Cartulina metalizada dorada.
- Foami escarchado dorado.
- Hojas o cartulina blanca.
- Marcadores o crayones de colores.
- Marcador negro.
- Pegamento.
- Regla.
- Tijera.
- Lápiz.
- Black school cardboard.
- Gold metallic cardboard.
- Gold ice cream foami.
- Sheets or white card.
- Markers or colored crayons.
- Black marker.
- Glue.
- Ruler.
- Scissors.
- Pencil.
💌 PROCEDIMIENTO | 💌 PROCESS
- PASO 1:
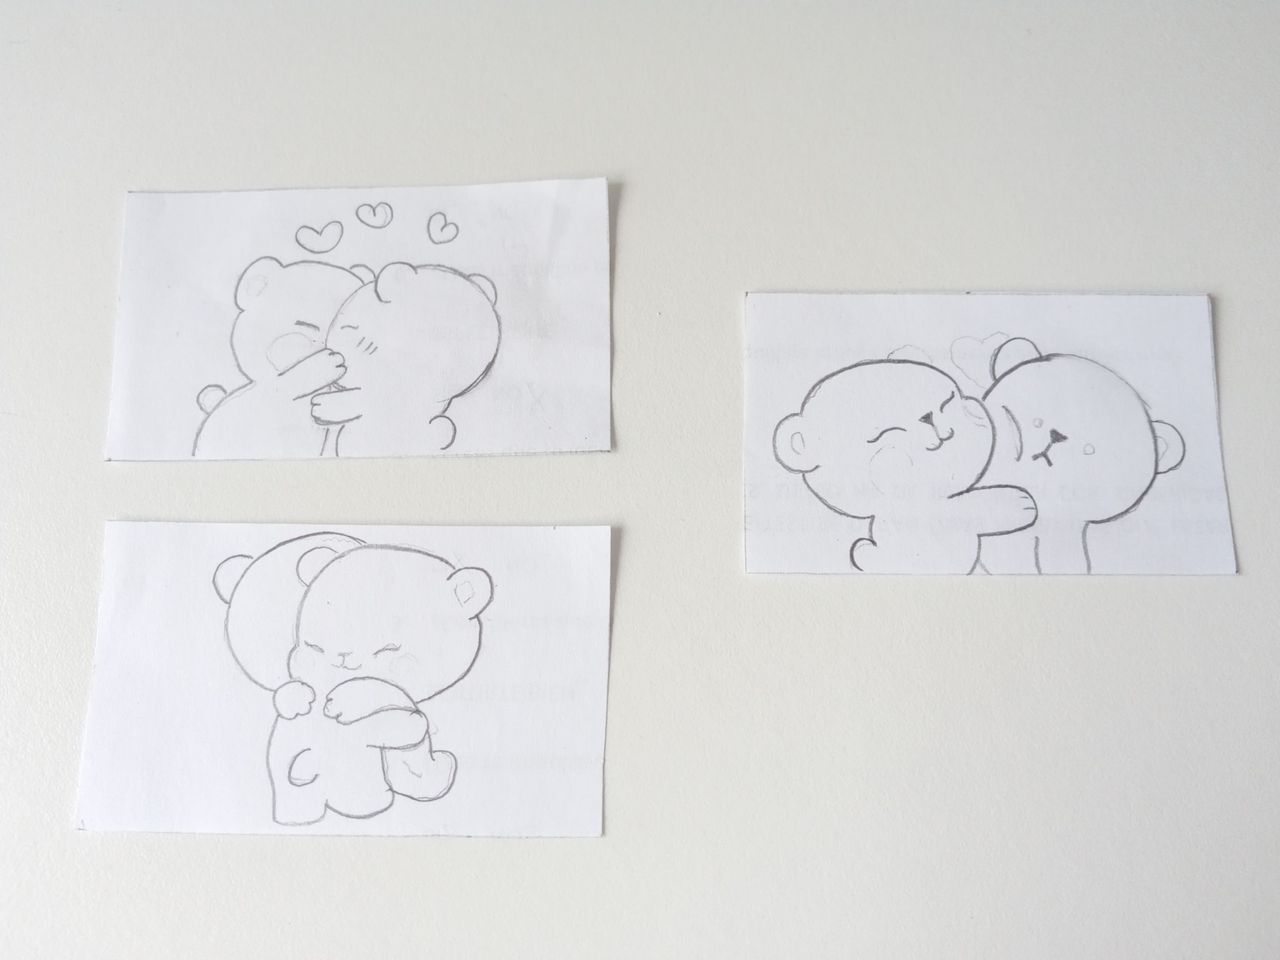
Lo primero que hice fue recortar los rectángulos donde va a ir lo escrito de la carta y los dibujos. Así que recorté 6 rectángulos de 7.5 cm x 4.5 cm. Luego de tener todas las hojas, busque dibujos tiernos y me encontré con algunas imagines de ositos bastante tiernos y románticos. Seleccioné 3 imagines y las dibujé en 3 de las hojas. Para las 3 hojas restantes escribí mensajes bonitos.
- STEP 1:
The first thing I did was cut out the rectangles where the writing of the letter and the drawings will go. So I cut 6 7.5cm x 4.5cm rectangles. After I had all the pictures, I searched for cute drawings and found some pretty cute and romantic bear images. Select 3 pictures and draw them on 3 of the sheets. For the remaining 3 sheets I wrote beautiful messages.


- PASO 2:
Una vez hecho esto, tracé todo el borde de los dibujos con marcador negro y resalté el mensaje con el mismo marcador. Después, coloreé todos los dibujos, agregué corazones y detalles con marcador rojo. Además, dibujé pequeñas líneas por todo el borde de la hoja.
- STEP 2:
Once this was done, I traced around the edge of the drawings with a black marker and highlighted the message with the same marker. Then I colored all the drawings, added hearts and details with a red marker. And additionally, I drew little lines around the edge of the page.


- PASO 3:
Luego, pegué todas las hojas en cartulina escolar negra, dejando 0.5 cm de distancia entre cada hoja y recorté, igualmente, dejando 0.5 cm de espacio en los laterales. Por último, doblar en forma de acordeón.
- STEP 3:
Then, I glued all the sheets on black school cardboard, leaving 0.5 cm of distance between each sheet and I also cut, leaving 0.5 cm of space on the sides. Finally, fold accordion-shaped.


- PASO 4:
Para el sobre, Tracé y recorté en cartulina negra, una pieza de 15.5 cm x 9 cm, es decir; 0.5 cm más ancho que el tamaño del acordeón. Luego doblé en 3 partes y a la parte superior, lo corté un poco más y le di forma de sobre, haciendo un triángulo con la punta ovalada. Lo cerré y le escribí con creyón blanco, en lo que sería el frente del sobre ‘’Con mucho amor’’ y dibujé algunos puntos y líneas por el borde.
- STEP 4:
For the envelope, I traced and cut out a 15.5 cm x 9 cm piece of black cardboard, that is; 0.5 cm wider than the accordion size. Then I folded it into 3 parts and at the top I cut it a little more and shaped it into an envelope, making a triangle with an oval tip. I closed it and wrote in white crayon, on what would be the front of the envelope, "Lots of love" and drew some dots and lines around the edge.


- PASO 5:
Pegué el acordeón en la parte interna del sobre, justo en medio y en la última pared del acordeón, como detalle extra, pegué un rectángulo en cartulina dorada y en medio un corazón con foam escarchado dorado. Cerré y pegué en la punta del sobre una pequeña flecha de 2 cm, hice una abertura para poder insertarla y sobre la flecha, pegué otro corazón con foami escarchado.
- STEP 5:
I glued the accordion on the inside of the envelope, right in the middle and on the last wall of the accordion, as an extra detail, I glued a rectangle in gold cardboard and in the middle a heart with gold frosted foam. I closed and glued a small 2 cm arrow to the tip of the envelope, I made an opening to insert it and on the arrow, I glued another heart with frosted foam.


✨💌¡Y listo!💌✨ De esta forma muy fácil y rápida, podrás regalar un lindo detalle a tu pareja o ser querido. Recuerda que solo te doy ideas para que te inspires a crear este ejemplo que te doy y dejes volar tu imaginación. Como decía, puedes darlo como extra en un regalo más elaborado o regalarlo tal cual sin necesidad de que sea una fecha especial.
❤️Hasta la próxima publicación.
✨💌¡And ready!💌✨ In this very easy and fast way, you can give a nice detail to your partner or loved one. Remember that I only give you ideas so that you are inspired to create this example that I give you and let your imagination run wild. As I said, you can give it as an extra in a more elaborate gift or give it as is without the need for it to be a special date.
❤️Until the next post.
✨RESULTADO: | ✨RESULT:


!TE DESEO UN GRAN DÏA¡
Todas las fotografías son de mi propiedad.
Separador y Fotos editadas en Canva
!I WISH YOU A GOOD DAY
All photographs are my property.
Photos edited in Canva