✨¡Hola amigos amantes de la creatividad! Espero que estén todos bien.✨
¡Buenas tardes, amigos! Espero que estén pasando una excelente semana. Por mi parte, estoy contenta de pasar por acá a compartir una linda idea con ustedes. En esta ocasión les muestro el paso a paso para elaborar un lindo llavero personalizado. Ya saben que me encanta elaborar llaveros (lo he mencionado muchas veces), pero en esta ocasión tocó realizar un encargo para una pequeña llamada Valeria. Así que le pregunté más o menos qué quería y me puse manos a la obra.
🔸Sin más que añadir, a continuación los dejo con el paso a paso:
✨¡Hello friends who love creativity! I hope you are all well.✨
Good afternoon, friends! I hope you're having a wonderful week. I'm happy to stop by and share a cute idea with you. This time, I'll show you step-by-step how to make a lovely personalized keychain. You know I love making keychains (I've mentioned it many times), but this time I had a custom order for a little girl named Valeria. So I asked her what she wanted and got to work.
🔸Without more to add, then I leave you with the step by step:

♥️ESPERO QUE TE GUSTE,
¡Empecemos!
♥️I HOPE YOU LIKE IT,
Let's start!

✂️ MATERIALES | ✂️ MATERIALS
- Foami escarchado rosa.
- Foami escarchado lila.
- Foami amarillo.
- Foami marrón.
- Foami crema.
- Foami verde.
- Cinta delgada.
- Pinturas y marcadores.
- Pegamento.
- Tijeras.
- Regla.
- Hoja blanca.
- Lápiz.
- Pink glitter foam.
- Lilac glitter foam.
- Yellow foam.
- Brown foam.
- Cream foam.
- Green foam.
- Thin ribbon.
- Paints and markers.
- Glue.
- Scissors.
- Ruler.
- White paper.
- Pencil.
🌟 PROCEDIMIENTO | 🌟 PROCESS
✨PASO 1:
En esta ocasión, comencé de atrás para adelante, jaja, pues primero hice los fondos o bases y luego la decoración; claro que para hacer esto o cualquier paso, lo primero es siempre empezar dibujando la idea y decoración o detalles que tenemos en mente, en una hoja blanca. Al tener eso listo, hice los fondos del llavero, que en este caso fueron los siguientes:
✨2 piezas de corazón: 7 cm x 6.5 cm en foami rosa.
✨2 piezas circulares con bordes tipo flor: 6.5 cm en foami escarchado rosa.
✨STEP 1:
This time, I started from the back, haha, because I made the backgrounds or bases first and then the decorations; Of course, to do this or any other step, the first thing is always to start by sketching the idea and any decorations or details you have in mind on a blank sheet of paper. Once that was ready, I made the backgrounds for the keychain, which in this case were the following:
✨2 heart-shaped pieces: 7 cm x 6.5 cm in pink foam.
✨2 circular pieces with flower-like edges: 6.5 cm in pink glitter foam.
 |  |
|---|
✨PASO 2:
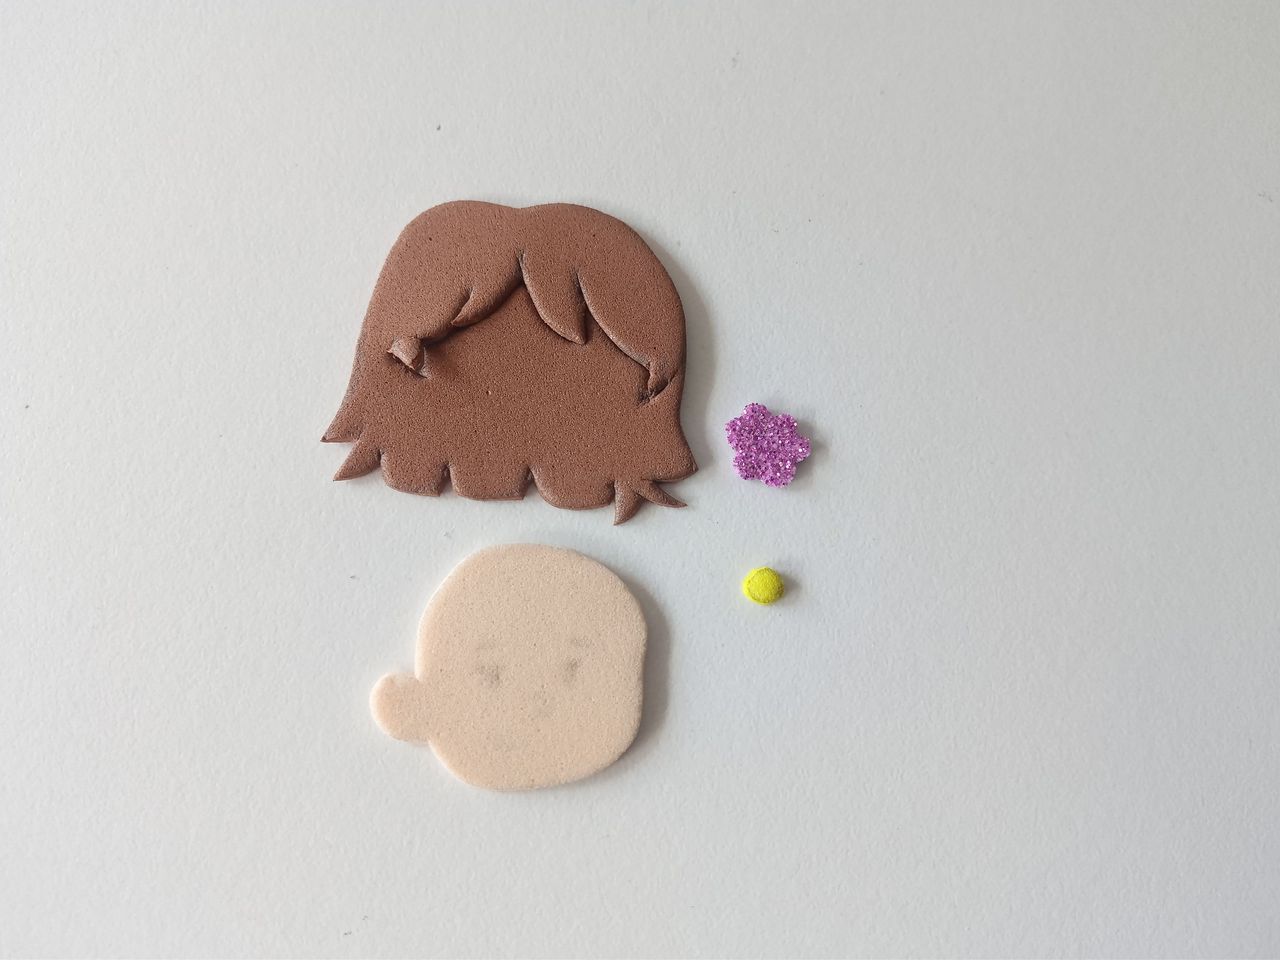
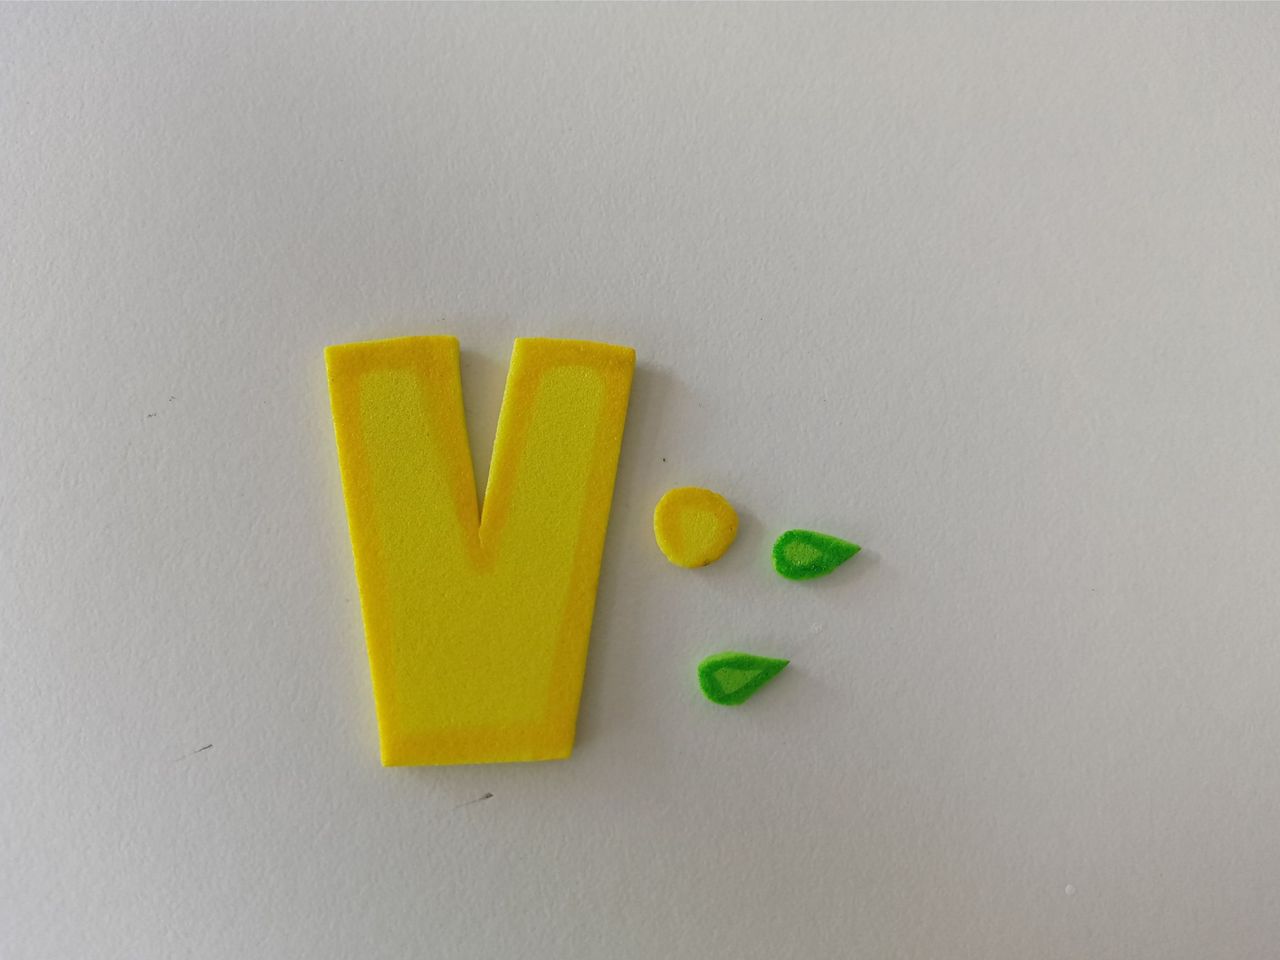
Al estar listas estas piezas, ahora sí vamos con la decoración para estos fondos, que en este caso decidí hacer la inicial de la niña para la parte superior, acompañada de una pequeña flor a uno de los lados de la misma inicial y, como segunda decoración que irá en el centro del corazón, me decidí por elaborar la cara parecida a la de la niña. Al estar lista la idea, es momento de transferir a los colores correspondientes de foami, como explico a continuación:
✨Inicial: 4 cm x 3 cm en foami amarillo.
✨Cabello de la niña: 4 cm x 3.5 cm en foami marrón.
✨Cabeza: 3 cm x 2.5 cm en foami crema.
✨Pétalos: 2 cm x 2 cm y 1 cm x 1 cm en foami escarchado lila.
✨Centros de flor: 0.8 cm y 0.5 cm de circunferencia, en foami amarillo.
✨Hojas: 1 cm en foami verde.
✨STEP 2:
With these pieces ready, we moved on to decorating the backgrounds. In this case, I decided to make the girl's initial for the top, accompanied by a small flower on one side of the initial. As a second decoration, which will go in the center of the heart, I decided to make a face that resembles the girl's. With the idea complete, it's time to transfer it to the corresponding colors of foam, as I explain below:
✨Initial: 4 cm x 3 cm in yellow foam.
✨Girl's hair: 4 cm x 3.5 cm in brown foam.
✨Head: 3 cm x 2.5 cm in cream-colored foam.
✨Petals: 2 cm x 2 cm and 1 cm x 1 cm in lilac glitter foam.
✨Flower centers: 0.8 cm and 0.5 cm in diameter, in yellow foam.
✨Leaves: 1 cm in green foam.
 |  |
|---|
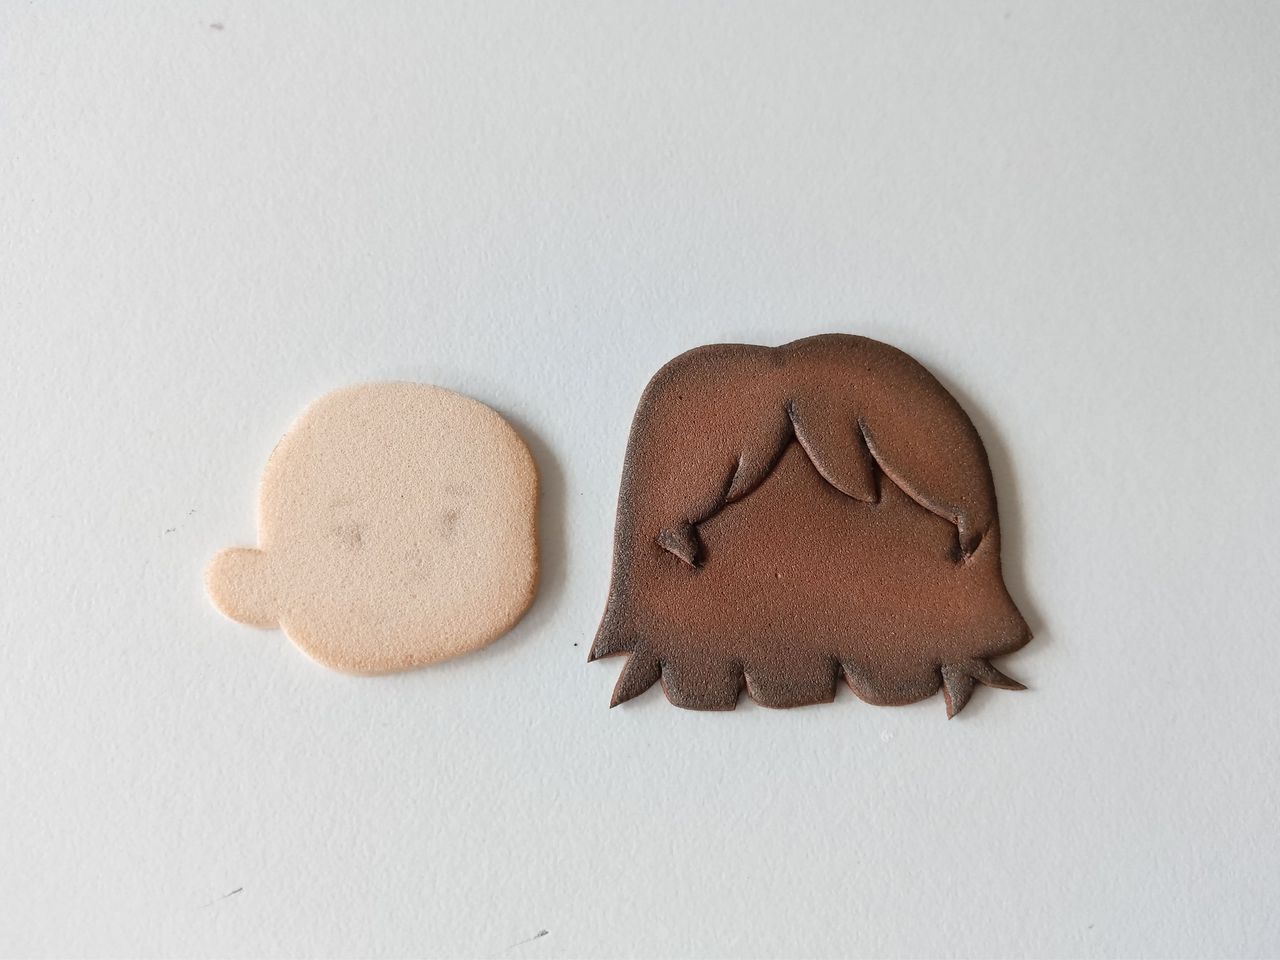
✨PASO 3:
Al estar listas las piezas, es momento de hacer lo que más me gusta, que es dar color a los bordes. En este caso y en la mayoría de las veces, vamos a utilizar colores de marcador que hagan contraste o simplemente colores más oscuros que el color de cada una de las piezas, y como fue en este caso, aunque para la cabeza utilicé un color marrón y para el cabello un color negro, el cual difuminé con un pañito. También aproveché y le di color a los bordes de los fondos de corazón y solo a uno le dibujé puntos dispersos del mismo color.
✨STEP 3:
Once the pieces are ready, it's time for what I enjoy most: adding color to the edges. In this case, and most of the time, we'll use contrasting marker colors or simply darker colors than the base color of each piece. As was the case here, I used brown for the head and black for the hair, which I blended with a cloth. I also took the opportunity to color the edges of the heart-shaped backgrounds, and on one of them, I added scattered dots of the same color.
 |  |  |
|---|
✨PASO 4:
Al estar secas todas las piezas, es momento de hacer detalles más específicos, como vienen siendo los ojos, cejas, boca, nariz, rubor y orejas. Al igual que también vamos a definir el cabello de la niña, y en cuanto a la inicial, simplemente le dibujé líneas tipo costura por el borde.
✨STEP 4:
Once all the pieces are dry, it's time to add more specific details, such as the eyes, eyebrows, mouth, nose, blush, and ears. We'll also define the girl's hair, and for the initial, I simply drew stitching lines along the edge.

✨PASO 5:
Ya casi para finalizar, pegué a los fondos que irán por detrás una tira a los 3 cm de distancia entre ambos fondos, al igual que pegué una tira doblada a la mitad, que será donde irán las llaves. Encima de cada uno de los fondos, vamos a pegar los otros, uno encima del otro, siendo estos el frente del llavero. Por último, formamos la decoración y pegamos la inicial en el fondo con forma floral y a la niña en medio del corazón.
✨STEP 5:
Almost finished, I glued a strip to the back pieces, 3 cm apart, and also glued a strip folded in half, which will hold the keys. On top of each of these back pieces, we'll glue the other pieces, one on top of the other, forming the front of the keychain. Finally, we add the decoration and glue the initial to the floral background and the girl in the center of the heart.
 |  |  |
|---|
✨Así es como pueden elaborar este o el llavero de su preferencia. Yo quedé fascinada y la clienta también, así que eso es lo que importa, jaja. Pueden tomar esta idea para inspirarse y crear el llavero personalizado, totalmente al gusto. Espero que les haya gustado y se animen a elaborarlo.
❤️Hasta la próxima publicación.
✨That's how you can make this keychain, or any keychain you like. I was thrilled with it, and so was the client, so that's what matters, haha. You can use this idea for inspiration and create your own personalized keychain, exactly to your liking. I hope you liked it and are inspired to make one!
❤️Until the next post.
✨RESULTADO: | ✨RESULT:
 | |
|---|

!TE DESEO UN GRAN DÏA¡
Todas las fotografías son de mi propiedad.
Separador y Fotos editadas en Canva
!I WISH YOU A GOOD DAY
All photographs are my property.
Photos edited in Canva