✨¡Hola amigos amantes de la creatividad! Espero que estén todos bien.✨
¡Buenas tardes, amigos! Espero que estén pasando una excelente semana. Por mi parte, estoy muy contenta de pasar por acá a compartir una linda idea creativa con ustedes. En esta ocasión, les traigo el paso a paso para elaborar un hermoso organizador de escritorio. Inicialmente, tenía pensada una decoración de vallas con flores de varios colores, forrando la base con una tela que combinara e hiciera contraste con los tonos de las mismas. Sin embargo, quise ir un poco más allá; mientras dibujaba, se me ocurrió añadir el diseño de una linda jirafa medio oculta entre las flores, con un cuello bastante largo y unas patitas que se asoman curiosas entre las vallas del jardín.
🔸Sin más que añadir, a continuación los dejo con el paso a paso:
✨¡Hello friends who love creativity! I hope you are all well.✨
Good afternoon, friends! I hope you're having a wonderful week. I'm so happy to stop by and share a lovely creative idea with you. This time, I'm bringing you a step-by-step tutorial for making a beautiful desk organizer. Initially, I planned a decoration of fences with colorful flowers, covering the base with a fabric that would complement and contrast with the flower colors. However, I wanted to go a little further; while sketching, I came up with the idea of adding a cute giraffe design, half-hidden among the flowers, with a rather long neck and little legs peeking curiously out from between the garden fences.
🔸Without more to add, then I leave you with the step by step:

♥️ESPERO QUE TE GUSTE,
¡Empecemos!
♥️I HOPE YOU LIKE IT,
Let's start!

✂️ MATERIALES | ✂️ MATERIALS
- Botella de refresco.
- Foami escarchado dorado.
- Foami rosa.
- Foami morado.
- Foami marrón.
- Foami verde.
- Foami amarillo.
- Foami crema
- Cartulina.
- Tela.
- Pinturas y marcadores.
- Pegamento.
- Tijeras.
- Regla.
- Hoja blanca.
- Lápiz.
- Soda bottle.
- Gold glitter foam.
- Pink foam.
- Purple foam.
- Brown foam.
- Green foam.
- Yellow foam.
- Cream foam.
- Cardstock.
- Fabric.
- Paints and markers.
- Glue.
- Scissors.
- Ruler.
- White paper.
- Pencil.
🌟 PROCEDIMIENTO | 🌟 PROCESS
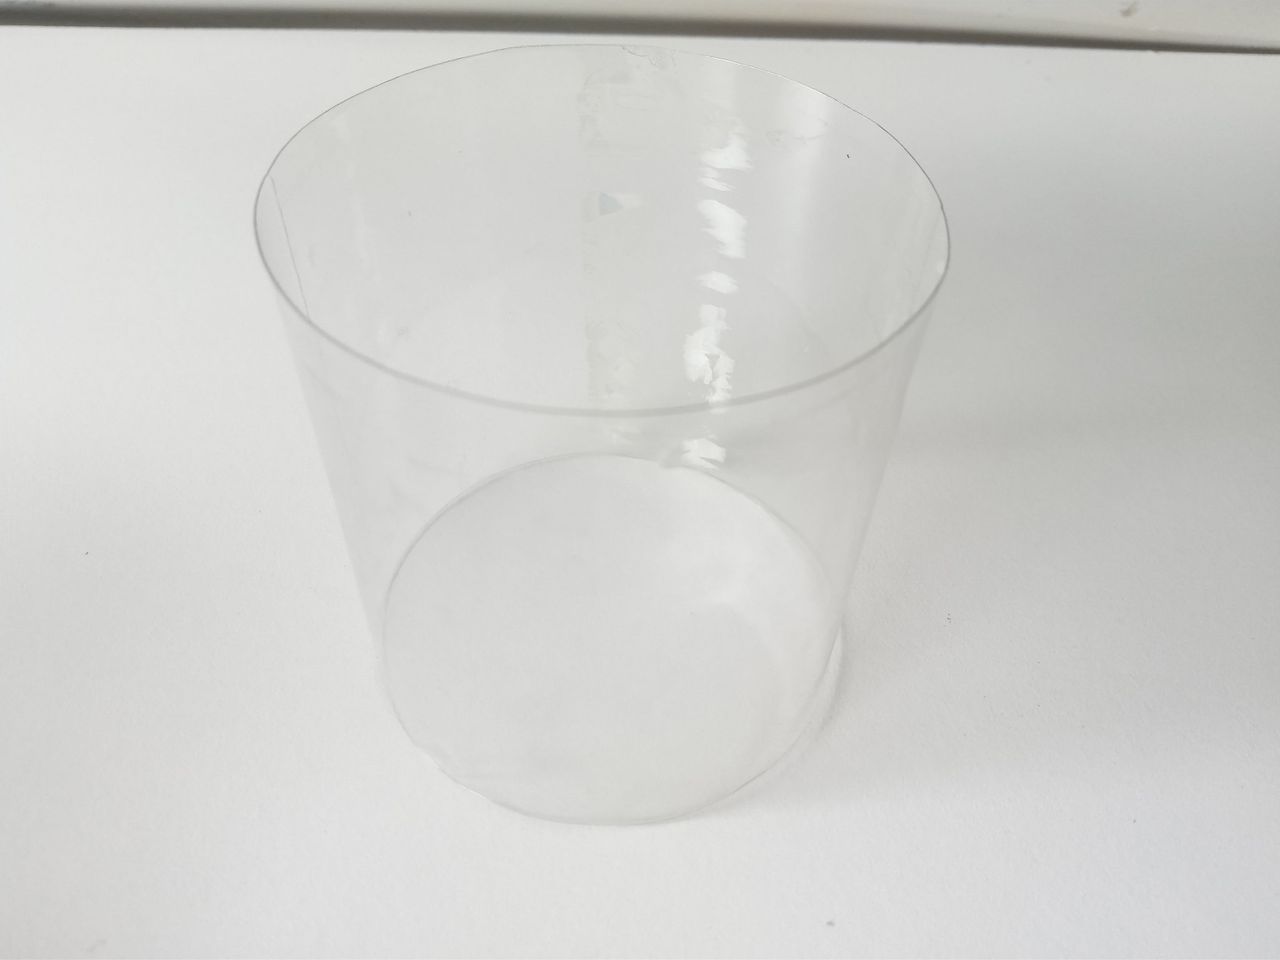
✨PASO 1:
Lo primero que debemos hacer es tomar la botella de refresco, retiramos la etiqueta y con ayuda de un cuter vamos a cortar lo que viene siendo ese cilindro donde estaba la etiqueta. En mi caso ya tenía esta pieza recortada, así que luego de esto vamos a tomar la tela con el color o diseño deseado; en mi caso es de 27 cm de ancho y 8 cm de largo porque le agregué 1 cm más de cada lado para que, al momento de pegar la tela en la parte interna de las paredes del cilindro, quede más prolijo.
✨STEP 1:
The first thing we need to do is take the soda bottle, remove the label, and with the help of a craft knife, cut out the cylinder where the label was. In my case, I already had this piece cut out, so next, we'll take the fabric in the desired color or design. Mine is 27 cm wide and 8 cm long because I added 1 cm to each side so that when I glue the fabric to the inside of the cylinder, it will look neater.
 |  |  |
|---|
✨PASO 2:
Por otra parte, tomamos cartulina; en mi caso quise utilizar dos tonos diferentes. Primero recorté un rectángulo en cartulina negra de 27 cm de ancho y 8 de largo, el cual pegué en la parte interna del cilindro, y para la base del organizador, utilicé cartulina metalizada verde, para que hiciera juego con la temática, así que recorté una circunferencia de 10 cm con bordes tipo pétalos y pegamos como base.
✨STEP 2:
Next, we'll take some cardstock. I wanted to use two different shades. First, I cut a rectangle from black cardstock, 27 cm wide and 8 cm long, which I glued to the inside of the cylinder. For the base of the organizer, I used metallic green cardstock to match the theme. I cut a 10 cm circle with petal-like edges and glued it on as the base.
 |  |  |
|---|
✨PASO 3:
Para nuestro diseño o decoración, es tomar la hoja blanca, un lápiz y ponernos creativos, ya sea buscar inspiración con algún diseño que nos guste o ponernos creativos y plasmar lo que deseamos crear luego en foami. En mi caso, ya les dije al inicio que mi idea principal era la de hacer un organizador redondo, con el diseño de unas vallas y flores, tipo jardín, pero luego se me ocurrió la idea de agregar a algún animal curioso que sobresalga entre las flores. Así que, al tener el diseño listo, transferimos a los colores correspondientes de foami, como explico a continuación:
✨Cabeza y orejas: 6 cm x 5 cm en foami amarillo.
✨Cuerpo y cuello: 7.5 cm x 6.5 cm en foami amarillo.
✨Hocico: 2.5 cm x 2 cm en foami crema.
✨Pétalos: 3.5 cm x 3.5 cm en foami rosa y morado.
✨Centro de flor: 1 cm de circunferencia en foami escarchado dorado.
✨Hojas: 2 cm en foami verde.
✨Vallas: 5.5 cm x 1 cm y 27 cm x 0.5 mm en foami marrón.
✨STEP 3:
For our design or decoration, all we need is a blank sheet of paper, a pencil, and to get creative. We can look for inspiration in a design we like or get creative and sketch out what we want to create later on foam sheets. In my case, as I mentioned at the beginning, my main idea was to make a round organizer with a fence and flower design, like a garden, but then I had the idea to add a curious animal that would stand out among the flowers. So, once we had the design ready, we transferred it to the corresponding colors of foam sheets, as I explain below:
✨Head and ears: 6 cm x 5 cm in yellow foam sheets.
✨Body and neck: 7.5 cm x 6.5 cm in yellow foam sheets.
✨Snout: 2.5 cm x 2 cm in cream foam sheets.
✨Petals: 3.5 cm x 3.5 cm in pink and purple foam sheets.
✨Flower center: 1 cm in diameter in gold glitter foam sheets.
✨Leaves: 2 cm in green foam.
✨Fences: 5.5 cm x 1 cm and 27 cm x 0.5 mm in brown foam.
|
 |  |  |
|---|
✨PASO 4:
Al tener todas las piezas recortadas, es momento de dar color a los bordes con pinturas o marcadores que hagan contraste con el color de cada pieza y, al estar secas, es momento de dibujar detalles más específicos, como rostro de la jirafa, manchas en el cuerpo de la misma, definir los pétalos, las hojas y las vallas.
✨STEP 4:
Once all the pieces are cut out, it's time to color the edges with paints or markers that contrast with the color of each piece. When they are dry, it's time to draw more specific details, such as the giraffe's face, spots on its body, and define the petals, leaves, and fences.
 |  |  |
|---|
✨PASO 5:
Al estar secas las piezas, es momento de pasar las flores por la plancha para que den relieve y luego pegamos hasta formar a la jirafa y las flores. Después, comenzamos a pegar en el cilindro: primero la jirafa, seguido de las vallas y, finalmente, las flores.
✨STEP 5:
Once the pieces are dry, iron the flowers to give them a raised effect, and then glue them together to form the giraffe and the flowers. Next, begin gluing them onto the cylinder: first the giraffe, followed by the fences, and finally the flowers.
 |  |  |
|---|
✨Así es como pueden elaborar un lindo organizador personalizado para el escritorio. Espero que este diseño les sirva de inspiración o ya tengan alguna idea en mente que les guste. Espero que les haya gustado el paso a paso y se animen a elaborarlo.
❤️Hasta la próxima publicación.
✨This is how you can make a cute personalized desk organizer. I hope this design inspires you or that you already have an idea in mind that you like. I hope you enjoyed the step-by-step instructions and are encouraged to make it.
❤️Until the next post.
✨RESULTADO: | ✨RESULT:
 |  |
|---|

!TE DESEO UN GRAN DÏA¡
Todas las fotografías son de mi propiedad.
Separador y Fotos editadas en Canva
!I WISH YOU A GOOD DAY
All photographs are my property.
Photos edited in Canva