
Español
Excelente día tengan todos los miembros de las diferentes comunidades de Hive; es un placer como siempre compartir con ustedes todos mis trabajos de manualidades y mis creaciones 🤩. En la publicaciónde hoy vamos a realizar una lindas bandejas. En los gabinetes de mi cocina estaban estas dos bandejas que no se le daban uso y decidí darle un cambio.
En las decoraciones actuales se están usando las bandejas; para decorar la mesa de la sala, mesas de apoyo, sala de baño entre otros sitios; es una nueva tendencia decorar con ellas. Hoy transformaremos estas dos bandejas en dos bandejas de lujo🤩.A continuación les daré los materiales que vamos a utilizar, son fácil de encontrar y económicos comparado al precio de cada bandeja en el mercado que su costo oscilan entre 25 a 30 $ aproximadamente y el gasto que hice para transformarlas fue de 8$🤑👍. Así que acompañenme a transformar estas bendejas.

Materiales a utilizar
- Dos Bandejas las que ustedes tengan disponibles y si van a comprar una que sea de plástico que le saldrá económica.
- Pistola de silicona y barras de silicona
- Cintas con pedrería a su gusto
- Tijera
- Manillas o sujetadores de cocina ( 2 pares)
- Dos vidrios o espejos a la medida de cada bandeja
- Spray plateado
- Paño de cocina
- Papel lavable de color plateado
- Pegamento universal
- Cinta de embalar o tirro
- Dos pares de sujetadores de puerta y alicate
Pasos a seguir
1👣. Limpiar las bandejas que vamos a pintar con el paño de cocina sacarle todo el polvo y si está con mancha lavarla con jabón y una esponja. Pero en este caso sólo tenía polvo.


2👣. Luego de tener las bandejas limpias vamos a proceder en pintar la bandeja de material de plástico con la pintura de spray de color plateado. Recuerden hacerlo en un área libre y colocar un pedazo de cartón o plástico para cubrir la mesa de trabajo👍. Leer la instrucción del uso de la pintura en spray antes de usarla y luego pintar ambos lados de la bandeja.


3👣. Con el papel lavable de color plateado vamos a pegarlo de fondo de las dos bandejas con una regla medir el fondo de las dos bandejas y marcar en el papel y luego recortar con la tijera y pegar el papel a las bandejas con el pegamento universal.


4👣.En este siguiente paso vamos a pegar con el silicon caliente la cinta de pedrería por todo alrededor de las dos bandejas; se utilizó dos tipos de cinta con brillante, una plateada toda y la otra negra con plateado.


5👣. Hacer lo mismo con la otra bandeja pegar la cinta plateada de pedrería por la parte de encima y la parte de adentro de la bandeja. Hagalo primero por dentro y después por la parte de encima.


6👣. Ya cuando las dos bandejas tengan el papel pegado y la cinta de pedrería vamos a colocar las manillas o tiradores a los lados de la bandeja de forma circular y en la parte de encima la bandeja rectangular con el silicon caliente pegar y limpiar los hilos que quedan del silicon. La manillas de la bandeja rectangular las pinté con el spray de color plateado. Con la cinta de embalar cubrir la parte de la cerámica de la manillas y pintar.


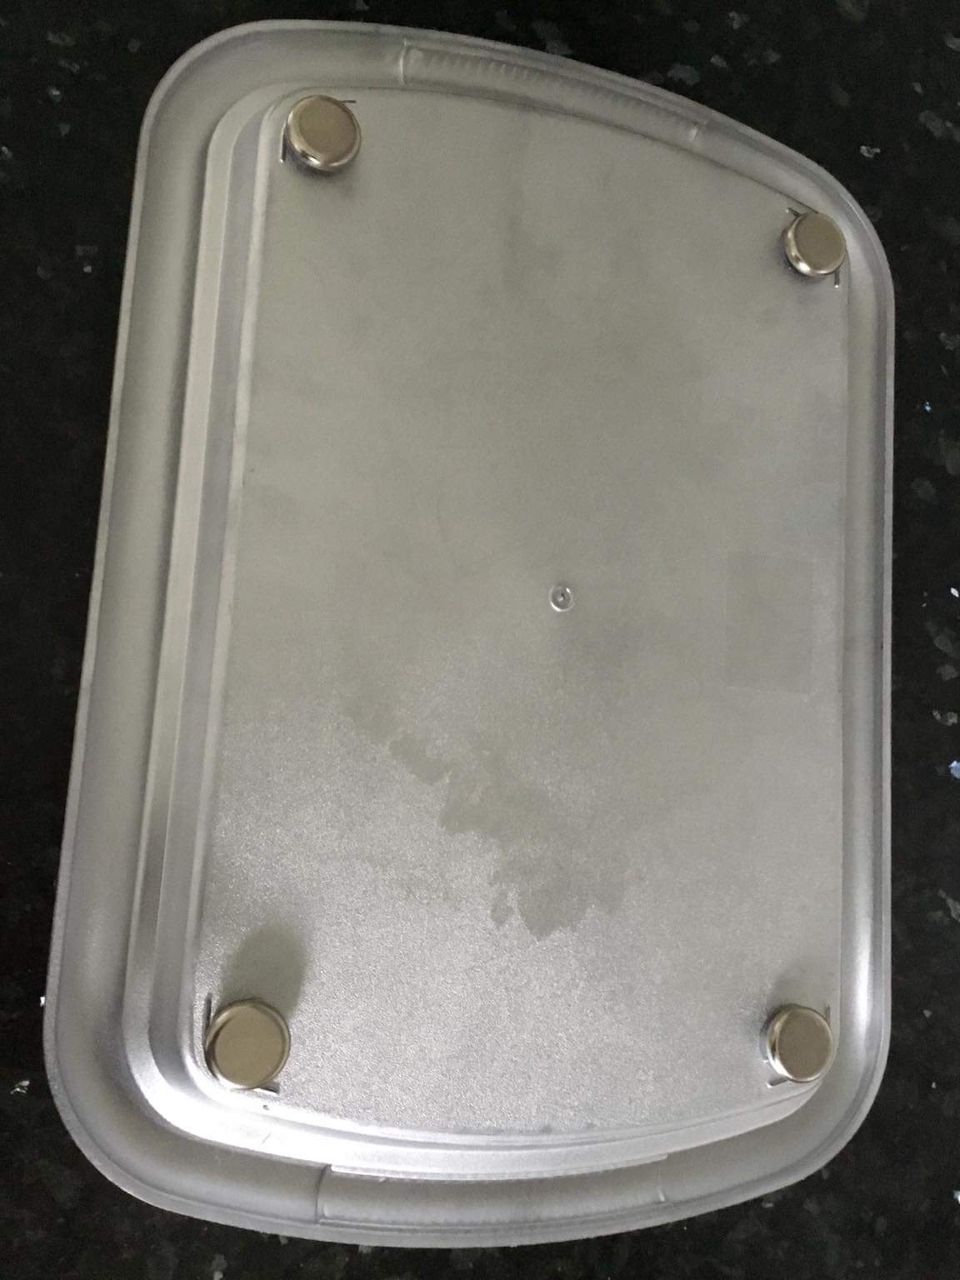
7👣. Para darle altura a las bandejas quise ponerle unas patas como llevan las bandejas que vi para decorar las mesas y fui a una ferretería a ver que podía servir, y vi estos sujetadores de puertas para que no peguen a las paredes; éstas se colocan en el piso y decidí comprarlas color plateado. Estos sujetadores llevan como un clavo porque sirven para los pisos de madera y con una alicate le corte los clavos. Ustedes pueden utilizar otro material que sirvan como patas a la bandejas. Pegar las patas a la bandeja en la parte de abajo con el silicon caliente.


8👣. Por último pueden dejar la bandejas así o también pueden colocar espejos o vidrio en la base; en éste caso decidí colocarle vidrio porque el precio era poco 👍 y se ven mejor 🤩. Como ya le dije anteriormente que estuve viendo los precios y hacerla nosotros mismo nos ahorramos bastante dinero y van hacer únicas. Igual se la mostraré con vidrio y con espejo👍😉.

Para decorar la bandejas podemos colocar velas, candelabros, libros, jarrones o cualquier objeto que combine en su mesa. Espero que le haya gustado mi proyecto de hoy y puedan hacerlo ustedes mismos, es muy fácil de realizar. Gracias a todos los amigos que toman unos minutos de su tiempo y leer mis publicaciones, también estoy agradecida a todas las comunidades que me apoyan.

Las fotos son de mi propiedad tomadas por mi teléfono móvil Samsung Galaxy A6 y organizadas por la aplicación GridArt.


English
Excellent day have all the members of the different Hive communities; It is a pleasure as always to share with you all my crafts and my creations 🤩. In today's post we are going to make a nice trays. In my kitchen cabinets there were these two trays that were not used and I decided to give it a change.
In the current decorations the trays are being used; to decorate the living room table, support tables, bathroom among other places; It is a new trend to decorate with them. Today we will transform these two trays into two luxury trays 🤩. Next I will give you the materials that we are going to use, they are easy to find and cheap compared to the price of each tray in the market that its cost ranges between 25 to 30 $ approximately and the The expense I made to transform them was $8🤑👍. So join me in transforming these blessings.
The materials to use
- Two Trays that you have available and if you are going to buy one that is made of plastic that will be economical.
- Silicone gun and silicone bars
- Ribbons with rhinestones to your liking
- Scissors
- Handles or kitchen fasteners (2 pairs)
- Two glasses or mirrors tailored to each tray
- silver spray
- Dish towel
- Silver color washable paper
*Universal glue - Packing tape or tape
- Two pairs of door fasteners and pliers
Steps to follow
1👣. Clean the trays that we are going to paint with the kitchen cloth, remove all the dust and if it is stained, wash it with soap and a sponge. But in this case it was just dust.
2👣. After having the trays clean, we will proceed to paint the plastic material tray with silver spray paint. Remember to do it in a free area and place a piece of cardboard or plastic to cover the work table👍. Read the instruction of the use of the spray paint before using it, and then paint both sides of the tray.
3👣. With the silver-colored washable paper we are going to glue it to the bottom of the two trays with a ruler, measure the bottom of the two trays and mark on the paper and then cut with scissors and stick the paper to the trays with the universal glue.
4👣.In this next step we are going to glue the rhinestone tape all around the two trays with hot silicone; Two types of shiny ribbon were used, one all silver and the other black with silver.
5👣. Do the same with the other tray, stick the silver rhinestone ribbon on the top and inside of the tray. Do it first on the inside and then on the top.
6👣. When the two trays have the paper glued and the rhinestone tape, we are going to place the handles or handles on the sides of the tray in a circular way and on the top of the rectangular tray with the hot silicone paste and clean the remaining threads of the silicone. I painted the handles of the rectangular tray with silver spray. With the packing tape cover the ceramic part of the handles and paint.
7👣. To give the trays height, I wanted to put some legs like the trays that I saw to decorate the tables and I went to a hardware store to see what could be used, and I saw these door holders so that they do not hit the walls; these are placed on the floor and I decided to buy them silver. These fasteners work like a nail because they are for hardwood floors and with a pair of pliers you cut the nails. You can use other material to serve as legs for the trays. Stick the legs to the tray at the bottom with hot silicone.
8👣. Finally, they can leave the trays like this or they can also place mirrors or glass on the base; In this case I decided to put glass on it because the price was low 👍 and they look better 🤩. As I told you before that I was looking at the prices and doing it ourselves we save a lot of money and they will make it unique. I'll still show it to you with glass and mirror👍😉.
To decorate the trays we can place candles, candlesticks, books, vases or any object that matches your table. I hope you liked my project today and you can do it yourself, it's very easy to do. Thanks to all the friends who take a few minutes of their time and read my posts, I am also grateful to all the communities that support me.
The photos are my property taken by my Samsung Galaxy A6 mobile phone and organized by the GridArt application.