Hello and happy sunday to you all it is the first sunday of the year and i am very exvited to being another year with the weekly sunday creative initiative that allows me to share insighful creativity with you all. Happy new year and welcome to a new creative sunday featuring a bouquet of red rose flower i diyed for my past which was last week.

Material I Used
Ribbon (colour of your choice
Super glue
Cooking Bamobbo sticks
Carbon Paper
2 by 4 inches cardboard paper
Scissors

Step By Step Process
STEP 1

Taking the ribbon, the cardboard and scissors i am preparing to
Step 2

in the next step I am rolling it unto the ribbon unto the cardboard paper several time repeatedly, this so as to get a good number of part after i proceed to cut them, this saves time, i am using the 6 inches side of the cardboard
Step 3

After rolling the ribbon i proceed to cut the ribbon into 4 parts,( the front part into two and the back part into two as well all parts measuring 3 inches each, to create the petals i am folding one edge of the 3 inch ribbon adjacent to the bottom on the first side the creates a trapezium shape, i then fold the pointy edge adjacently again i also do the for the second side of the ribbon and final shape looks like an arrow sign
.
Here is a more upclose look of the folding

I created a lot more, each rose consisting of 16 pieces of the petals

STEP 4

Using the glue i join 4 pieces of petals to each other
Here is o photo of doing the same for 3 petals, 4 petals and another 4 petals

Step 5

Taking the bamboo stick i apply some glue unto it, next i going ahead to roll each roll of the joined petals unto the bamboo.i repeat this step for each of the roll starting with the 4 set, followed by the 3 set and the last two 4 sets.
And voila!! we have a ribbon rose

I went ahead to create 10 more roses following the above steps and i had a small bunch of fake rose flowers which i joined with tape because i was going to be creating a bouquet wrap.

For the bouquet wrap i am using the carbon paper, you acn choose to use whate ver wrap you like i am going for this because i wanted a black bouquet wrap, firstyly i fold over the side of the paper to create a right angled triangle i the fold over the opened end to close the wrap and secured with tape ,its is advisable to using clear tape for a more polished look.
This is the results of the folding
i created about 6 more to wrap the bouquet i then placed the bunch inside the 6 carbon wraps


In the next step i secured with tape.
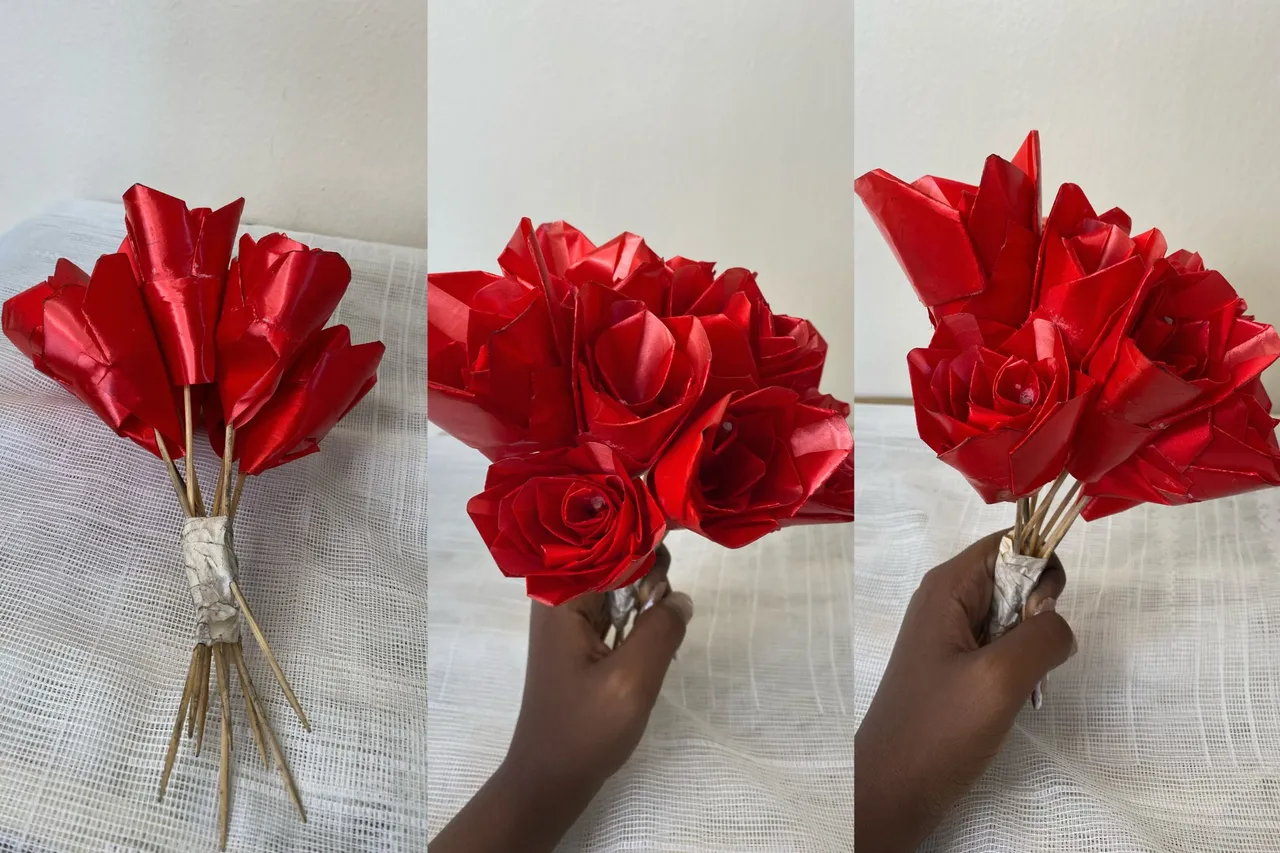
This is the final Result of the bouquet!!

Some BTS of my pijama inspired birthday shoot

Thanks you for stopping by my post i hope you liked this #diy episode, stick around my blog for creative and affordable diy project weekly, also stay tuned to the upload of this shoot by following my blog, hope to see you in my next one.Ciao!