Muy buenos días a mis amigos de Hive soy su amigo Ramaco que les trae la publicación de como hice un paisaje cromático el cual hice recordando mi niñez de cuando iba con mi familia a pasear a casa de loa abuelos en un pueblo llamado Cumanacoa.
Mi paisaje cromático.

Mis materiales.
Trabaje con pigmentos acrílicos marca ARTe DECO de colores: blanco, azul, amarillo, rojo y negro que les voy a ir mostrando poco a poco en la publicación.
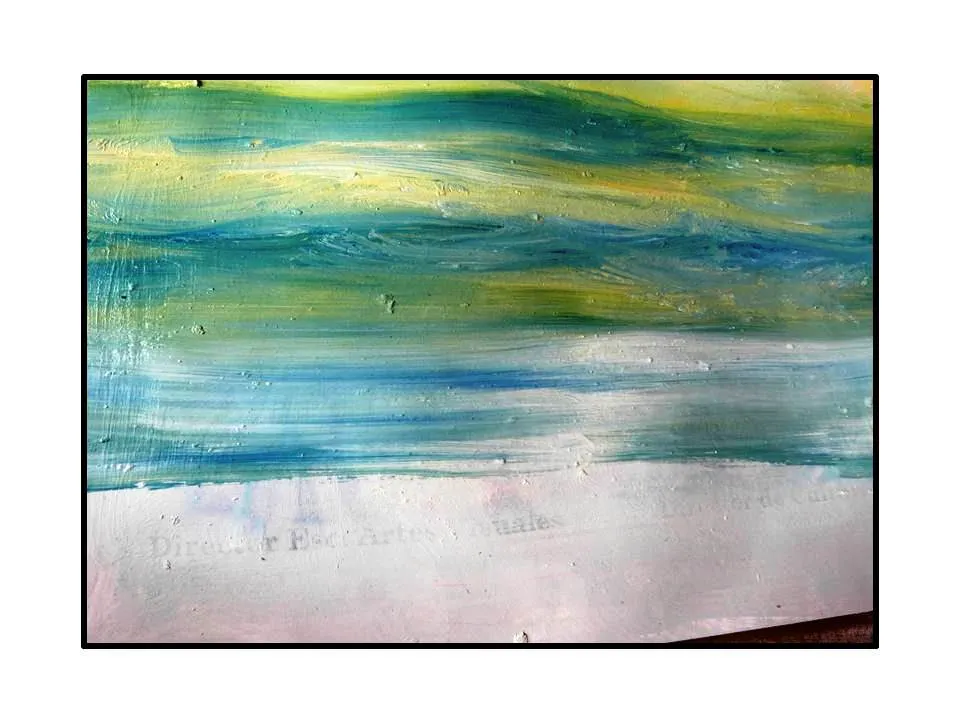
Comencé con el color neutral el blanco como les muestro en la imagen.

Se le agrego a un soporte el color blanco titanio.

Es importante que sepan que el amarillo que es un color primario y este es fundamental ya que es un color de luz y es fundamental en una obra artística porque nos brinda iluminación al paisaje.

Utilizamos el color rojo primario.

Se utilizo blanco, rojo y amarillo como lo observan en la imagen.

Se desplazo un pincel numero Nº 3 de celda de malta de abanico para formar la atmósfera del cielo que hice con las gotas de color amarillo, blanco y rojo.

Utilizamos otro color primario azul ultramar como lo muestro en mi mano.

Una vez que se aplico el color blanco,amarillo ,rojo, agregué unas gotas de azul para poder darle unos toque de azul al cielo.

Se desplazo el pincel para lograr que el azul se degradara.

El azul degradado le dio otra pigmentación a la atmósfera del cielo.

Se aplica el blanco cuando es necesario degradar aun más el cielo.

Con un pincel y el color blanco voy buscar la degradación necesaria para formar las nubes.

Se agrego el color neutral de pigmento negro como lo muestra la imagen.

El negro es fundamental para ir formando...

Pueden ir ya observando los arbustos y ramificaciones.

Ok, aquí vemos los arbusto y el agua con el color blanco.

Utilice un pincel que le corto las cerdas para lograr el follaje de los arbustos (las hojas) como se muestra en la imagen.

Con la punta del pincel le damos los toquecitos para lograr el follaje de los arbustos.

Visualización de los arboles.

Ya se puede observar que aun le faltan muchos detalles a la obra.

Con el pincel 001 de punta fina y suave para hacer los detalles faltantes.

Se mezcla el color blanco y amarillo (colores de luces) y voy aplicarlo en donde se refleja la iluminación en el paisaje.

Observamos que la luna se realizo con blanco y amarillo y los detalles de luz los voy a hacer a continuación.

Los puntos con el pincel representa el efecto de luz en las hojas.

Ya tengo los detalles de los arboles sus troncos con su reflejo de luz .

Con la mezcla del color rojo y blanco obtenemos el color rosa.

El color rosa es aplicado al árbol.

Nota: Siempre es necesarios tener en casa los pinceles punta fina son esenciales para los detalles.

Observen bien de cerca loque se puede lograr con el pincel punta fina: las ramificaciones, los detalles de los arboles, dan el toque esencial al paisaje.

NOTA: ES IMPORTANTE PRACTICAR MUCHO CON El PINCEL PUNTA FINA DE CELDA SUAVE.

Casi listo el paisajes, ahora lo observamos varias veces para realizar correcciones necesarias.

Utilicé rotuladores de color negro para hacer las lianas colgantes.

Pueden observar los detalles y las aves volando en el paisaje.

Vean en el cielo las aves volando y las lianas colgando de las ramas de los árboles ladeadas hacia el lado que las mueve el viento.

Se agrego un pequeño manantial con su caída de agua.

Ok, ahora me voy a hacer los efectos del agua.

Le agregue más fuerzas con el color amarillo que es la luz para dar iluminación al agua y la trabaje un poco más.

Observe mi pintura y note que le faltaba más colorido.

Le aplique mucho más color, retoqué casi toda la pintura para intensificar sus colorido y hacerla más vistosa, fauvista o impresionista.
Bien mis buenos amigos de Hive espero les haya gustado como hice este paisaje y que me puedan dar su opinión como los espectadores de mi trabajo artístico y dígame ¿En qué tendencia artística se ubica mi obra?.
Espero su opinión y apoyo amigos de las artes.
¡Muchas gracias por verme!.

Good morning to my friends from Hive, I am your friend Ramaco who brings you the publication of how I made a chromatic landscape which I made remembering my childhood when I went with my family to walk home from grandparents in a town called Cumanacoa.
My color landscape.

My materials.
I worked with ARTe DECO brand acrylic pigments in colors: white, blue, yellow, red and black that I am going to show you little by little in the publication.
I started with the neutral color white as I show you in the image.

Titanium white color was added to a support.

It is important that you know that yellow is a primary color and this is essential since it is a color of light and is essential in an artistic work because it provides lighting to the landscape.

We use the primary color red.

White, red and yellow were used as you can see in the image.

A fan malt cell number 3 brush was moved to form the atmosphere of the sky that I made with the yellow, white and red drops.

We use another ultramarine blue primary color as shown on my hand.

Once the white, yellow, red color was applied, I added a few drops of blue to give the sky a touch of blue.

The brush was moved to make the blue fade.

The gradient blue gave another pigmentation to the atmosphere of the sky.
White is applied when the sky needs to be further degraded.

With a brush and the color white I'm going to look for the necessary degradation to form the clouds.

Added the neutral color of black pigment as shown in the image.

Black is essential to form...

You can start observing the bushes and branches.

Ok, here we see the bushes and the water with the color white.

Use a brush with shortened bristles to achieve the foliage of the bushes (the leaves) as shown in the image.

With the tip of the brush we give the touches to achieve the foliage of the bushes.

Visualization of the trees.

It can already be seen that many details are still missing from the work.

Using the 001 soft fine tip brush to make the missing details.

Mix white and yellow (colors of lights) and apply it where the lighting is reflected in the landscape.

We note that the moon was made with white and yellow and I will do the light details below.

The dots with the brush represent the light effect on the leaves.

I already have the details of the trees, their trunks with their light reflection.

By mixing red and white we get pink.

The pink color is applied to the tree.

Note: It is always necessary to have fine tip brushes at home, they are essential for details.

Look closely at what can be achieved with the fine tip brush: the branches, the details of the trees, give the essential touch to the landscape.

NOTE: IT IS IMPORTANT TO PRACTICE A LOT WITH THE FINE TIP SOFT CELL BRUSH.

The landscape is almost ready, now we look at it several times to make the necessary corrections.

I used black markers to make the hanging vines.

You can see the details and the birds flying in the landscape.

See the birds flying in the sky and the lianas hanging from the branches of the trees tilted to the side that the wind moves them.

A small spring with its waterfall has been added.

Ok, now I'm going to do the water effects.

Add more strength with the yellow color that is the light to illuminate the water and work it a little more.

Look at my painting and notice that it lacked more color.

I applied much more color, I touched up almost all the painting to intensify its colors and make it more colorful, fauvist or impressionist.
Well my good friends from Hive I hope you liked how I made this landscape and that you can give me your opinion asviewers of my artistic work and tell me, what artistic trend is my work in?.
I await your opinion and support friends of the arts.
Thank you very much for seeing me!.