
The reason I chose the two of them is because the reference I used this time, one of them has a hairstyle that (in my opinion) is similar to Suisei Hoshimachi. And I paired Suisei Hoshimachi with AZKi because they had joined a music label.

Preparation
Okay, let's move on to the main discussion. The tools and apps I use are still the same this time :
Ibis Paint X
Smartphone (Xiaomi Redmi Note 5A)
2 thumbs and index fingers of my hand (I don't use any help, like Stylus Pen. It's different if I have a Tablet, maybe I'll need it.)
[Additional] Built-in Music Player from smartphone (I sometimes can't focus if I'm not doing something while listening to music)
 |  |  |
|---|
The canvas size I use for drawing is default (1000 X 1000 px)
Brush for making Lineart, Felt Tip Pen (Hard) ; 1px Thickness and 100% Opacity
Brush for Shading, Pen (Fade) ; Thickness and Opacity may vary
 |  |
|---|
As explained earlier, the characters I will be using this time are AZKi and Suisei Hoshimachi. You can see the original source here and here


Drawing Process
This time I'm not going to explain in detail the drawing process (only relying on this GIFs) because everything I do in the process remains the same as I usually do when drawing other characters.

Additional Explanation
 |  |  |
|---|
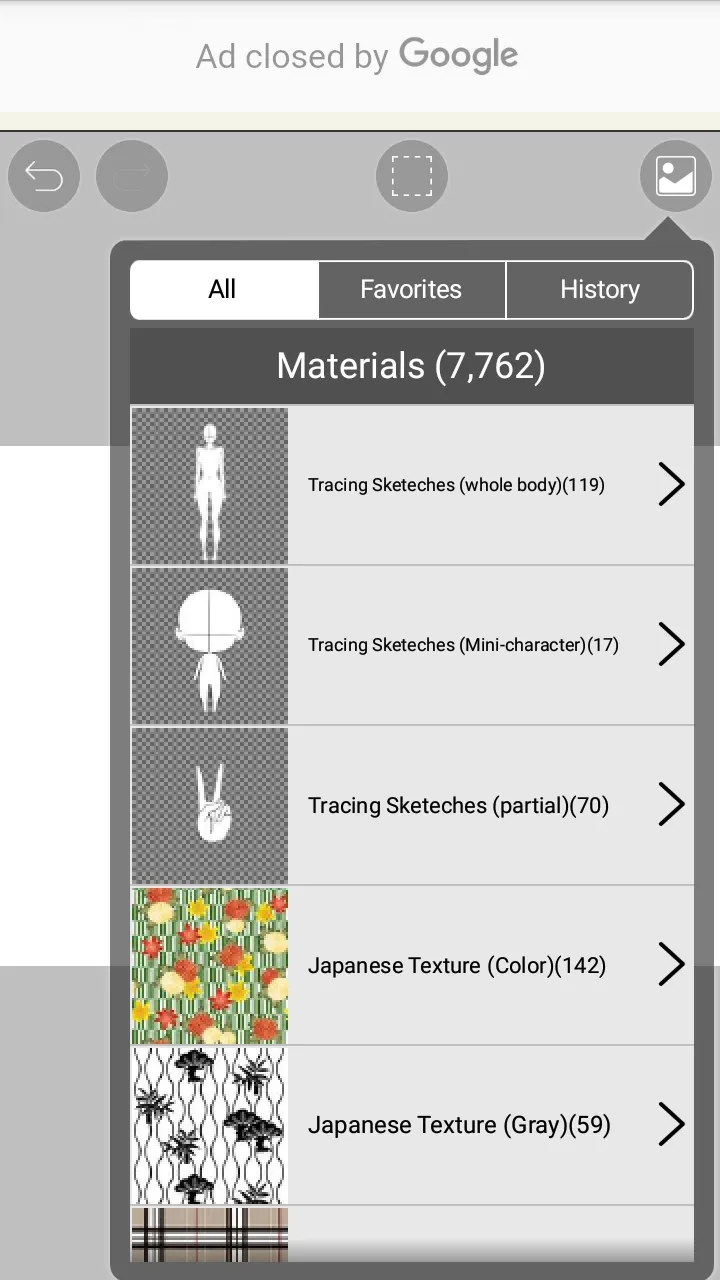
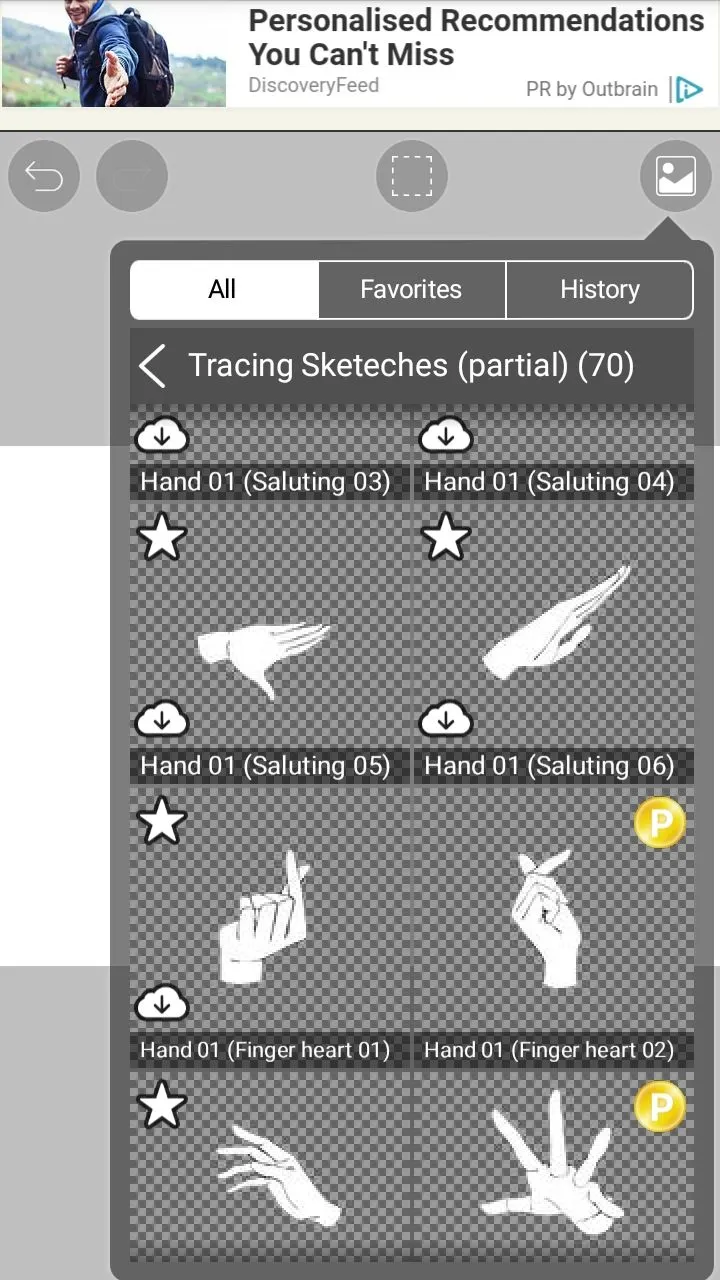
As you can see, the hand pose is different from the hand pose from the reference. I used the materials provided in the app.
 |  |
|---|
I used Hand 01 (putting hand down 01) for AZKi and Hand 01 (Saluting 05) for Suisei Hoshimachi.
 |  |  |  |
|---|
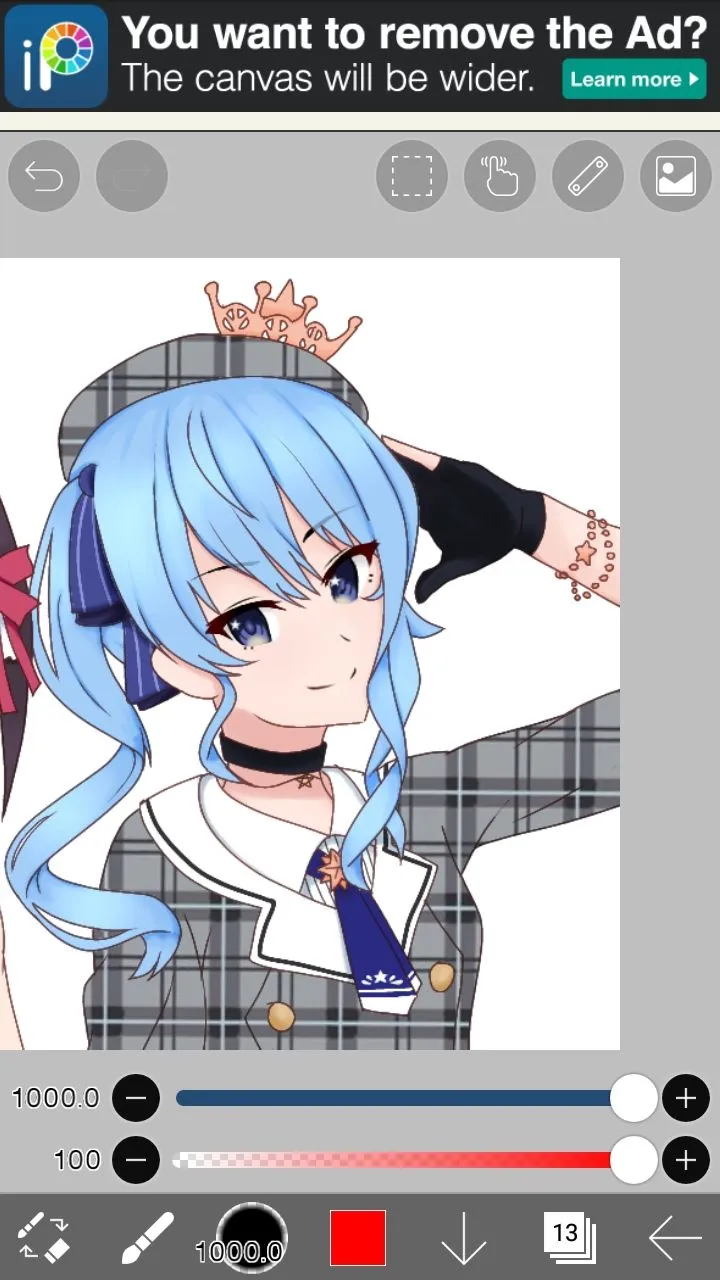
As for the patterns on the clothes and beret of Suisei Hoshimachi, I didn't bother to draw them.
I simply took it from the source and selected the required area...
Duplicate that area...
Select Transformation on the menu...
Select perspective form >> Horizon to duplicate the pattern throughout the canvas area...
 |  |  |  |  |
|---|
clip the pattern onto the costume of Suisei Hoshimachi...
It's already fused, but it still looks flat aka doesn't follow the flow of the clothes. To do so...
Select Lasso on the menu...
Select a certain area to be changed (for example, I chose a pattern that is in the beret area)...
Select Transformation >> Mesh form. And start changing the pattern flow to match the beret shape (you can change the settings in Mesh form to find the right result)
Artwork Result

The pattern flow in Suisei Hoshimachi's costume still doesn't look natural, I still have a lot to learn (especially about how to "draw folds on clothes"). And this time I don't use a background because I'm confused about deciding what is appropriate (I'm not good at aligning the Artwork I made with the background I will use)
That was the process of making my latest Artwork. You can also follow my twitter account to find out what character I'm making.
And I don't forget to thank those of you who want to take the time to visit and read my writing or just enjoy my Artwork. See you in my next new Artwork....
another credits :

YouTube
https://virtualyoutuber.fandom.com