We've finally managed to put the bucket mushroom grow together! The hardest thing is gathering the ingredients and working out a system. I'm going to explain how we did it and at the end the problems we came up against at the very end. I hope it is simple enough for anyone to follow!

1. Gather Your Ingredients
- Sanitiser
- Thermometer
- Micropore Tape
- 4 Litre buckets
- Hydrated lime (builder's lime NOT garden lime)
- A heating element or way to heat water
- A pillowcase
- An esky
- Straw (NOT peastraw)
- Hardwood sawdust
- A drill and a step drill bit

2. Heat The Water
We used a heating element and the esky took about an hour and a half to heat. This gave us time to do everything else. It has to be heated to 80 degrees but not more, and should remain between 60 - 80 degrees for an hour in the esky.

3. Make Your Substrate
Finely chop the straw with scissors to an inch or two in length. Add the sawdust, gypsum and hydrated lime. Use gloves and goggles. Then stuff in your pillowcase. YOu don't need to sterilise at this point as it will all be pasteurized in the hot water. Here's how you will calculate it, according to the recipe from Milkwood Permaculture, that I'm following. The volume is the volume of the buckets you are using. Mix really really well. You should add some warm water to get it all wet but not dripping.
- Straw: 50% of total volume.
- Hardwood sawdust: 50% of total volume.
- Gypsum: 1 teaspoon for every 4 litres/1 gallon of
total volume. - Hydrated lime: 1 tablespoon for every 4 litres/1
gallon of total volume. For oyster mushrooms only

3. Pasteurize your substrate
Tie a rope around your pillow case to secure and ease into the hot water. Shut the lid and leave it for an hour. Then pull out of the water and hang it so it drips pretty dry. This is field capacity - enough water for it to be wet, but not waterlogged and dripping. As it cools you can use your gloved and sterilised hands to squeeze extra liquid out.

My son figuring and his girl trying to figure out how to hang it

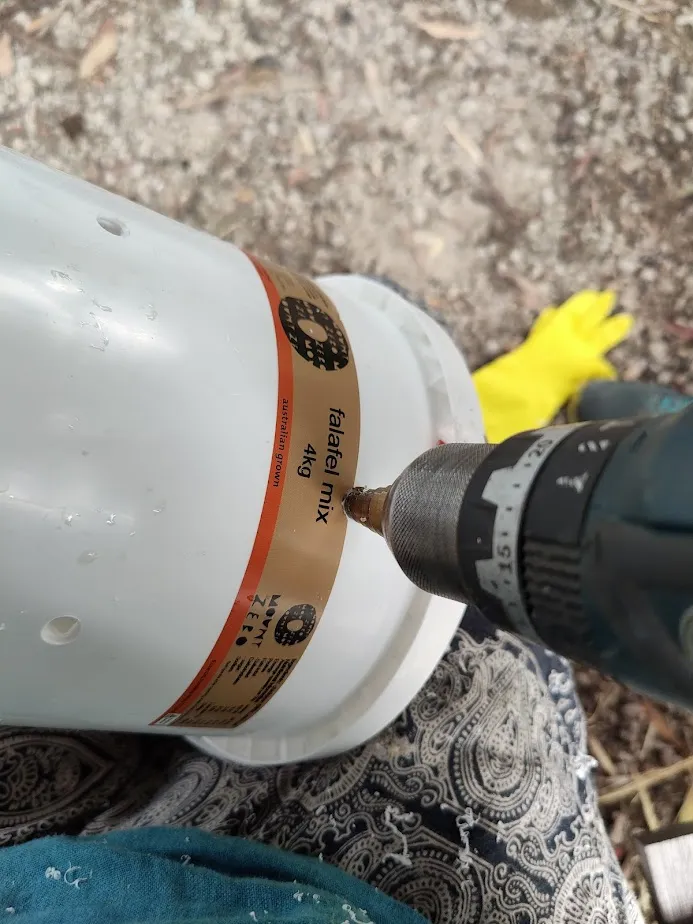
4. Prepare the Buckets
You need a 1/4 inch step drill bit for this. Drill four holes about a third of the way up the bucket in regular intervals, and 1/4 of the way down. This is where your mushrooms will escape, growing from the mycellium.
Tape them off with micropore tape.
5. Add the Spawn
At this point, it's advisable to bring everything inside. We prepared the kitchen bench by sterilising it with an 80 percent ethanol spray. I got a big tub and sterilised that, and sterilised all the buckets really well. Also sterilise your hands! Everything must be super clean.
Empty out the pillow case into a big tub so it cools down more. YOu don't want to pasteurise or kill the spawn.
Then you add your spawn. Spawn is NOT spores!
grain/mycelium mixture is called spawn, and spawn is used to "seed" mushroom compost. Most spawn is made with mycelium from a stored culture, rather than mycelium whose parent was a spore.1*
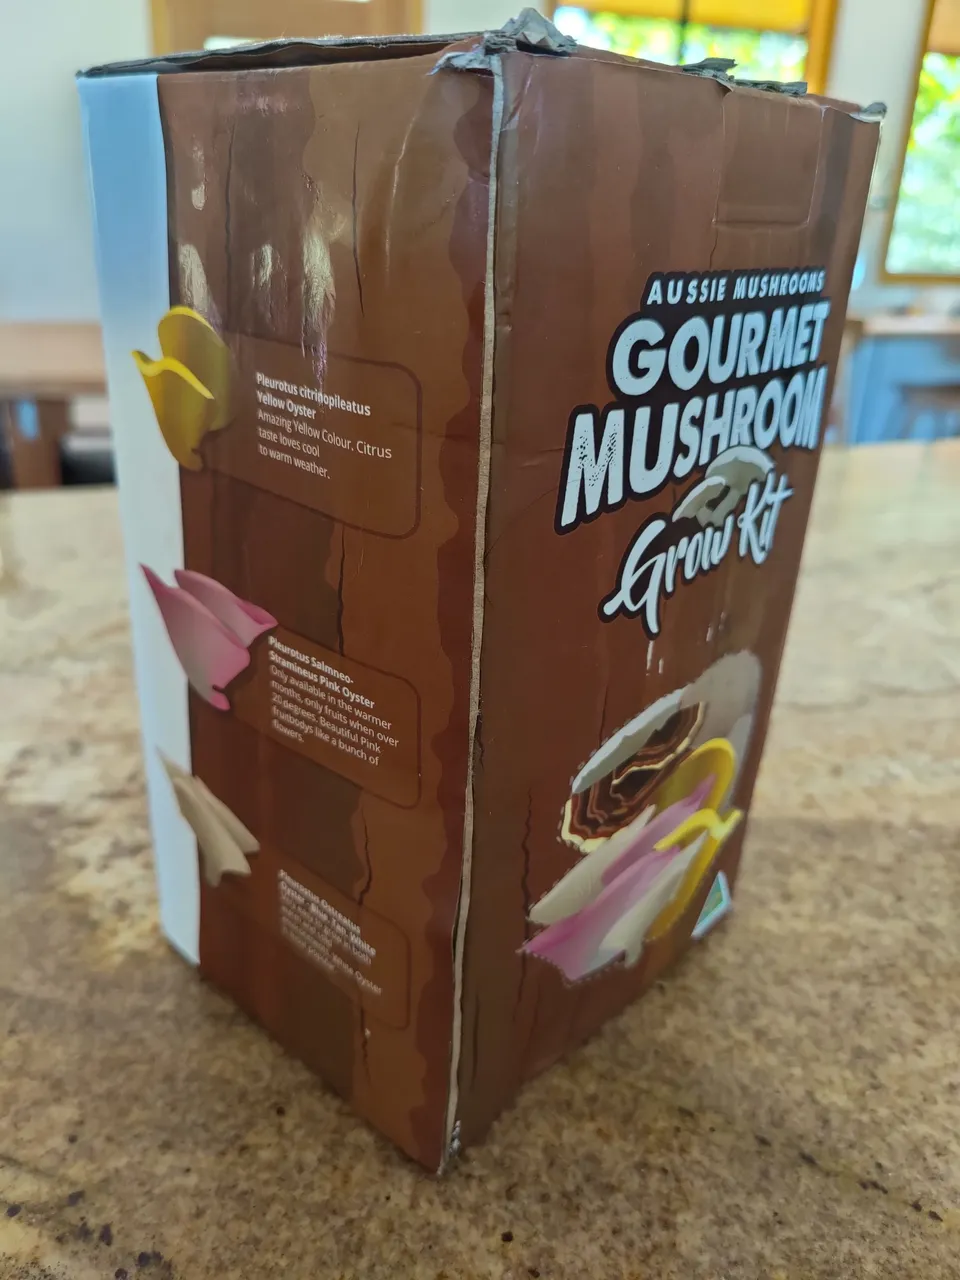
Here's where we got ours from. We're also using oyster mushrooms as they are easy to grow.
You use 10 percent of the total volume in spawn. Mix it through really really well.
Then, stuff into your buckets. You might have noticed the total volume comes out at over 100 percent - that's fine, it's just easy to work out that way - and you can pack it in pretty tight. Wipe the buckets clean.
Leave in a Dark Place for 7 - 10 Days
You can check after a week - the mycellium should be running through the substrate by now. As I havent got this far, I'll leave it for now until we start getting mushrooms!

Observations
- That water takes AGES to boil! But the element method works well and is worth the investment. We got ours here for about 20 AUD.
- Chopping the straw takes ages. In retrospect I would have prepared the straw and buckets another day, ready to go. I think preparation is the key. Having lots of little jobs done before you start would make the whole process easier - you could just put the water on to boil, set the alarm, and go about doing whatever else you want to do with your day.
- You really ahve to sterilise everything. I'm terrified I'll open the buckets in a week and things will be mouldy!
- Yes, you can use other substrates, like cardboard, but this is the recipe I'm following. You can also add bran to this but they advise against it until we get a handle on this method.
- I found the buckets at my local wholefoods. It took ages to find them - is there a global bucket storage or what? 4 - 5 litres is the ideal size I think.
- If you can't find sawdust (and don't use pine or any softwoods) you can do it in straight straw apparently.
- The location for it to start to grow should be protected from extreme temperatures (below 5 °C (40 °F) or above 32 °C (90 °F). Ideally around 20 - 25 °C (70 - 75 °F), according to Milkwood Permaculture. You'll need it more light and humid for the actual mushrooms to start to fruit.
Remember this is the first time we've done this so if you're a mushroom growing expert, go easy on us. If you have any questions I can endeavour to answer them!
Excited about Part 3 - hopefully in a few weeks time!
With Love,

The Fungi Lovers Community: Home of #FungiFriday


Are you on HIVE yet? Earn for writing! Referral link for FREE account here!
