Hi guys it's me again with my entry for my Daily Illustration Challenge, and this is for my Day 5 of doing this.
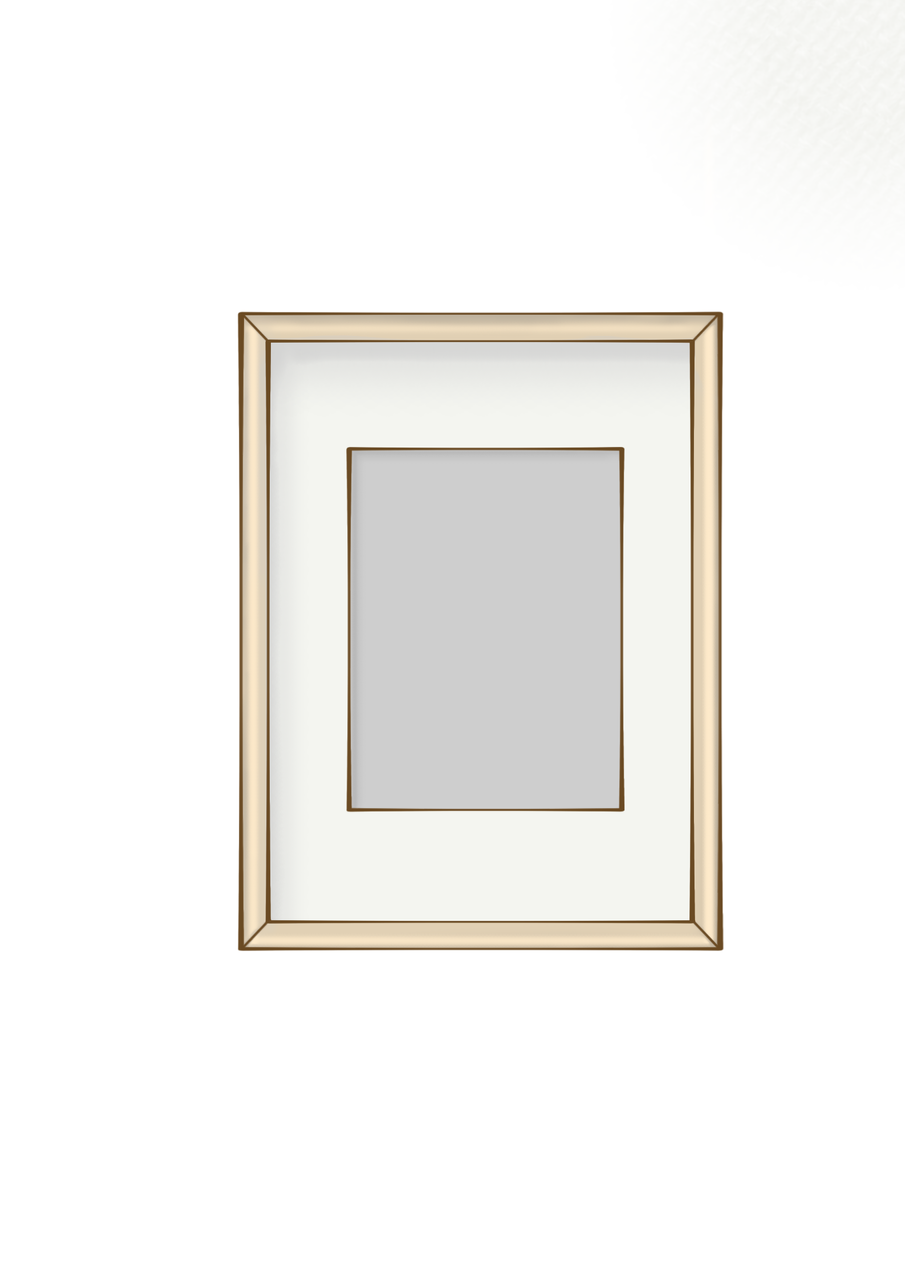
So I chose to draw just a really simple one but also a must-have decoration for a home and it is ~ a photo frame from Ikea and it is just an easy peasy process because ibispaint has tools that makes users more convenient.
So let's go guyss and I'm gonna walk you through my art process. ~~
(I'm now putting this first as my blog cover incase I forget to edit the cover image)

So I began with the square. This shape was on the tool so with just one slide I can now have a square in my canvas.
And this is the only brush I used and also my color palette.
- First is I draw two large rectangles to compose the wood of the frame.

- Then I draw another rectangle, this is the smaller one on the inside, I used the square drawing tool.

- Next is assigning the colors on their respective areas using a bucket fill tool, and that was my base color.

- Then add another layer and clip it to the base color so we can start adding details without overlapping colors. first, do the shadows on the edge of the lines, that color makes the edges a bit darker. Then, apply highlights using lightened tone from the neutral color, and makes the most elevated surfaces look shinier.
- And the last one is my background and texture. I unhide the textured photo then set the blending mode into multiply so that it would look like the layers are drawn in that texture of the background. And then I chose to remove the line art because it suits that style better.

This is all for today guys thank you so much for viewing my blog,so goodbye and till next blog! ~~