
✦ Start this creative new year with an effective and simple solution for organizing fragile items in a safe place! - Collage & Edition in FotoJet, photos by @Tesmoforia ✦

🇪🇸 ~ A medida que hago "limpieza de año nuevo" he conseguido regados aquí y allá muchos patrones pequeños de proyectos pasados, simplemente cuando los guardo en las carpetas de folios transparentes junto a los patrones mas grandes, se salen continuamente y noto que he extraviado varios así (;゜○゜)ア
🇺🇸 ~ As I do my “New Year's cleaning,” I've scattered many small patterns from past projects here and there. When I store them in transparent folders alongside larger patterns, they constantly fall out, and I realize I've lost several this way (;゜○゜)ア

No quiero perder mas patrones pequeños, se que los necesitaré en un futuro próximo así que pensé que no necesito nada fancy para tenerlos todos juntos en un solo lugar, con tomar un viejo cuaderno y pegarlos en 1 hoja cada uno con algunas descripciones estará bien, pero quise hacer algo especial con la portada 💚
⏳ Tiempo: ⭐⭐/ 5.
🚀 Dificultad: ⭐⭐/ 5.
🪙 Costo aproximado: ⭐⭐/ 5.
I don't want to lose any more small patterns. I know I'll need them in the near future, so I figured I didn't need anything fancy to keep them all together in one place. Just taking an old notebook and sticking them on one sheet each with some descriptions would be fine, but I wanted to do something special with the cover 💚
⏳ Time: ⭐⭐/ 5.
🚀 Difficulty: ⭐⭐/ 5.
🪙 Approximate cost: ⭐⭐/ 5.

« 𝕋 𝕆 𝕆 𝕃 𝕊 • 𝔸 ℕ 𝔻 • 𝕄 𝔸 𝕋 𝔼 ℝ 𝕀 𝔸 𝕃 𝕊 »
 |  |  |
|---|
| 🇪🇸 ✦ Las herramientas y materiales que necesitas para elaborar este proyecto son: Cuaderno escolar normal, pegamento escolar, cinta adhesiva gruesa, regla, lápiz, tijeras, recortes decorativos, papel estampado, papel de colores, un libro viejo (opcional). |
|---|
| 🇺🇸 ✦ The tools and materials you need to make this project are: Standard school notebook, school glue, thick adhesive tape, ruler, pencil, scissors, decorative cutouts, patterned paper, colored paper, an old book (optional). |

 |  |
|---|---|
 |  |
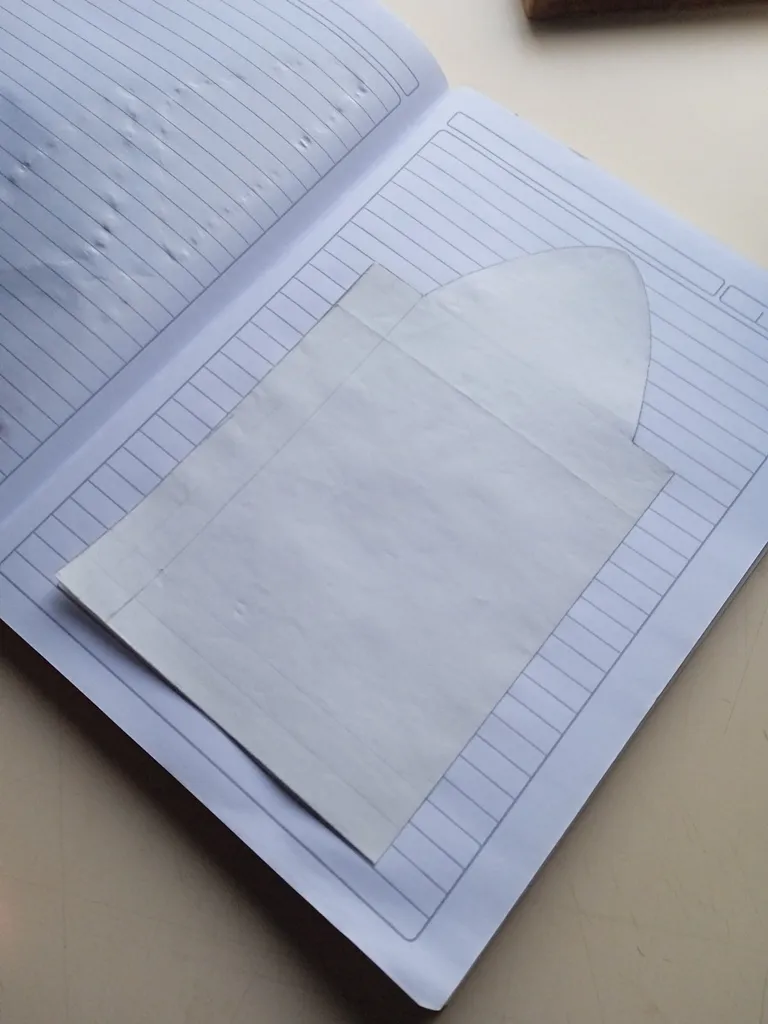
【 PASO 1 】 Seleccione los patrones que quiero preservar y me asegure que estuvieran completos y en buenas condiciones, y que cupieran en una hoja de formato A4; estos son patrones surtidos de bolsos para niña, plantillas para broches bordados y aretes temáticos.
【 STEP 1 】 Select the patterns I want to preserve and make sure they are complete and in good condition, and that they fit on an A4 sheet of paper; these are assorted patterns for girls' bags, templates for embroidered brooches, and themed earrings.

 |  |  |
|---|


 |  |
|---|
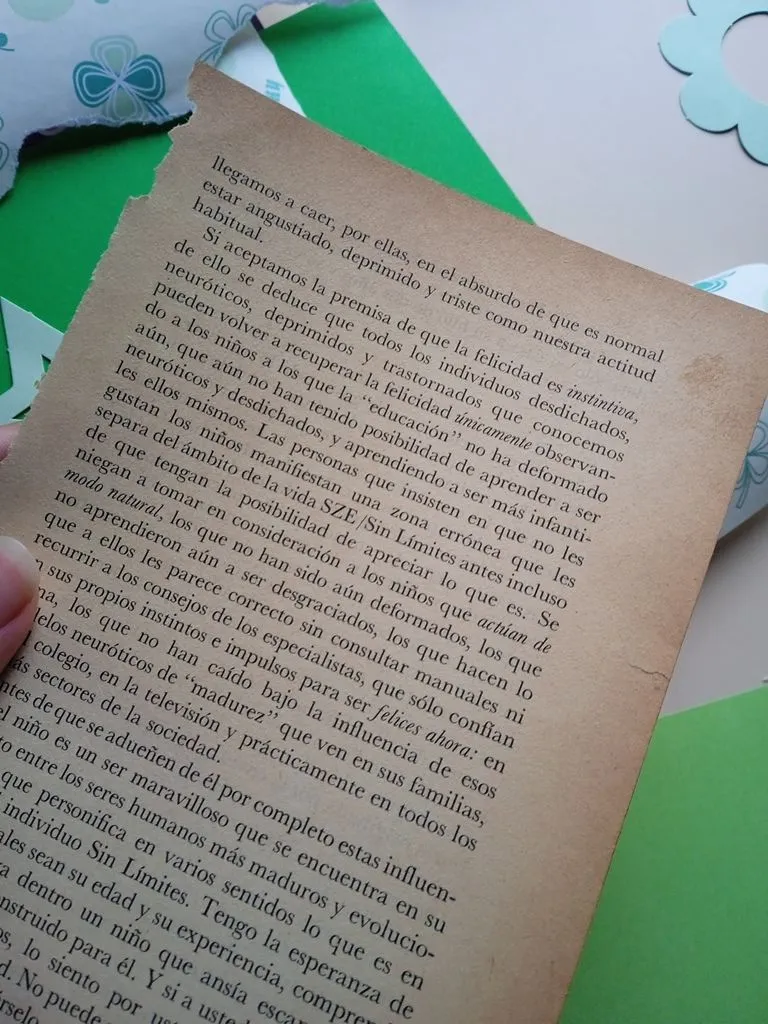
【 PASO 2 】 Luego escogí el material que quería utilizar para la portada. No estaba segura sobre el color así que tome varios materiales de color verde y algunas hojas de un viejo libro que se estaba desarmando.
【 STEP 2 】 Then I chose the material I wanted to use for the cover. I wasn't sure about the color, so I took several green materials and some pages from an old book that was falling apart.
 |  |
|---|

 |  |
|---|
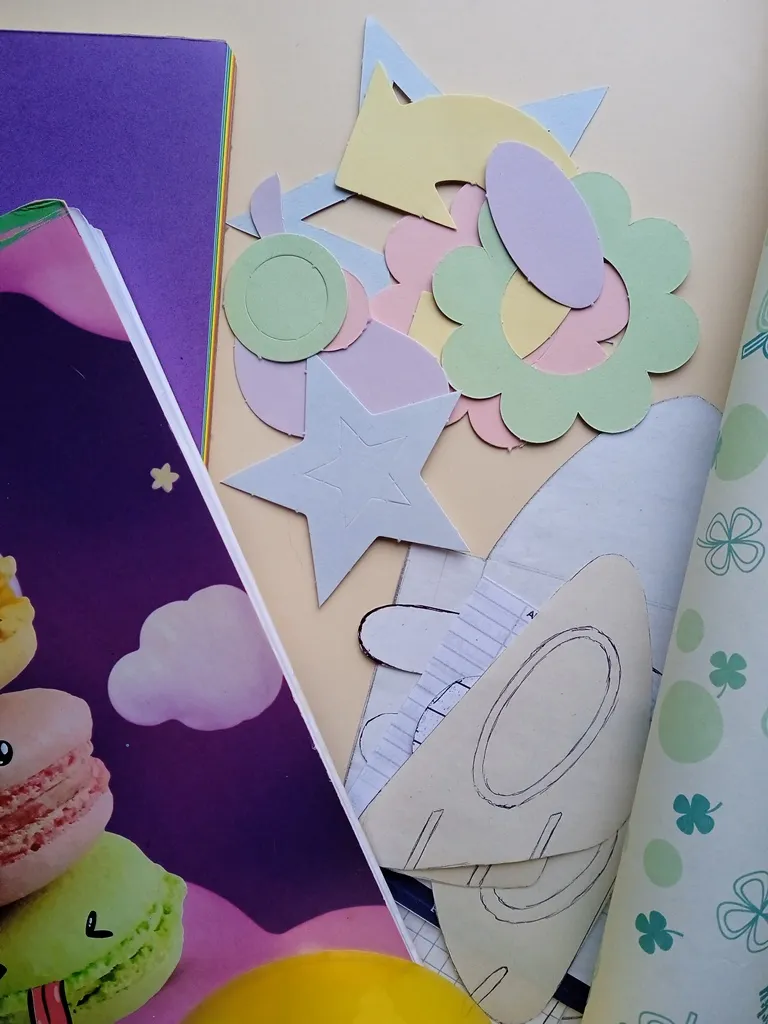
【 PASO 3 】 Prepare el material cortándolo y rasgándolo con los dedos para darle algo de personalidad, y comencé a probar distintas configuraciones hasta que conseguí una composición que me gustara. Aún no utilice pegamento.
【 STEP 3 】 Prepare the material by cutting and tearing it with your fingers to give it some character, and start trying out different configurations until you find a composition you like. Don't use glue yet.
 |  |
|---|---|
 |  |
 |  |

【 PASO 4 】 Para fijar de forma permanente cada capa de papel y de manera que se percibieran dichas capas, fui superponiendo las piezas poco a poco a partir de la parte central, como si fuera una ventana y agregando cantidad moderada de pegamento, no demasiado. Lo ultimo en agregan fueron los recortes decorativos de cartulina.
【 STEP 4 】 To permanently secure each layer of paper and make sure the layers were visible, I gradually overlapped the pieces starting from the center, as if it were a window, adding a moderate amount of glue, not too much. The last thing I added were the decorative cardboard cutouts.
 |  |
|---|---|
 |  |

【 PASO 5 】 Para terminar, finalmente pegué mis pequeños patrones en 1 hoja, cada uno por separado, a menos que fueran muy pequeños. En el futuro cuando los necesite solo deberé calcarlos suavemente o replicar en hojas de papel aparte.
【 STEP 5 】 Finally, I stuck my small patterns onto one sheet of paper, each one separately, unless they were very small. In the future, when I need them, I will just have to trace them gently or replicate them on separate sheets of paper.
 |  |  |  |
|---|
Para un extra de resistencia puedes forrar la portada con papel adhesivo transparente, pero a mi me gusta usar cinta adhesiva gruesa porque es divertido y menos pesado que el "papel contact", un tip muy útil que me enseño una amiga asiática hace muchos años, a la que le gustaba personalizar su material de estudio de formas muy bonitas 👌 🌸
For extra durability, you can laminate the cover with transparent adhesive paper. But I like to use thick adhesive tape because it's fun and less heavy than contact paper, a very useful tip that an Asian friend taught me many years ago, who liked to personalize her study materials in very beautiful ways 👌 🌸


 |  |  |  |  |  |  |  |  |
|---|
✨ 🍓 Texts & photos by @Tesmoforia 🍓 ✨
📸 Tools: Smartphone 📲 Snow 🎬 TinyPNG 🌓 FotoJet 📐
🚨 ¡Please do not take, edit or republish my material without my permission! 🚨
💌 ¿Do you wish to contact me? Discord #tesmoforia 💌
🌙 Graphics @Vanuzza - InstaLog 📲
⚜ 𝙰𝚕𝚕 𝚁𝚒𝚐𝚑𝚝𝚜 𝚁𝚎𝚜𝚎𝚛𝚟𝚎𝚍 / © 𝚃𝙴𝚂𝙼𝙾𝙵𝙾𝚁𝙸𝙰 - 𝟸𝟶𝟷𝟾/𝟸𝟶𝟸6 ⚜