

Welcome 💕
Hola amigos de Jewelry 💎, un cordial saludo para esta linda comunidad llena de creatividad y talento, hoy quiero compartir con ustedes un set de zarcillos y collar, elaborados con perlas rojas en combinación con unas mostacillas negras, adore este trabajo, es un círculo de pequeñas flores rojas y el centro negro, dos colores que quedan muy bien juntos le da un toque romántico y jovial, espero les guste, aquí comparto el paso a paso.
Hello friends of Jewelry 💎, a cordial greeting for this nice community full of creativity and talent, today I want to share with you a set of earrings and necklace, made with red pearls in combination with some black beads, love this work, it is a circle of small red flowers and black center, two colors that look great together gives a romantic and jovial touch, I hope you like it, here I share the step by step.

Materiales| Materials

Para este proyecto necesitaremos los siguientes materiales:
Perlas rojas.
Mostacillas negras de 3 milímetros.
Anzuelo para zarcillos.
Nailon número 0.30.
Trancador y argollas.
For this project we will need the following materials:
Red pearls.
Black beads of 3 millimeters.
Hook for tendrils.
Nylon number 0.30.
Nylon number 0.30.
Paso 1| Step 1
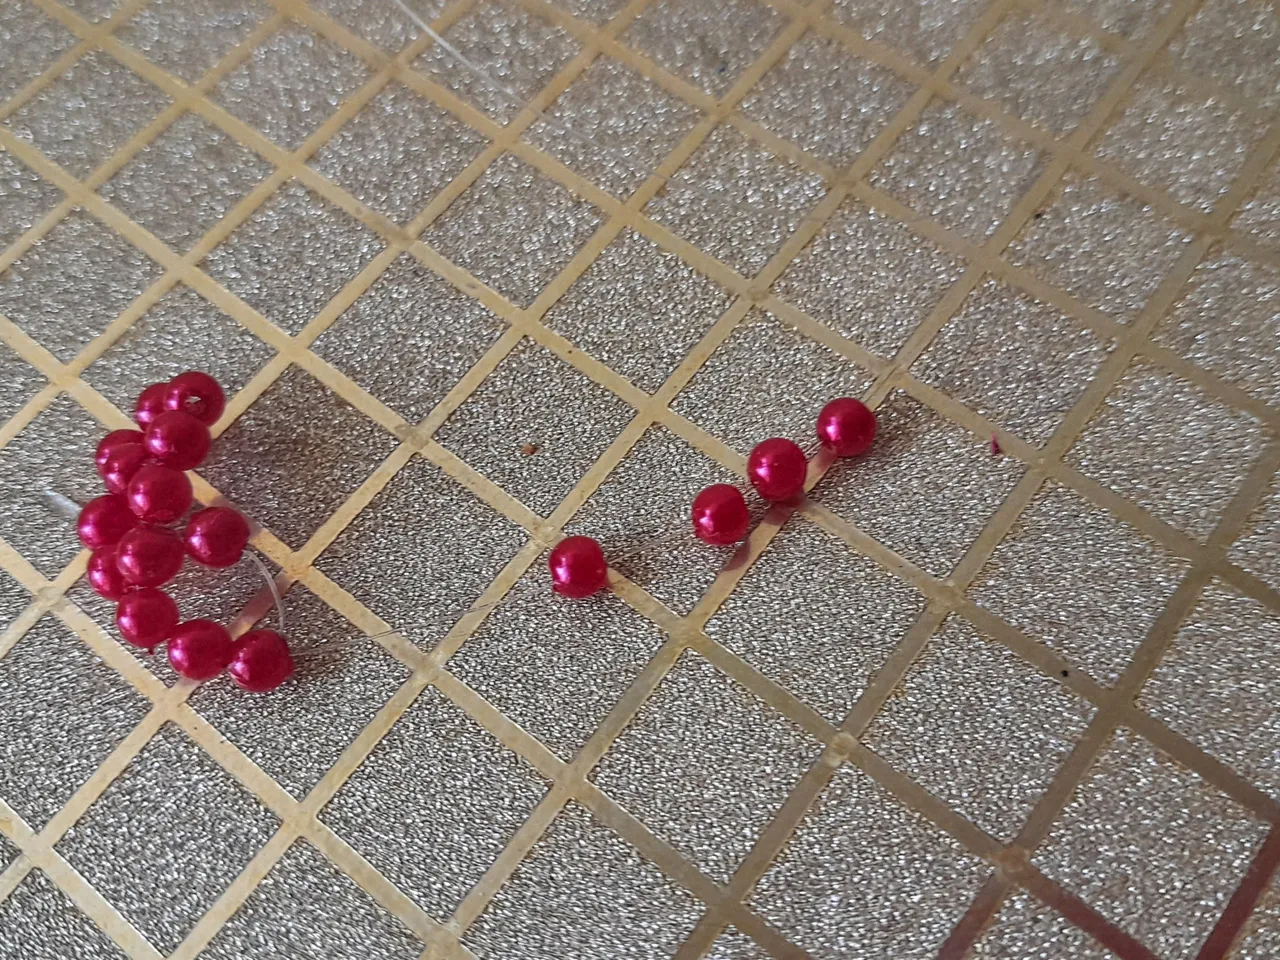
Para cada dije utilicé 50 cm de nailon. Comenzamos introduciendo cinco perlas, vamos a amarrar el nailon de manera que nos quede un pequeño círculo de perlas como se muestra en la imagen.
For each pendant I used 50 cm of nylon. We start by inserting five beads, we are going to tie the nylon so that we have a small circle of beads as shown in the image.


Paso 2| Step 2
Después de amarrar bien, cortamos el nailon sobrante, pasamos la aguja por la perla que está al lado del nudo, así quedará escondido dentro de la perla, ahora introducimos 4 perlas, vamos a cruzar el nailon por el lado posterior de la perla donde cruzamos la primera vez así vamos a obtener otro círculo.
After tying well, cut the excess nylon, pass the needle through the bead that is next to the knot, so it will be hidden inside the bead, now we introduce 4 beads, we will cross the nylon on the back side of the bead where we crossed the first time so we will get another circle.


Paso 3| Step 3
Después de cruzar el nailon, vamos a pasarlo por las dos perlas siguientes, volvemos a introducir cuatro perlas nuevamente y cruzamos por la parte posterior de la última perla donde pasamos el nailon, ya tenemos tres círculos de perlas.
After crossing the nylon, we are going to pass it through the next two beads, we introduce four beads again and cross through the back of the last bead where we passed the nylon, we already have three circles of beads.


Paso 4| Step 4
Ahora vamos a pasar el nailon por las tres perlas siguientes, como se aprecia en la imagen, introducimos cuatro perlas y cruzamos por la última que pasamos el nailon, ahora vamos a pasar el hilo por las dos perlas siguientes y luego de tener el siguiente círculo vamos a pasar por las siguientes tres perlas y así sucesivamente hasta completar siete círculos de perlas.
Now we are going to pass the nylon through the next three beads, as shown in the picture, we introduce four beads and cross through the last one we passed the nylon through, now we are going to pass the thread through the next two beads and after having the next circle we are going to pass through the next three beads and so on until completing seven circles of beads.


Paso 5| Step 5
Ya tenemos siete círculos, para hacer el octavo y último círculo, introducimos una perla,vamos al primer círculo que hicimos, ubicamos la perla donde está el nudo y pasamos el nailon por la segunda perla después de la que tiene el nudo, una vez que cruzamos el nailon, vamos a introducir dos perlas y cruzamos por el último círculo que hicimos, ya tenemos completo el círculo de perlas.
We already have seven circles, to make the eighth and last circle, we introduce a bead, we go to the first circle we made, we place the bead where the knot is and we pass the nylon through the second bead after the one with the knot, once we cross the nylon, we will introduce two beads and cross through the last circle we made, we already have the complete circle of beads.


Paso 6| Step 6
Introducimos una mostacilla negra, cruzamos el nailon por la perla central de la siguiente flor, hacemos el mismo procedimiento en todas las flores, aseguramos bien y hacemos varios nudos para asegurar bien, cortamos el nailon sobrante, hacemos tres dijes con el mismo diseño.
We introduce a black bead, we cross the nylon through the central bead of the next flower, we do the same procedure in all the flowers, we secure well and we make several knots to secure well, we cut the excess nylon, we make three charms with the same design.


Paso 7| Step 7
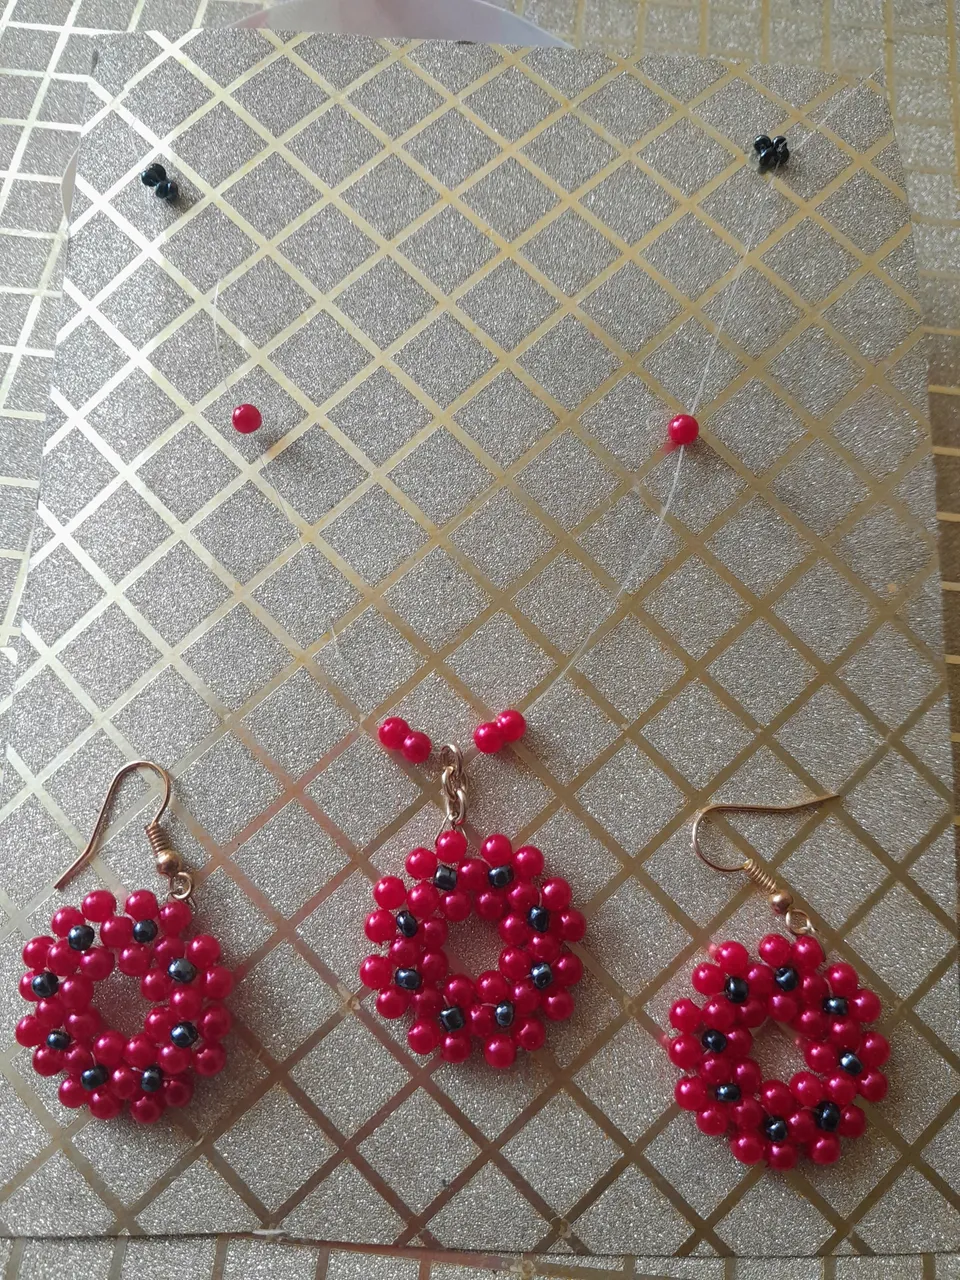
Para el collar utilicé 50 cm de nailon, de las perlas habían algunas que estaban pegadas dobles, así que las use para el centro, las argollas la ajuste con alambre dorado, ya que eran muy pequeñas para las perlas, tambien los Anzuelos de los zarcillos.
Introducimos una perla doble, el dije y otra perla doble, dejamos aproximadamente 6 cm de distancia, e introducimos una perla, devolvemos el nailon y cruzamos nuevamente por la perla para que quede ajustada, ahora introducimos cuatro mostacillas negras y cruzamos el hilo por la primera mostacilla, introducimos una nueva perla, hago el mismo procedimiento del otro lado del collar, dará un lindo efecto de collar invisible. Espero les haya gustado, yo adoré este set de accesorios.
For the necklace I used 50 cm of nylon, some of the pearls were double glued, so I used them for the center, the rings I adjusted them with golden wire, as they were too small for the pearls, also the hooks of the tendrils.
We introduce a double pearl, the pendant and another double pearl, we leave approximately 6 cm of distance, and introduce a pearl, we return the nylon and cross again by the pearl so that it is adjusted, now we introduce four black beads and cross the thread by the first bead, we introduce a new pearl, I do the same procedure on the other side of the necklace, it will give a nice effect of invisible necklace. I hope you liked it, I loved this set of accessories.


Presentacion final | Final presentation


Muchas gracias por este lindo espacio, espero les haya gustado mi elaboración de hoy, mis mejores deseos, nos vemos pronto, saludos ☺️.
Thank you very much for this nice space, I hope you liked my elaboration today, best wishes, see you soon, greetings ☺️.
Fotos propias tomadas con mi teléfono Samsung A13, 50 mp. Edición de portada con Picsart collage en Gridart.
Contenido exclusivo para hive.
Traducción--->deepl
Own photos taken with my Samsung A13 phone, 50 mp. Cover editing with Picsart collage in Gridart.
Exclusive content for hive.
Translation --->deepl