
Hoy quiero mostrarle una idea muy linda y clásica unos zarcillos hechos con foamy escarchado de colores llamtivos ideal para lucir de noche en cualquier clase de ocasión.
Demasiado facil de hacer amigos estos zarcillos los voy a tomar como regalo para una amiga mia muy especial ella siempre me dice haces cosas muy bonitas y no eh tenido la oportunidad de tener algo tuyo ,luego despues fue a visitarme y pues vio lo zarcillos que estaba realizando para poder publicar las cosas que me gusta ,entonces por ese motivo se los dare a mi amiga de corazon Dayana .
Aveces estamos tristes pero siempre hay motivos para poder ser felices con detalles asi podemos alegrarnos el dia .
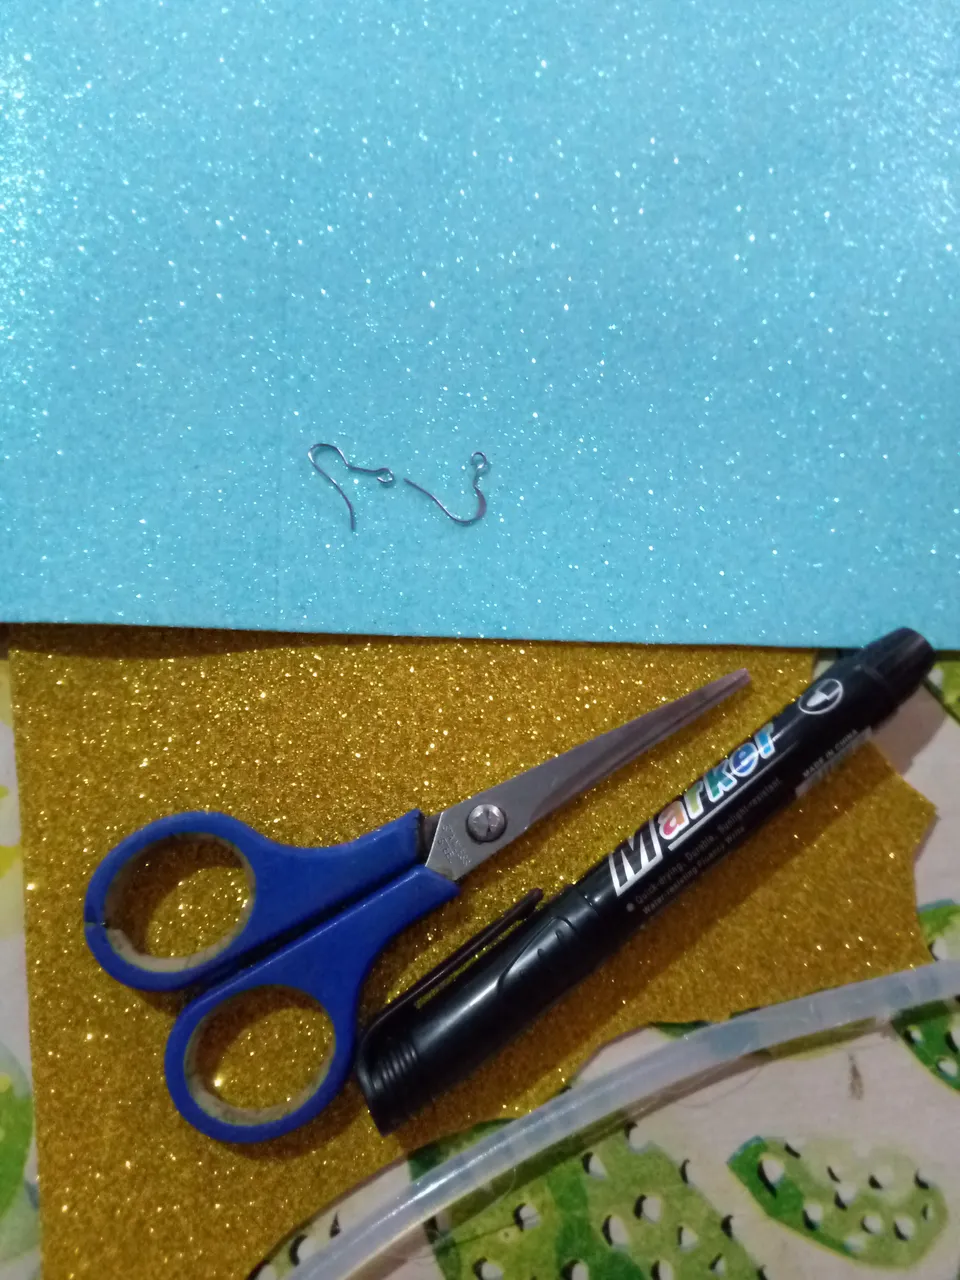
Los materiales que utilice para la elaboracion de los presentes zarcillos en foamy en forma de gota de agua son los siguientes.
Materiales:
Foamy escarchado azul turquesa
Foamy escarchado Dorado
Tijera
Ganchos de aretes de metal
Silicon
Palitos de Altura
Marcador
Paso a Paso
Paso 1
Vamos a tomar el foamy azul turquesa junto con el palito de altura y el marcador negro y vamos a trazar una raya de esta forma es donde vamos a sacar el tamaño de las tiras para los zarcillos .

Paso 2
Ahora solo vamos a recortar con la tijera la primera tiras y depues con esta vamos a sacar los otros tirantes ya que solo vamos a remarcar encima del otro foamy

Paso 3
Luego de estas primero sacaremos las cuatro tiras del primer foamy azul turquesa de esta manera iremos avanzando .

Paso 4
Luego despues agarramos el foamy dorado y vamos a sacar solo dos tiras de esta forma que estan serán las que iran despues de las primeras tiras azul turquesa .

Paso 5
Amigos siempre que querramos hacer algo solo nosotros decidimos de que color o tamaño queremos nuestras cosas yo en este caso intento es
Ahora nos toco armas nuestras piezas para los zarcillos
Paso 6
Primero vamos a tomar las tiras azul turquesa y vamos agregarle silicon en las puntas y luego solo le vamos a dar vuelta y pegaremos asi de esta manera este procedimiento lo vamos a hacer siempre para poder armar las tiras es muy facil de hacer y siempre gracias a los tutoriales o publicaciones hechas podemos aprender nuevas ideas asi como esta la que estoy realizando .

Paso 7
De una vez ya hechas todas solo vamos a ir pegando asi de esta manera y por orden de colores acuérdense que siempre lo que hagamos para un zarcillos lo tenemos que hacer para el otro porque son parejas


Paso 8
Ya hechos nuestros zarcillos lo que faltaria nada más son los ganchos pero para poder hacer el agujero en el centro con el mismo palito de altura en la parte de la orilla en el centro lo haremos de esta manera


Paso 9
Luego solo nos quedará ponerle los ganchos y listo de esta manera quedara y pues asi se veran .


Resultado Final💕


Bueno amigos espero que les guste mucho mi idea les mando muchos saludos y bendiciones del Universo gracias por apoyarme leer y comentar

Hasta Luego!
Las imágenes son de mi propiedad y fueron tomadas por mi teléfono tecno spark Go 2023.
Traductor utilizado: Deelp.
Las imágenes son editadas mediante la aplicación editor de fotos polish.
Today I want to show you a very nice and classic idea, some tendrils made with frosted foamy in bright colors ideal to wear at night in any kind of occasion.
Too easy to make friends these earrings I am going to take them as a gift for a very special friend of mine she always tells me you make very nice things and I have not had the opportunity to have something of yours, then later she went to visit me and then she saw the earrings I was making to publish the things I like, then for that reason I will give them to my friend of heart Dayana.
Sometimes we are sad but there are always reasons to be happy with details so we can brighten up the day.
The materials that I used for the elaboration of these foamy tendrils in the shape of a water drop are the following.
Materials:
Turquoise blue frosted foamy
Gold Frosted Foamy
Scissors
Metal earring hooks
Silicon
Height Sticks
Marker
Step by Step
Step 1
We are going to take the turquoise blue foamy along with the height stick and the black marker and we are going to draw a line in this way is where we are going to draw the size of the strips for the tendrils.
Step 2
Now we are only going to cut with the scissors the first strip and then with this one we are going to draw the other strips since we are only going to mark on top of the other foamy.
Step 3
After these we will first remove the four strips of the first turquoise blue foamy in this way we will go forward.
Step 4
Then we will take the golden foamy and we will take only two strips of this form that will be the ones that will go after the first turquoise blue strips.
Step 5
Friends whenever we want to make something only we decide what color or size we want our things I in this case I try is
Now we have to make our pieces for the earrings.
Step 6
First we are going to take the turquoise blue strips and we are going to add silicone on the ends and then we are just going to turn them over and glue them in this way this procedure we are always going to do to be able to assemble the strips is very easy to do and always thanks to the tutorials or publications made we can learn new ideas like this one I am doing.
Step 7
Once all the strips are done, we are just going to glue them in this way and in order of colors. Remember that what we do for one tendril we have to do for the other one because they are pairs.
Step 8
Now that our tendrils are ready, the only thing missing are the hooks, but in order to make the hole in the center with the same height stick in the part of the edge in the center, we will do it like this
Step 9
Then we will only have to put the hooks and that's it, this way it will look like this.
Final result💕
Well friends I hope you like my idea I send you many greetings and blessings from the Universe thank you for supporting me to read and comment
See you later!
Images are my property and were taken by my tecno spark Go 2023 phone.
Translator used: Deelp.
The images are edited using the polish photo editor application.