Hello, my dear readers. I hope you are having or have had a wonderful day. Nowadays, many of us use the 3Rs. For those who don't know what they are, here's a little bit about what they mean. The 3Rs are a rule we can use to take care of the environment. These acronyms stand for: Reduce, Reuse, and Recycle. In this case, I am going to use reuse, which consists of giving a second chance to an object that can be used for the same purpose for which it was created or for a different purpose.
Hola, mis queridos lectores. Espero que tengan o hayan tenido un excelente día. Hoy en día, somos muchas las personas que usamos las 3R, para aquellos que no saben que es aquí les comento un poquito de que trata. Las 3R es una regla con la cual podemos cuidar el medio ambiente. Estas siglas significan: Reducir, reutilizar y reciclar. En este caso voy a usar la de reutilizar, que consiste en darle una segunda oportunidad a un objeto que puede ser para el mismo fin que fue creado o para un fin diferente.
Here I have a flannel shirt made of cotton fabric that is no longer presentable enough to wear, but the fabric is still in good condition and I want to give it another use. I thought about turning it into fabric yarn, and then perhaps weaving a rug, a coaster, or anything else that comes to mind. For those who don't know what yarn is, it's a thick strip of fabric, either recycled from clothing or fabric from a store that sells scraps or new fabric.
Aquí tengo una franela, que es de tela de algodón y ya no está presentable como para ser usada, pero la tela aún está buena y quiero darle otro uso y pensé en hacerla trapillo, para luego quizás tejer un tapete, un porta vaso o cualquier otra cosa que se me ocurra. Para aquellos que no saben lo que es trapillo, es una tira gruesa, bien sea de tela reciclada, de alguna prenda o tela de alguna tienda que vendan esos retazos o tela nueva.
There are craft stores that sell this fabric yarn ready-made, but some of them are expensive. So, for those who like to practice the 3Rs, this is a great idea. Here, I'll explain how I do it and, without further ado, show you the step-by-step process.
Hay tiendas de mercerías que venden ya listo este trapillo, pero algunos los venden caros. Así que para los que les gusta usar las 3R, esta idea es genial y aquí te explico como lo hago y sin más preámbulos te muestro el paso a paso.
MATERIALS
MATERIALES
* Flannel
* Franela
* Scissors
* Tijera
* Pencil
* Lápiz
* Ruler
* Regla
* Knitting needle
* Aguja de tejer
STEP BY STEP:
PASO A PASO:
This is a flannel shirt that I stopped wearing a long time ago. The fabric is cotton, so it stretches quite a bit. I'm going to explain two ways to remove the strips. I prefer the second way because there won't be as many snags. As you can see, the flannel has an opening at the bottom on the sides, so I'll use that part to explain the first way to remove the strips.
Esta es una franela que ya deje de usar hace mucho tiempo, la tela es de algodón, va a estirar bastante. Les voy a explicar dos maneras de sacar las tiras, la segunda forma me gusta más porque no va a haber tantos empates. Como pueden ver la franela en la parte de abajo a los costados, tiene una abertura, así que aprovecharé esa parte para explicar la primera manera de sacar las tiras.
The first thing I do is fold the flannel in half to make it easier to cut and join the edges together. I will remove the edge where the seam is. Using a ruler, I will mark lines across the width of the flannel approximately 3 cm apart.
Lo primero que realice doblar la franela en dos, para facilitar el corte y unir bien las orillas. Esa orilla donde tiene la costura se la quitaré. Con la regla marcaré líneas a lo ancho de la franela de 3 cm aproximadamente.
Right on the piece I cut, which was where the opening was, I was able to get two strips, and since there was an opening, I would have four strips left. I stretched them out and they rolled up on their own, leaving me with this result.
Justo en ese pedazo que corte que era donde estaba la abertura, me dio para sacar dos tiras, como estaba la abertura me quedarían 4 tiras. Las estiré y se enrollan solas y me quedaron de esta manera.
Here I explained the second way to make the strips, as I mentioned at the beginning. As you can see, the flannel no longer has openings on the sides; it is completely closed, so I am going to cut it in such a way that I am left with only one long strip. I fold the flannel in half, but I do not join the edges of the sides; instead, I place them approximately 5 cm apart, as shown in the image, and mark where I am going to cut the strips.
Aquí les explicó la segunda manera de hacer las tiras, como les había comentado al principio. Como pueden ver la franela ya no tiene la abertura por los lados, está totalmente cerrada, entonces voy a recortar de la manera en que me quede solo una tira larga. Doblo la franela por la mitad, pero no uno las orillas de los laterales, sino que la coloco con una separación de 5cm aproximadamente, tal como se muestra en la imagen y marco por donde voy a cortas las tiras.
When cutting, I will cut until I pass the first seam of the flannel, I will not cut all the way to the end. I will be left with an uncut space.
A la hora de cortar, cortaré hasta pasar la primera costura de la franela, no llevo el corte hasta el final. Me va a quedar un espacio sin cortar.
When I have made all the cuts and see that I can no longer remove any more strips, I make a complete cut, leaving it like this.
Cuando ya realice todos los cortes y vea que ya no puedo sacar más tiras, allí si hago un corte completo quedando de esta manera.
I open the part of the flannel that I didn't cut and make diagonal cuts there, just like the yellow lines show. And as you can see, I'm left with one long strip where I don't have to keep tying strips together all the time. Now all that's left is to stretch the strip and it's ready.
Abro la parte de la franela que no corte y allí haré cortes en diagonal, justo como marcan las líneas amarillas. Y como pueden ver, me queda una tira totalmente larga donde no tengo que estar empatando tiras a cada rato. Ahora solo queda estirar la tira y ya está listo.
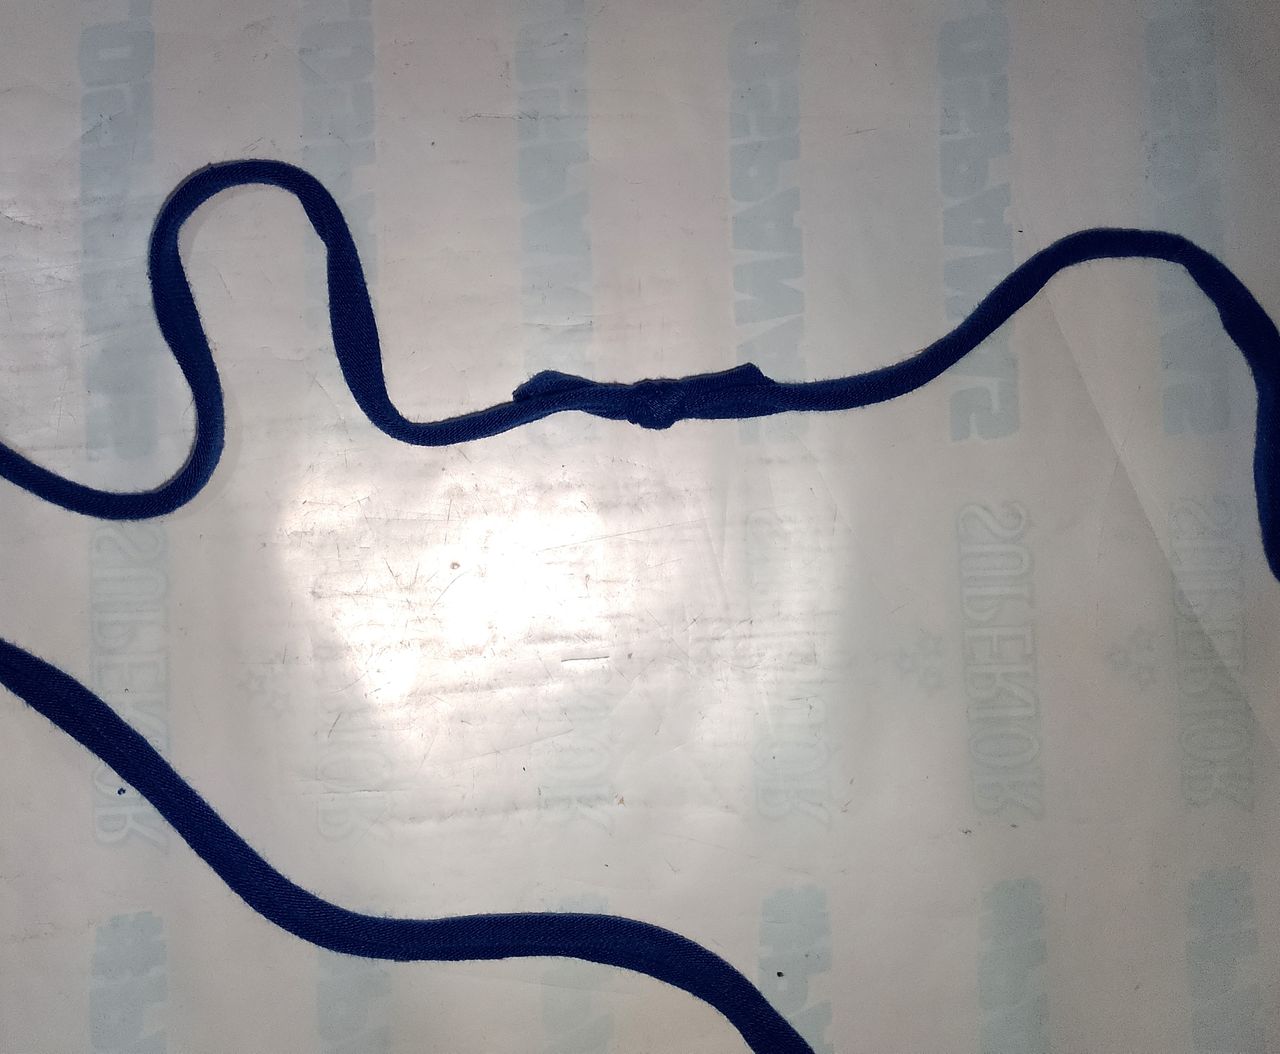
If you need to tie the strips together, there are several ways to do so. One of them is to make a regular knot, but this knot does not look neat when knitting, as the thickness of the knot will be noticeable. As you can see in the image, the knot looks very ordinary.
En caso de tener que empatar las tiras, pues hay varias maneras de hacerlo, una de ellas es hacer un nudo común y corriente, pero este nudo no queda nada prolijo a la hora de tejer, pues se notara el empate por el grosor del nudo. Como pueden ver en la imagen se nota el nudo bien ordinario.
Don't worry, here's a way to do it so that it looks better when you weave. Just grab the ends of the strips you want to join and open them up. Place one on top of the other, fold it, and make a small cut.
No te preocupes que aquí te muestro una manera de hacerlo para que quede mejor a la hora de tejer. Solo tenemos que agarrar las puntas de las tiras a unir y las abrimos. Montamos uno encima de la otra, la doblamos y hacemos un pequeño corte.
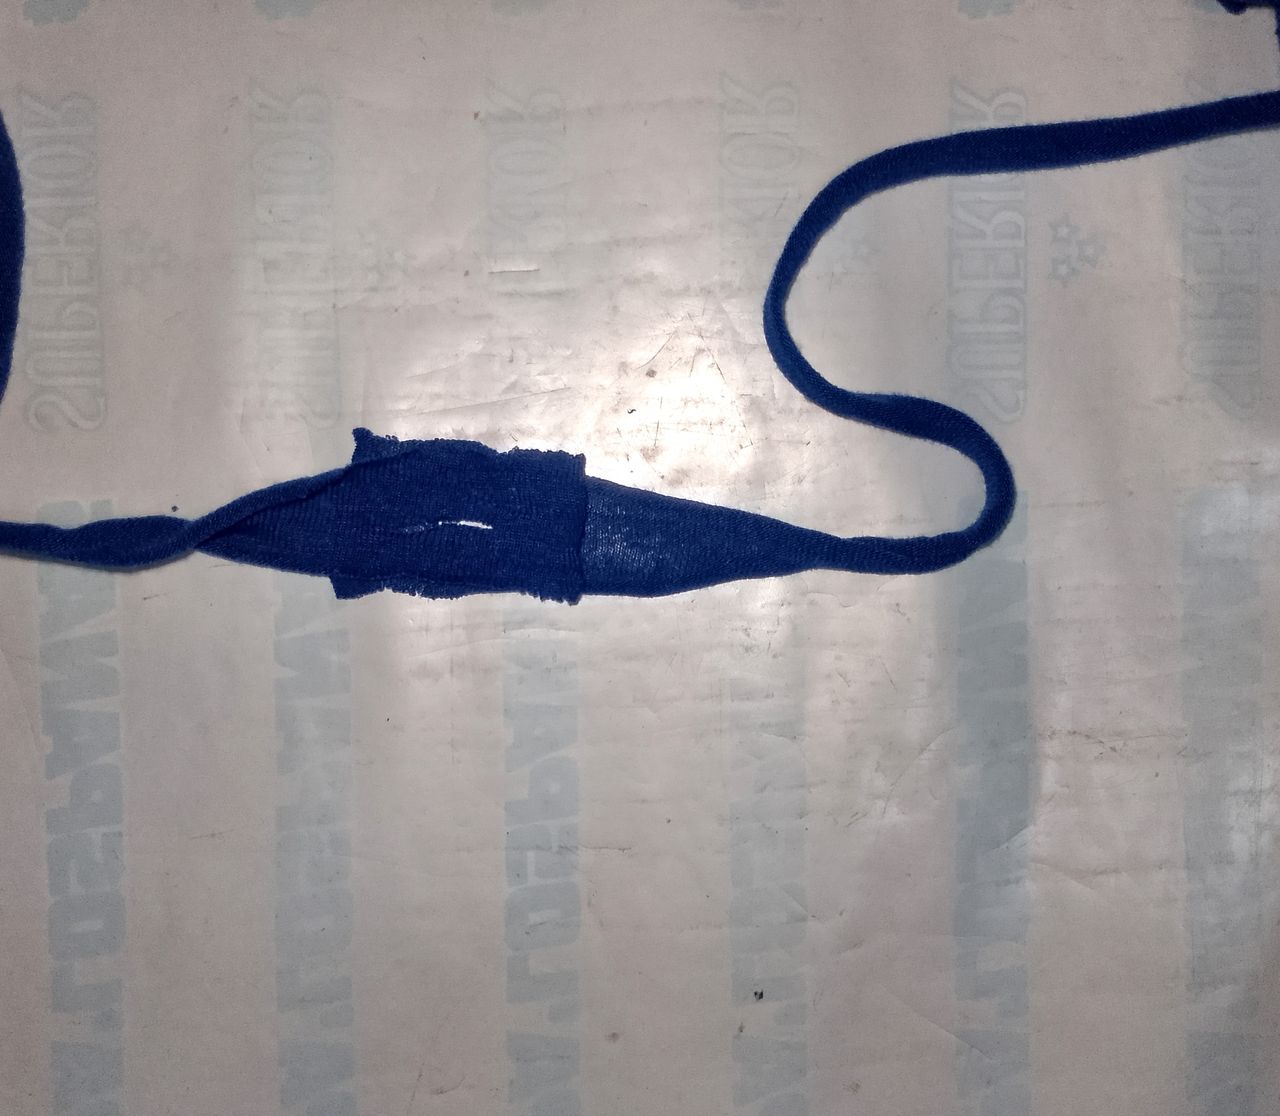
Now we place one strip on top of the other horizontally and pass the tip of the strip that is on top through the hole we made from below and pull it through completely. This will join the strips together. As you can see in the image, there is no thick knot; it is quite thin and when weaving, it is almost unnoticeable. I wove a piece there so you can see how it looks on the right side and the wrong side, and as you can see, you can't even tell where the knot is.
Ahora colocamos una tira encima de la otra en forma horizontal y pasamos la punta de la tira que está por encima, la pasamos desde abajo por el agujero que realizamos y estiramos hasta pasarla por completo. De esa manera quedarán unidas las tiras, como pueden ver en la imagen no hay un nudo grueso, queda bastante fino y a la hora de tejer casi ni se nota. Allí les tejí un pedazo para que vean como queda por el derecho y el revés y como pueden darse cuenta, ni se nota donde queda el empate.
Before I go, I want to tell you that this is the first time I've written a column, and I'm still learning how to do it, so I don't know what you think of it. I welcome constructive criticism. If it's not very pleasing to the eye, I apologize in advance, but at least I tried, and I hope you understand what I wanted to say.
Antes de despedirme quiero decirles que está la primera vez que hago una presentación en columna, aún no domino muy bien como se hace, así que no sé qué tal les parece a ustedes, acepto críticas constructivas. Si no es agradable a la vista, les pido disculpas de antemano, por lo menos lo intente y espero que se haya entendido lo que quise expresar.
I hope you enjoyed this tutorial, which I was happy to prepare for you. I bid you farewell as always, but not before thanking you for taking the time to visit my blog and support me. And as the saying goes: “Do good, without looking at whom.”
Espero que hayan disfrutado de este tutorial, que con mucho gusto les preparé. Me despido como siempre, no sin antes agradecerles por tomarse el tiempo de visitar mi blog y apoyarme. Y como dice el dicho: "Haz bien, sin mirar a quién".
(ENG-ESP) 🧶 Yarn made from recycled flannel. 🧶 Trapillo fabricado...