¡Saludos Abejitas Creativas! | ¡Greetings Creative Bees!
¡Feliz día! Ya ha pasado poco más de un mes del estreno de la película Barbie pero de igual forma quería compartirles este pequeño tutorial de un lindo dulcero con la temática del momento. Pocos días antes del estreno de la película quería hacer alguna manualidad alusiva pero lo pospuse tanto que se me fue el tiempo y ya va más de un mes de eso, aun así, hoy les muestro la elaboración de este lindo dulcero esperando que les guste el resultado, ahora sin más, ¡vamos a crear!
¡Good day! A little more than a month has passed since the premiere of the movie Barbie but I also wanted to share this little tutorial of a cute candy store with the theme of the moment. A few days before the premiere of the film I wanted to do some allusive craft but I postponed it so much that time ran out and it's been more than a month since then, even so, today I show you how to make this cute candy box, hoping you like it. result, now without further ado, ¡let's create!


❥ Foami escarchado negro.
❥ Papel de seda rosado y fucsia.
❥ Silicón.
❥ Regla.
❥ Lápiz.
❥ Tijera.
❥ Black frosted foami.
❥ Pink and fuchsia tissue paper.
❥ Silicone.
❥ Rule.
❥ Pencil.
❥ Scissors.


❥ PASO 1. Lo primero que hice fue elaborar la cajita, para ello hice la forma en la cartulina rosada y con ayuda de la regla le hice los dobleces de las solapas, primero los de los lados y por últimos los del centro.
❥ STEP 1. The first thing I did was make the box, for this I made the shape on the pink cardboard and with the help of the ruler I made the folds on the flaps, first the ones on the sides and lastly those on the back. center.


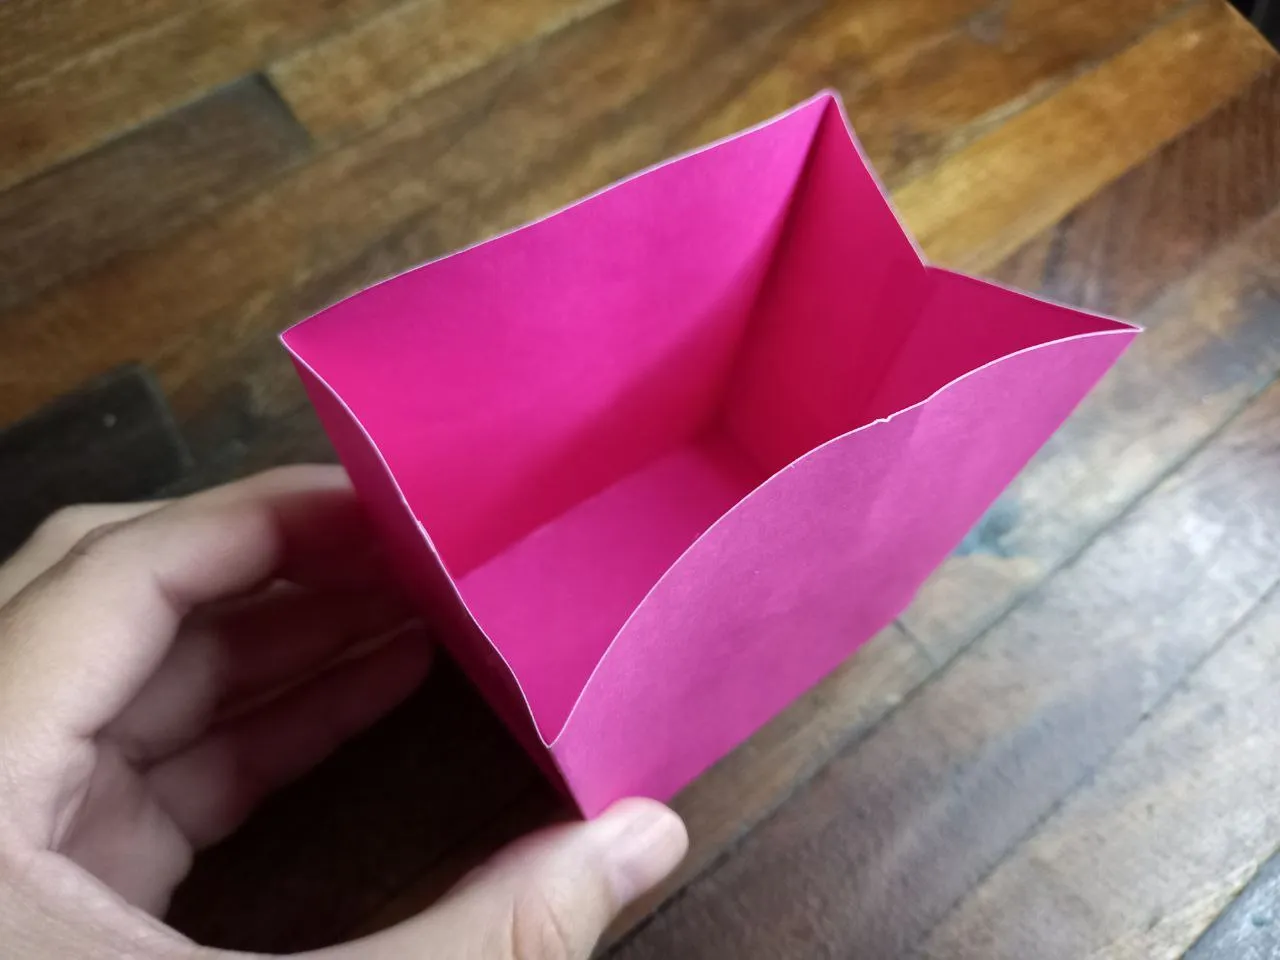
❥ PASO 2. Lo siguiente que hice fue unir las solapas de los lados pegando con silicón para darle la forma final a la cajita.
❥ STEP 2. The next thing I did was join the flaps on the sides by gluing with silicone to give the final shape to the box.


❥ PASO 3. Recorté varios cuadritos de papel de seda de ambos colores e hice varios conitos de ambos colores, para luego pegarlos en la orilla superior interna de la cajita.
❥ STEP 3. I cut out several tissue paper squares of both colors and made several little cones of both colors, to later glue them to the upper inner edge of the box.


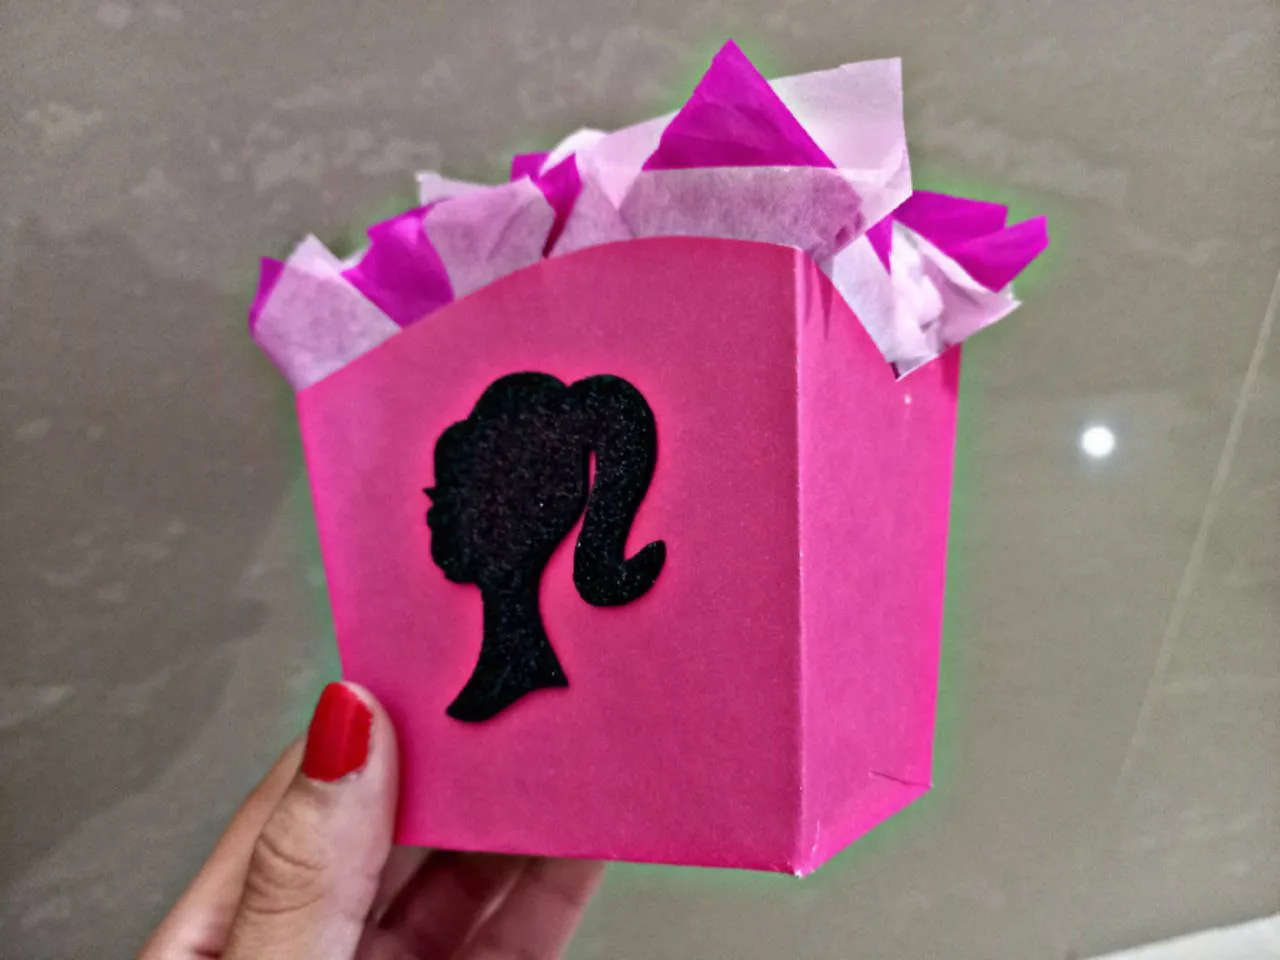
❥ PASO 4. Por último dibujé en el foami escarchado negro la típica silueta de Barbie y recorté para luego pegarla en la parte frontal de la cajita.
❥ STEP 4. Finally I drew the typical silhouette of Barbie on the black frosted foami and cut it out and then glued it to the front of the box.


¡Y listo! Así de fácil fue como hice un lindo dulcero con temática de Barbie, es bastante sencillo pero no quise sobrecargarlo con tantos detalles, siento que así quedó muy bien y al menos a mí me gustó mucho, ¿a ustedes que les ha parecido?
¡And ready! It was that easy how I made a cute Barbie-themed candy box, it's quite simple but I didn't want to overload it with so many details, I feel that it turned out very well that way and at least I liked it a lot, ¿what did you guys like? similar?


Todas las fotografías son de mi propiedad.
Fotografías capturadas con mi Samsung Galaxy A12
Separador de texto elaborado en Canva.
Nos vemos en mi próxima publicación.
¡Tengan un feliz día!
All photographs are my property.
Photos captured with my Samsung Galaxy A12
Text separator made in Canva.
See you in my next post.
¡Have a happy day!