Hola queridos amigos de Hive. Espero se encuentren muy bien. Es una alegría poder estar con ustedes nuevamente, uniendo de esta forma a la navidad y la técnica de origami para decorar nuestro hogar de la víspera de la Navidad.

Espero les guste la propuesta y que puedan también realizar este copo de nieve.
Materiales
- cartulina
- silicon
Paso a Paso
1

Se deben formar cuadrados de 9 cm y desde un extremo se va a medir 2,50 cm y del otro extremo también. De forma que se pasan dos líneas verticales. Y se divide el cuadrado en tres secciones.
Ambas líneas que se han trazado deben formar la guía para doblar la cartulina.
2

Luego se debe pegar ambos extremos. Una vez que estén doblados se debe trazar hacia ambos lados 0,50 cm en ambos lados. Luego se debe doblar ambas líneas hacia atrás.
3

Seguidamente se debe meter hacia dentro y luego se debe doblar a la mitad el rectángulo exactamente iguales.
4

Luego se debe formar un triangulo en la parte superior y dos triángulos a los costados.luego se debe recortar con la tijera la forma de los triángulos. Luego se debe abrir la figura y queda de esa manera.
5

Seguidamente se deben hacer ocho figuras más para hacer 9 figuras. Poco a poco se deben ir pegando las figuras.
6

Poco a poco se van ir uniendo otras piezas con la ayuda del silicon al frío.
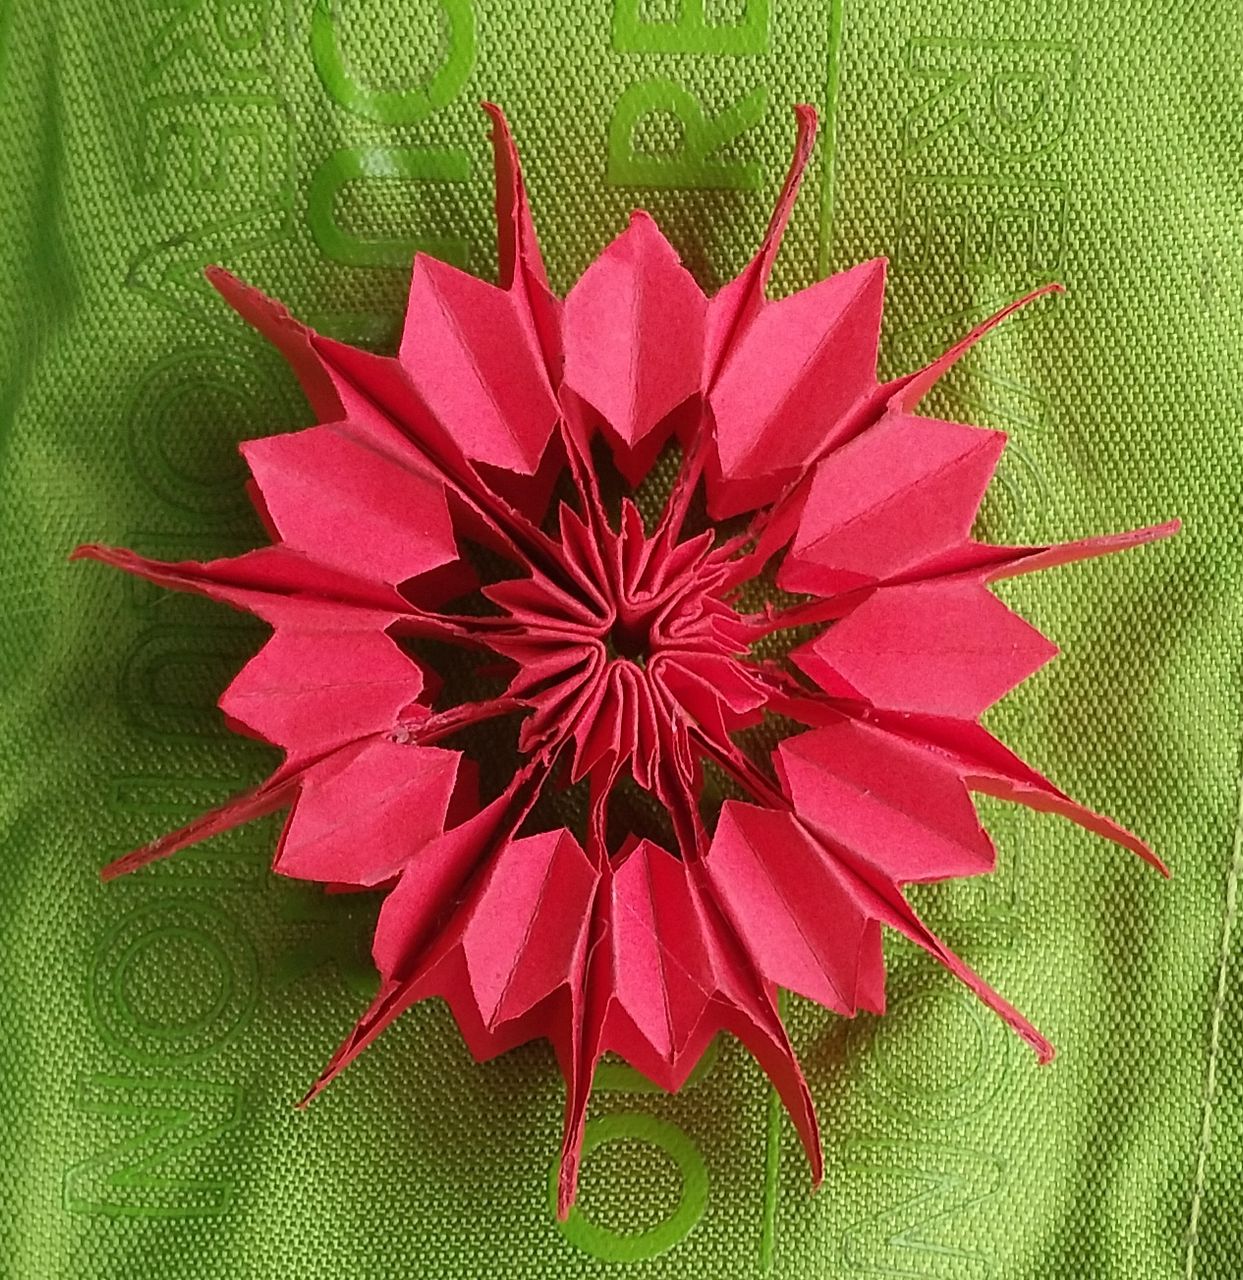
De esta manera quedaría nuestra figura de copo de nieve, espero les guste!
Creditos
- Las imágenes me pertenecen
- Traductor: Deepl traslator
- Edicion: Polish
Hello dear friends of Hive. I hope you are feeling well. It is a joy to be with you again, joining in this way Christmas and origami technique to decorate our Christmas Eve home.
I hope you like the proposal and that you can also make this snowflake.
Materials
- cardboard
- silicon
Step by Step
1
Form 9 cm squares and measure 2.50 cm from one end and 2.50 cm from the other end as well. So that two vertical lines are passed. And the square is divided into three sections.
Both lines that have been drawn should form the guide to fold the cardboard.
2
Then glue both ends together. Once they are folded, trace 0.50 cm on both sides. Then fold both lines backwards.
3
Then tuck it inward and fold the rectangle in half exactly the same.
4
Then form a triangle at the top and two triangles on the sides. Then cut out the shape of the triangles with the scissors. Then open the figure and it is like that.
5
Next, eight more figures should be made to make 9 figures. Gradually glue the figures together.
6
Little by little other pieces will be joined with the help of the cold silicon.
This is how our snowflake figure looks like, I hope you like it!
Credits
- Images belong to me
- Translator: Deepl traslator
- Edition: Polish